How to Make a Cute Anki Background
Let’s be honest, the default Anki setup is pretty boring. It’s just plain grey, and a little bit sad to look at. Part of what kept me away from using Anki to study was not having a set up that I liked. Having a nice Anki Background makes studying just a little bit more enjoyable.
Now you can just set any old picture to be your background, which I’ll show you how to do but for me, I didn’t like having a picture because if often made the text hard to read. Instead I made a background in Canva that is blank in the middle so that you can still read everything clearly.
Step 1. Download the Custom Background Images and Gears add on for Anki
First thing you want to do is download this add-on for Anki, it allows you to set a custom background image as well as change the icon for the gears.
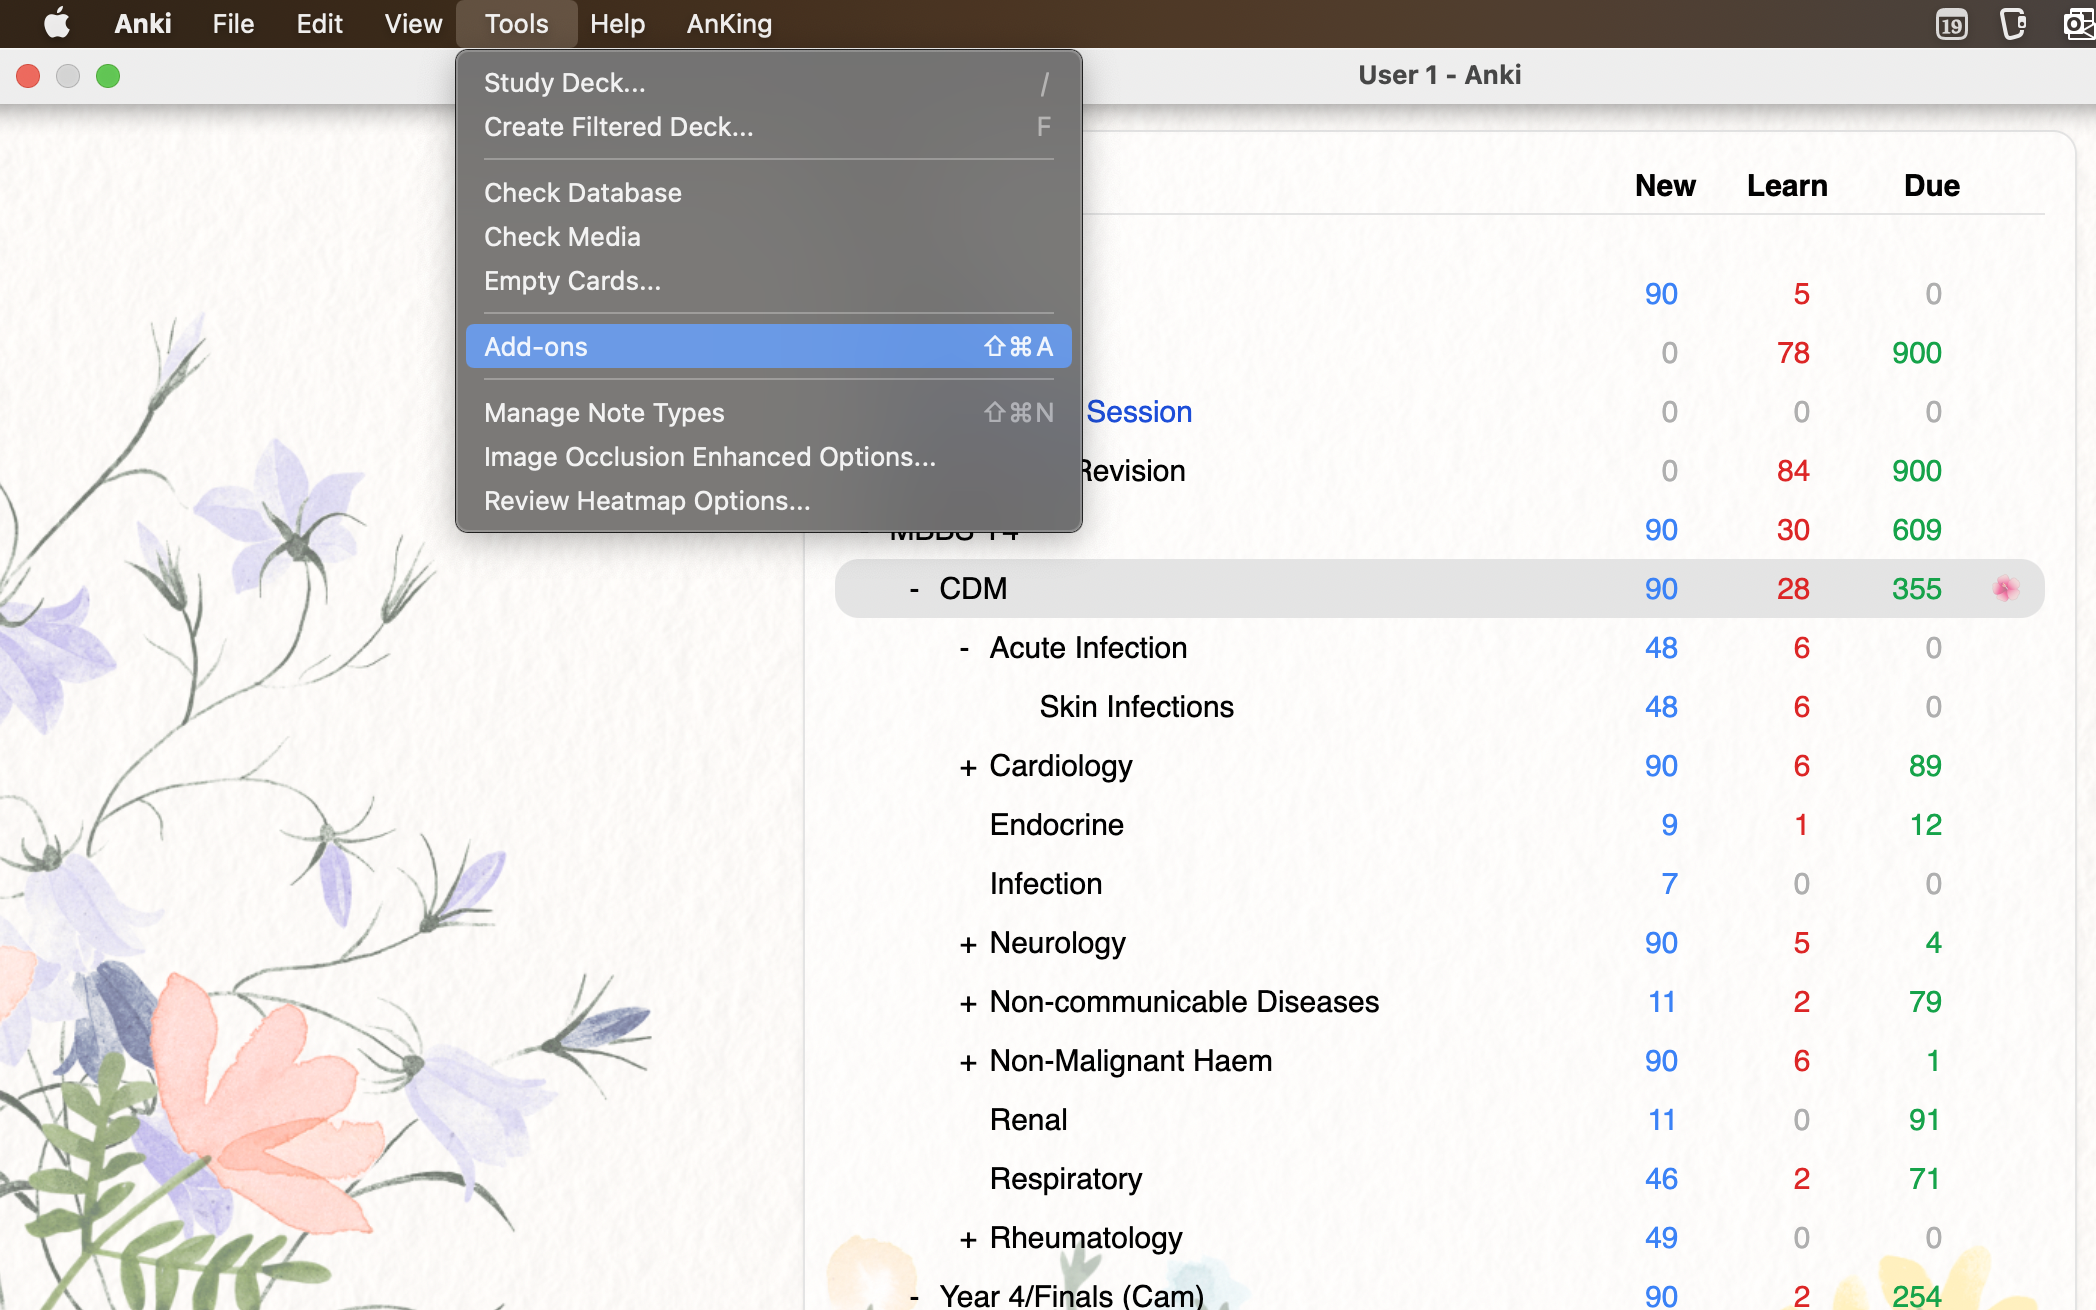
To do this open your Anki, click on tools
Then click add-ons
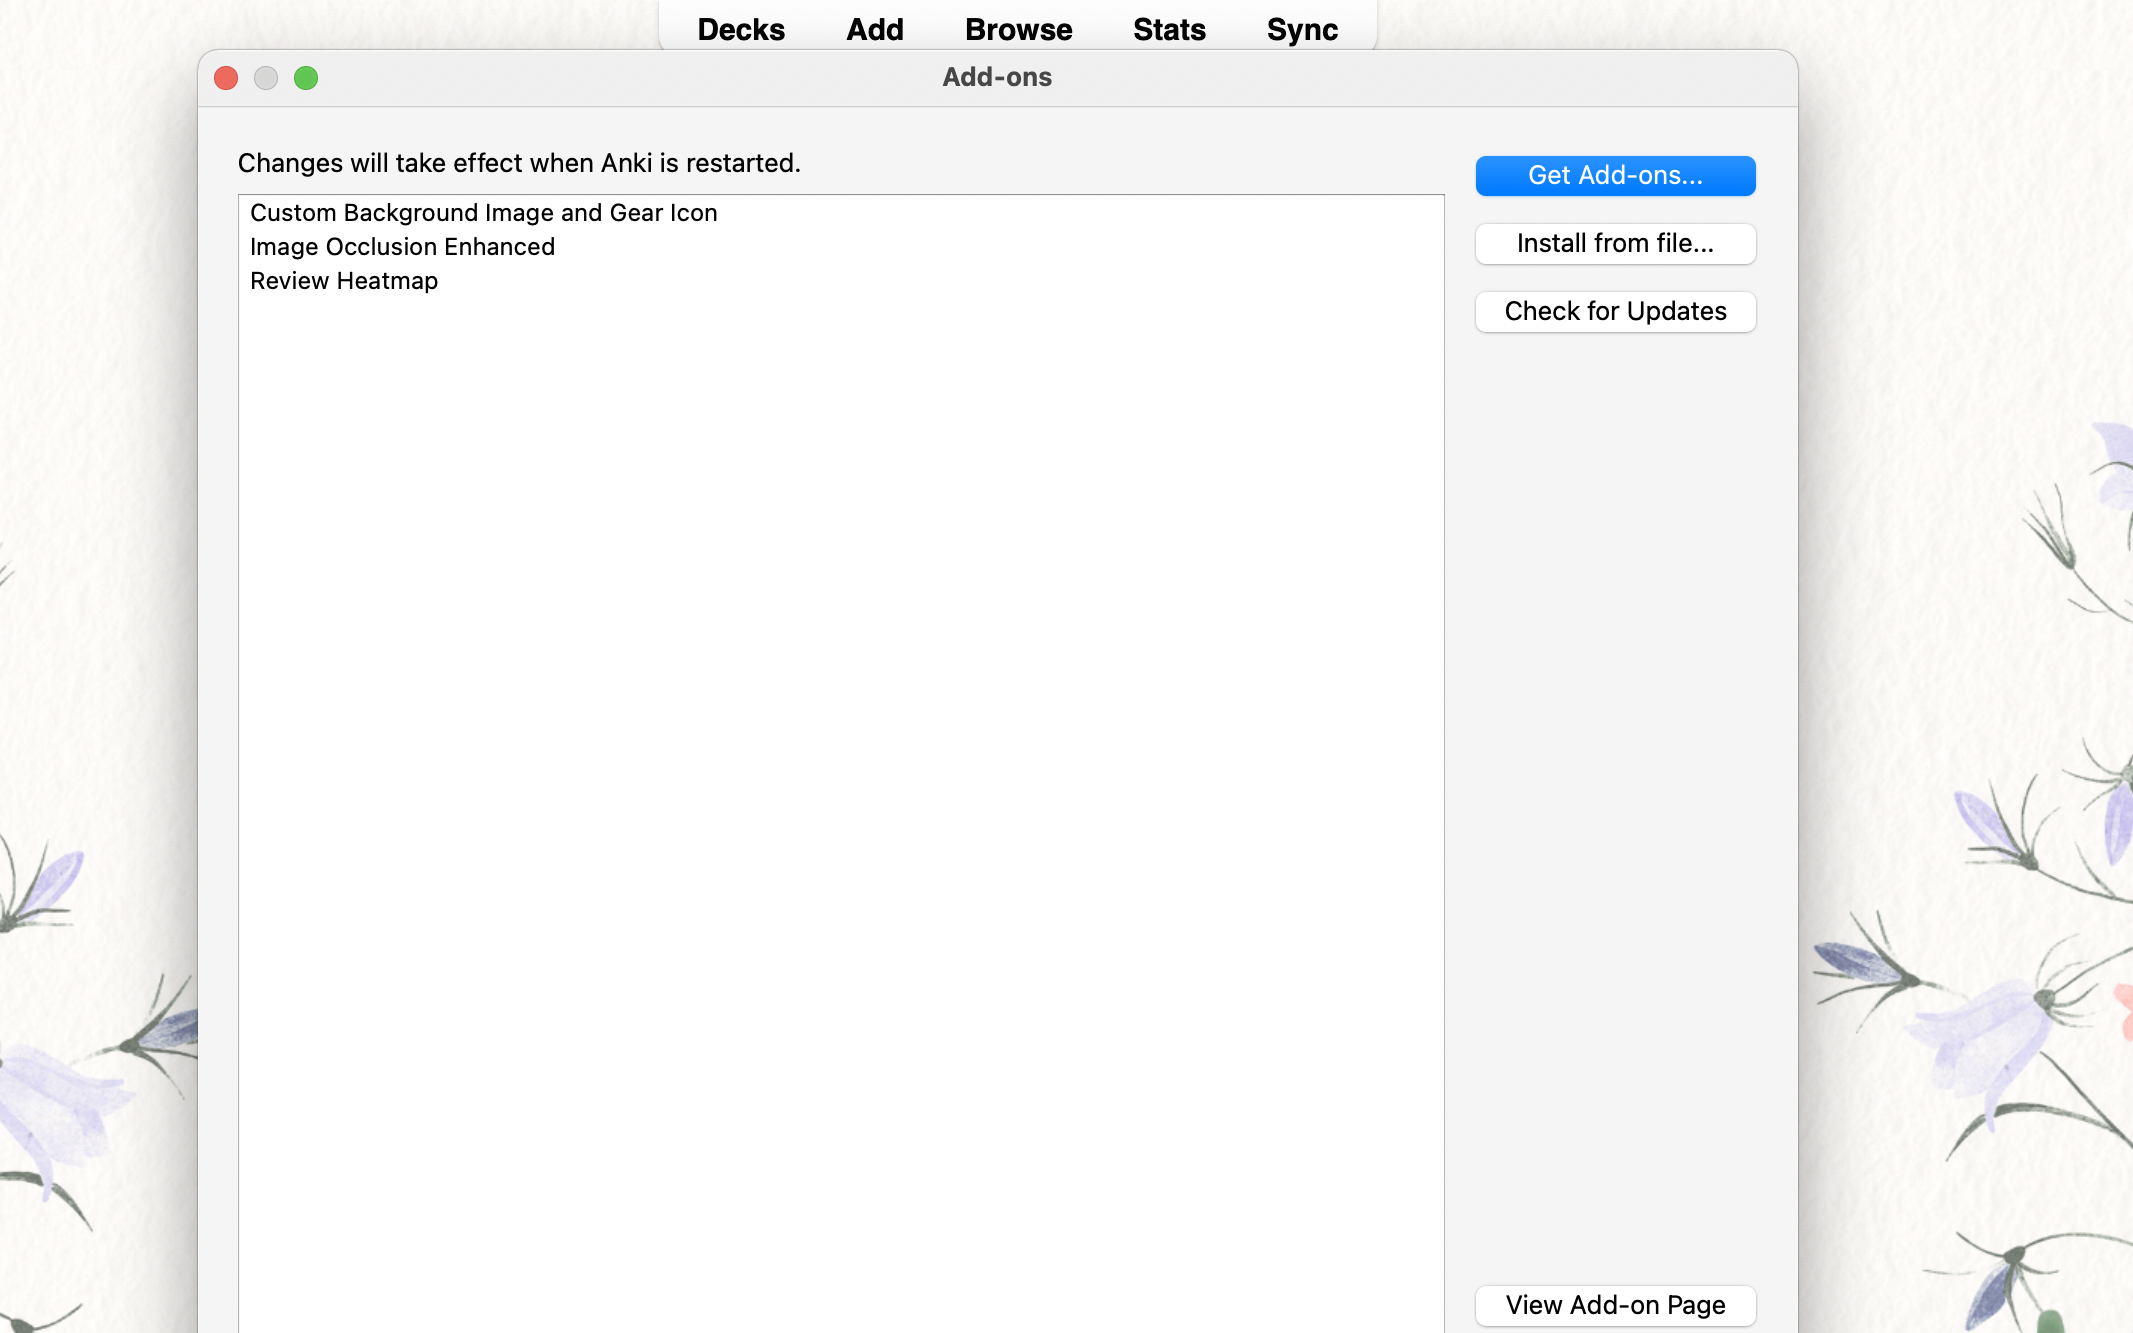
Then hit the ‘get add-ons…‘ button
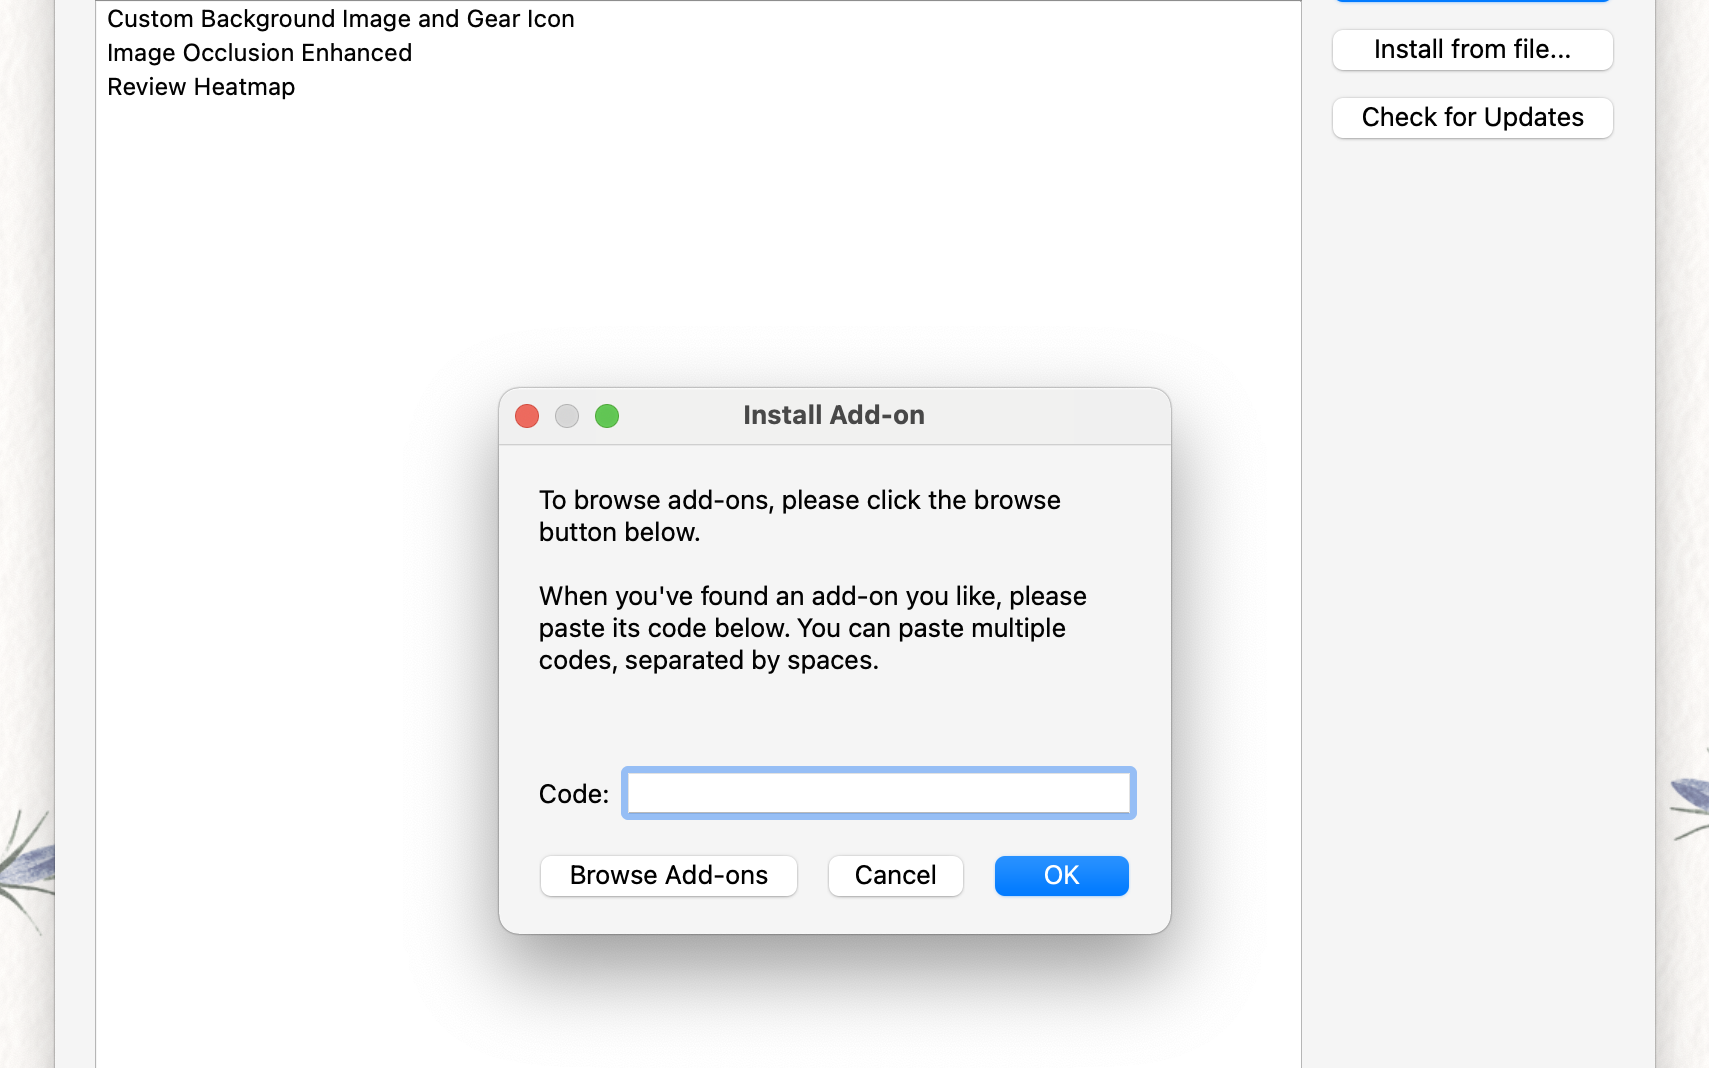
The install add-on box will pop up and you want to paste this code into the box: 1210908941 and hit OK
You’ll then be prompted to restart your Anki.
The custom background add-on does come with some images included that you can use if you like or you can just upload any old picture, but like I said it can sometimes be difficult to read the text over some images. You can get away with it a bit by adjusting the transparency of the image (which you can do within the add-on), or only having the background on for the main page and no the card reviews.
Step 2. Make a Anki Background in Canva
Now that you’ve got that installed lets make a custom background!
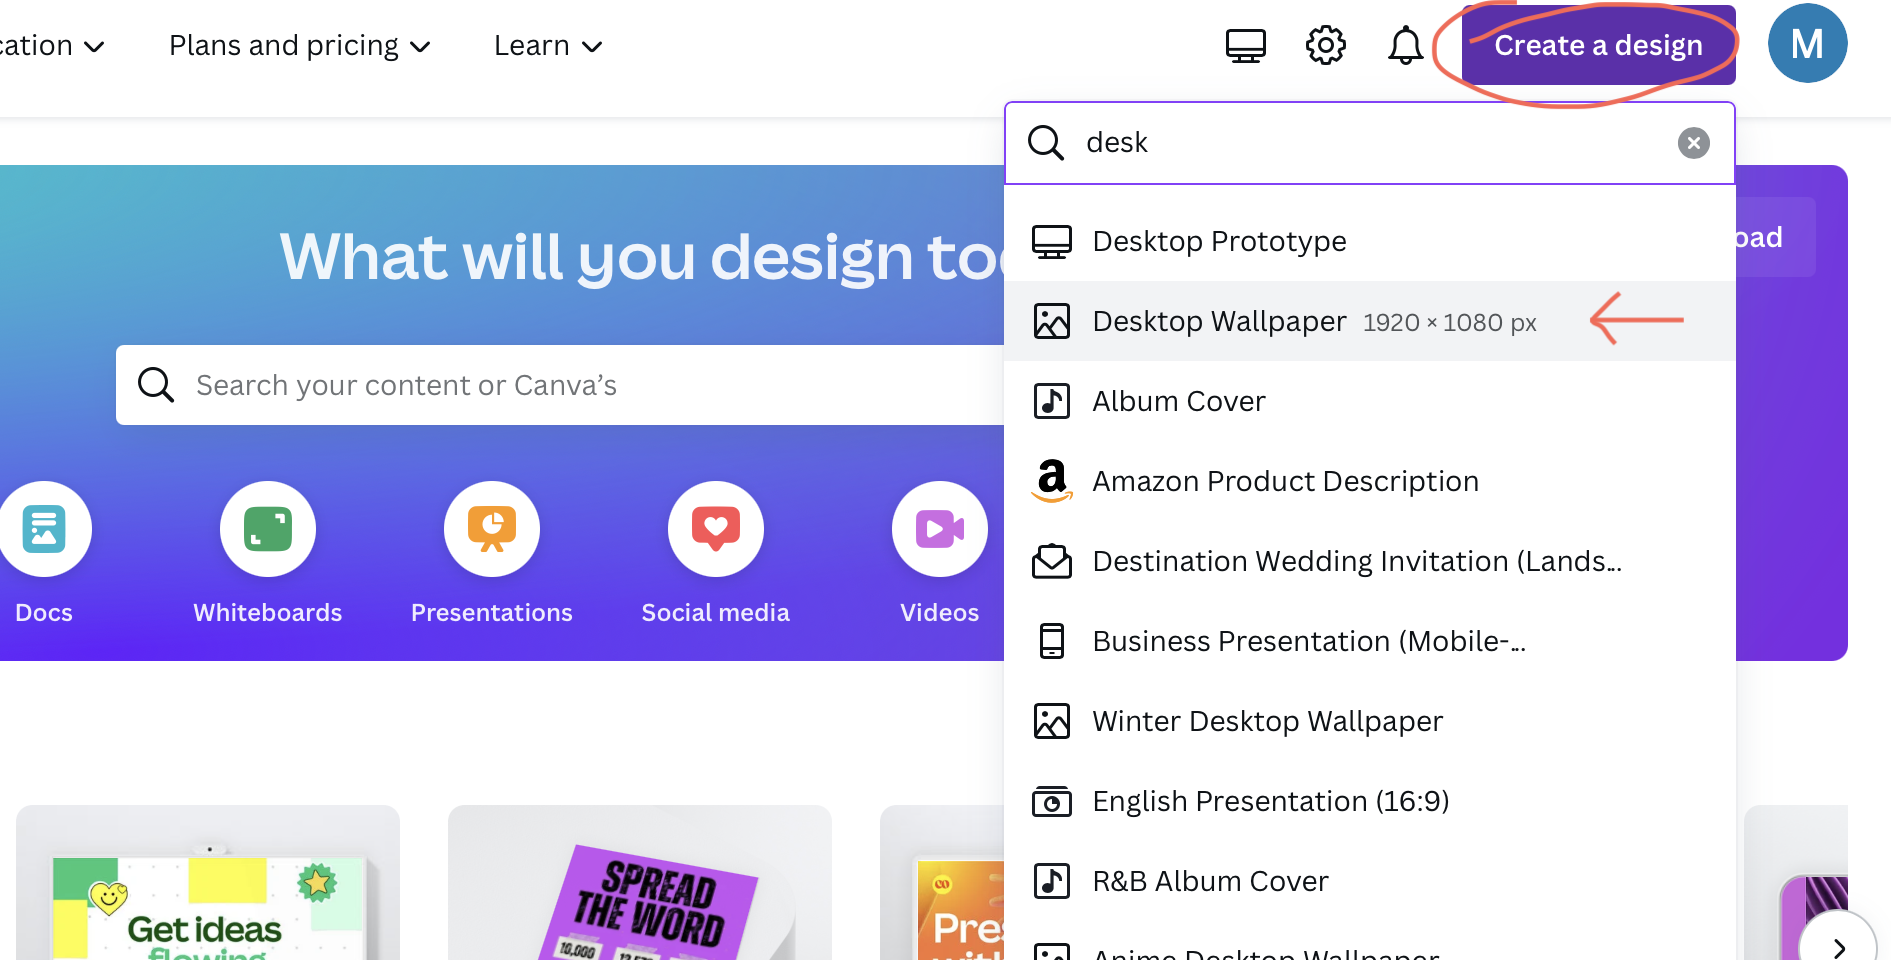
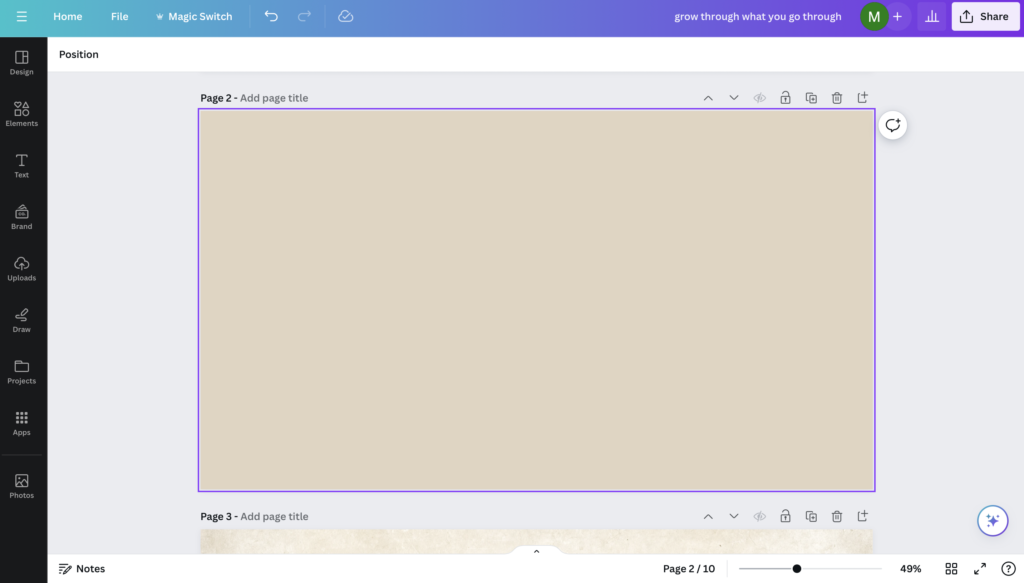
In Canva you want to go to ‘create a design’ and select a desktop wallpaper canvas. (If this doesn’t quite match the dimensions of your desktop you can set a custom size)
Once you have your design open I like to start off with a neutral background. You can go for a solid colour or use something like a vintage paper texture. If you use Anki in dark-mode then go for something darker. I like to use Anki in light mode but I don’t like have a pure white background.
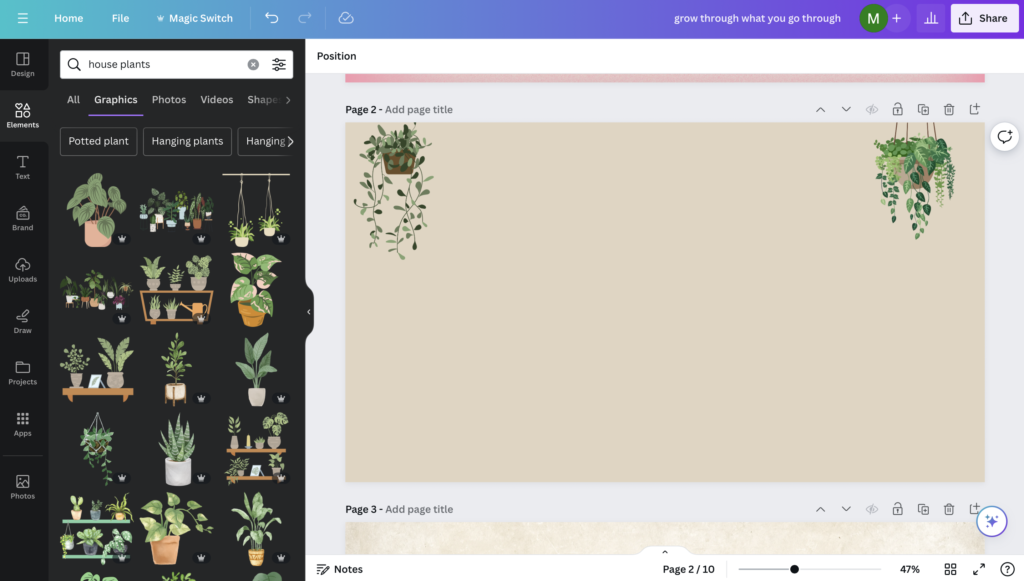
Then you want to go to elements on the left sidebar and search for some graphics to decorate the background. The one I have one my Anki right now is different wild flowers, so I search for wild flowers and pressed flowers. But this one I’m showing I wanted to do with potted plants so I just searched for house plants then browsed through the graphics tab until I found some I liked.
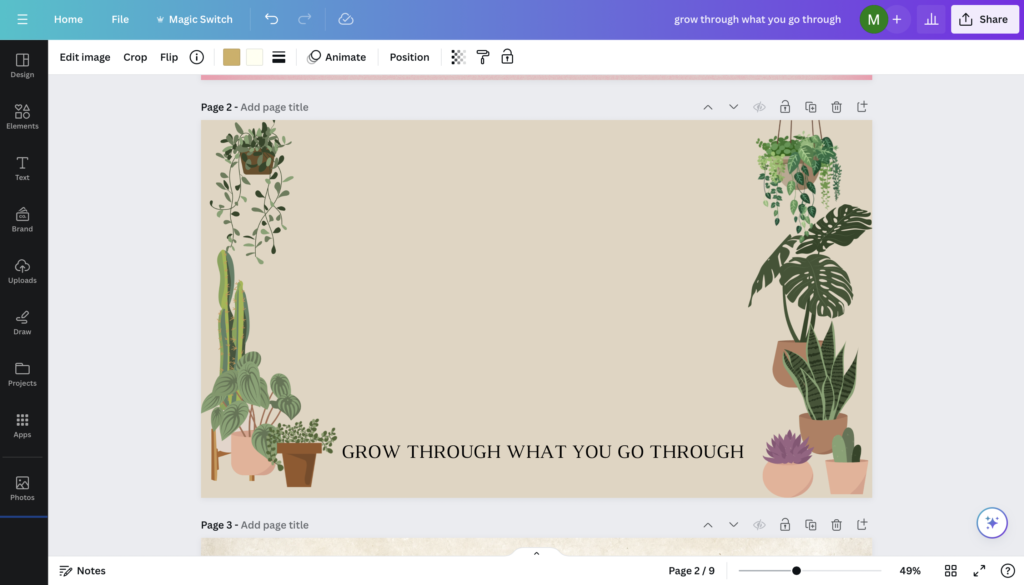
Start arranging your elements around the border, avoiding the middle so that you keep that blank space free for your cards. Then if you like you can add some text with quotes or sayings, and once you’re happy with it you want to download it from Canva.
Because of the way the image gets uploader to Anki may want want to avoid putting elements right up to the top border (like I’ve done here).
If you do when you add it to Anki you’ll either have this bit in the tool bars where it duplicates the image and doesn’t match it up properly, or you’ll have to turn the image off for the tool bars and have a grey border:
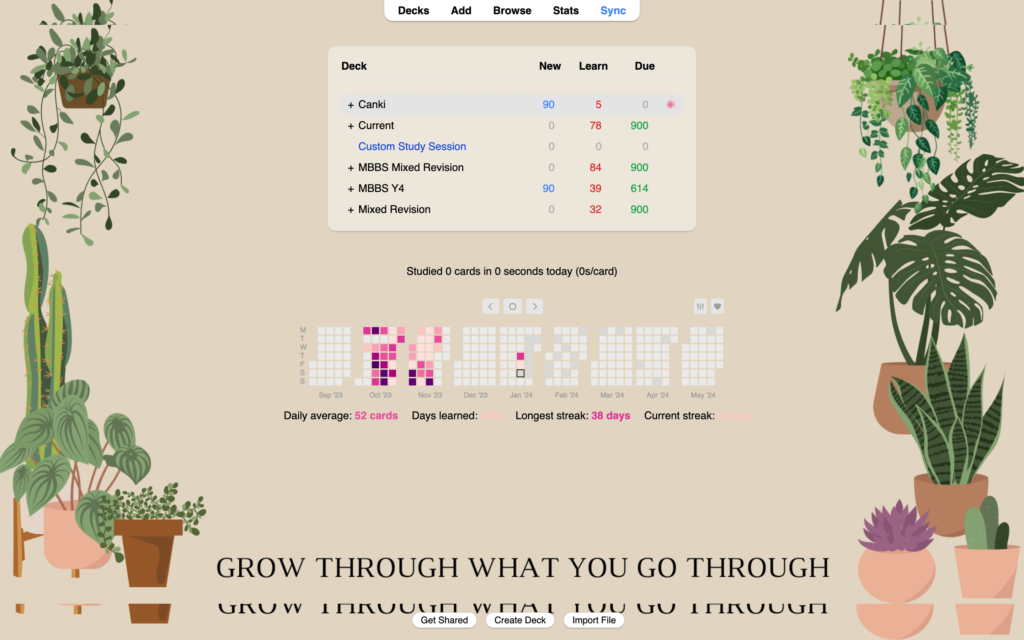
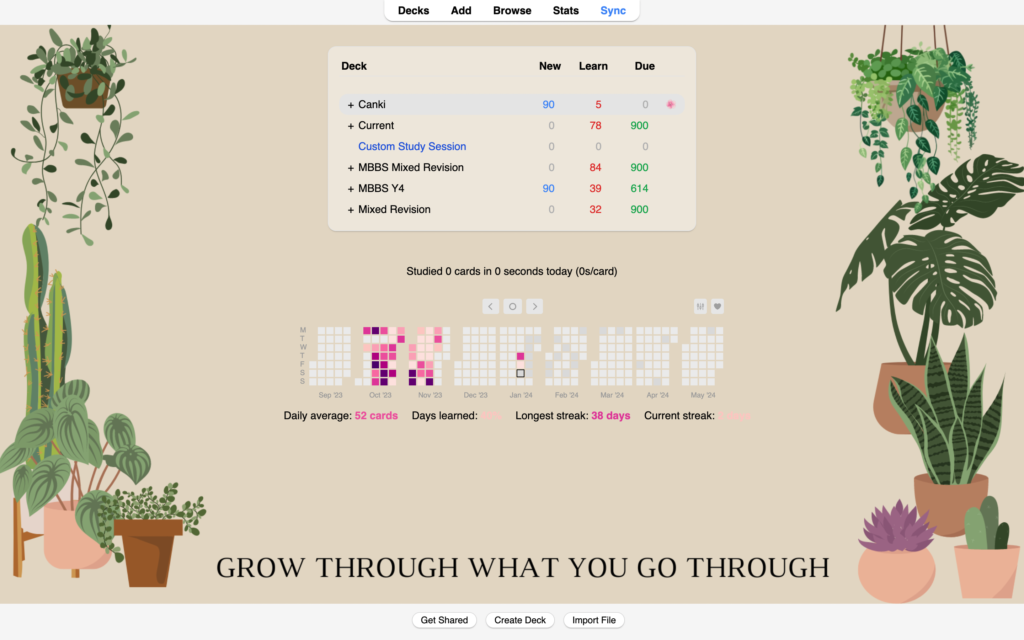
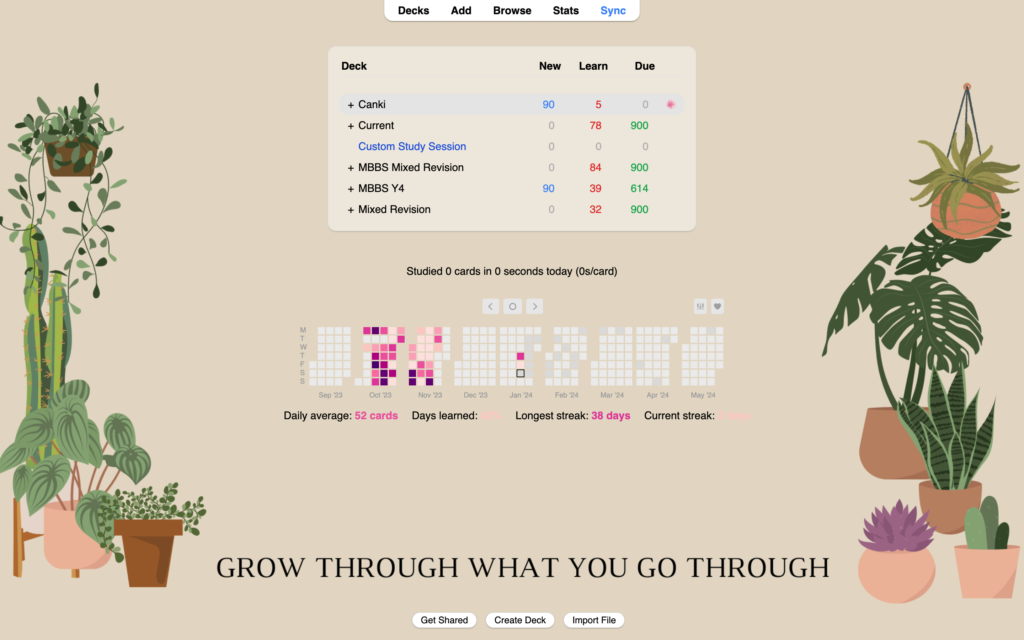
If you keep it away from the top border you’ll be able to just extend the solid background into the top and bottom tool bars like so:
You can also try searching Canva templates for a background you like and then playing around with the placement of elements.
I found this cat one but just wanted the cats along the border so I just removed the ones from the centre, then changed the background colour:
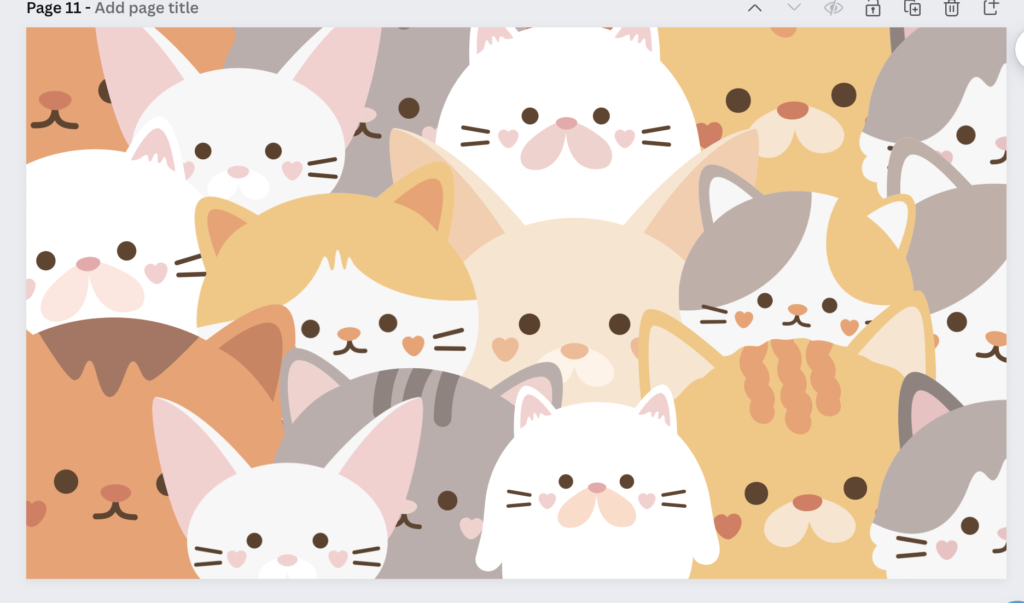
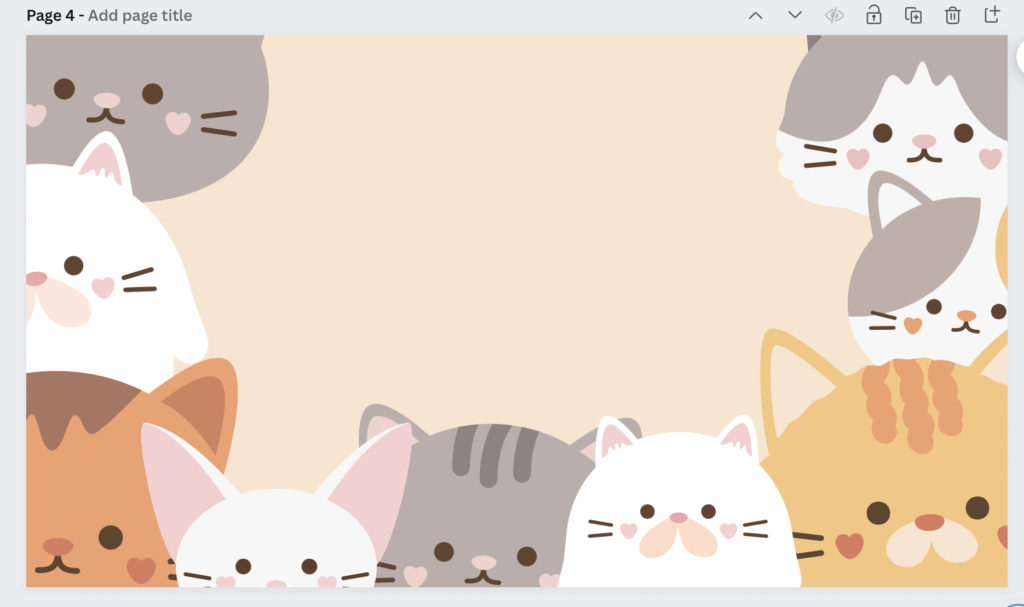
Then in Anki it looks like this:
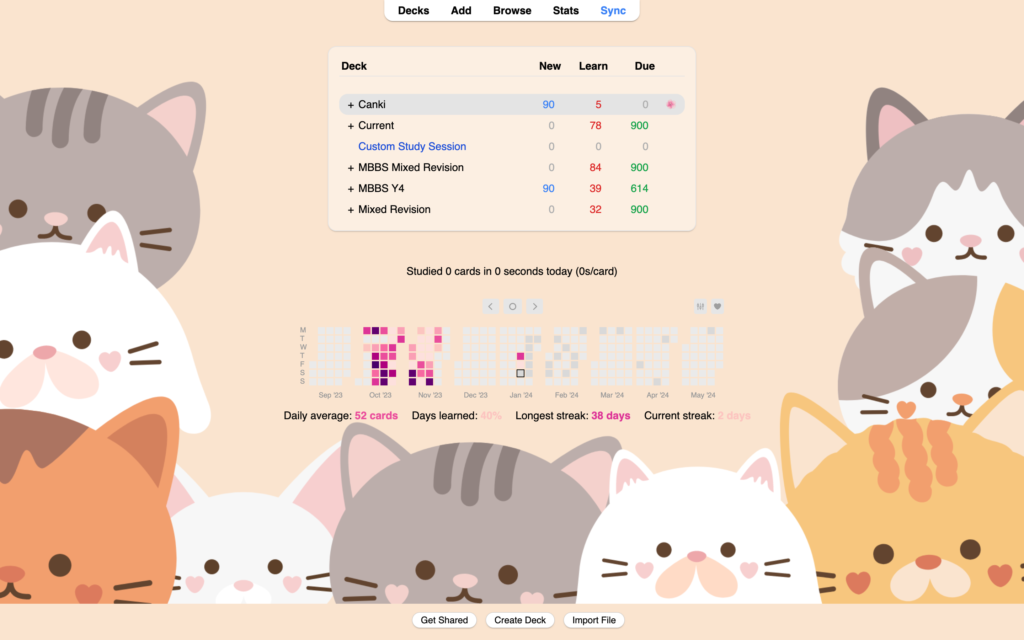
This is what it looks like if the elements extend all the way to the edge (it will be more obvious with some designs than others)
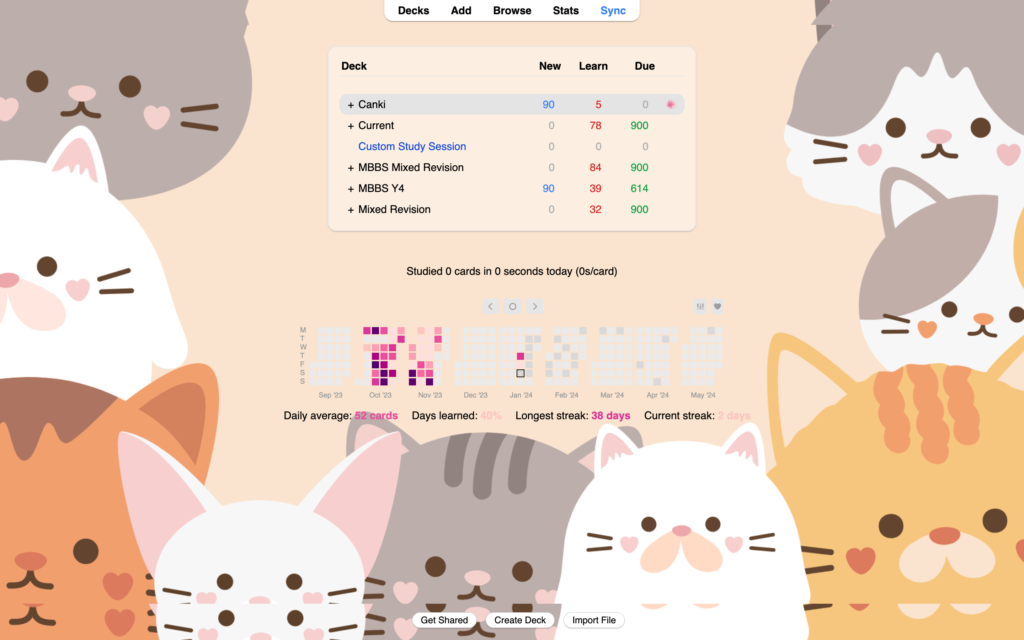
And if you don’t feel like making your own background you can download one of the ones I’ve made for free here!
RELATED: Top Tips for Studying Anatomy
Step 3. Upload your background to Anki
Alright now that you have your background let’s add it to your Anki.
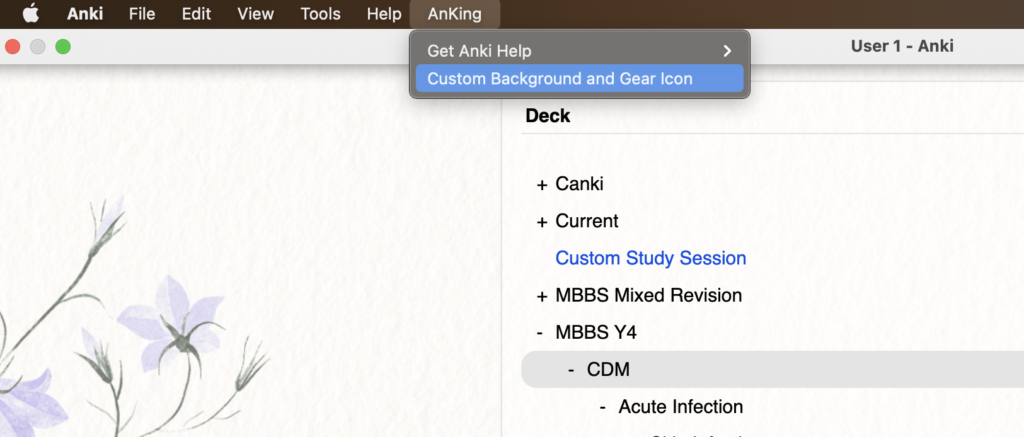
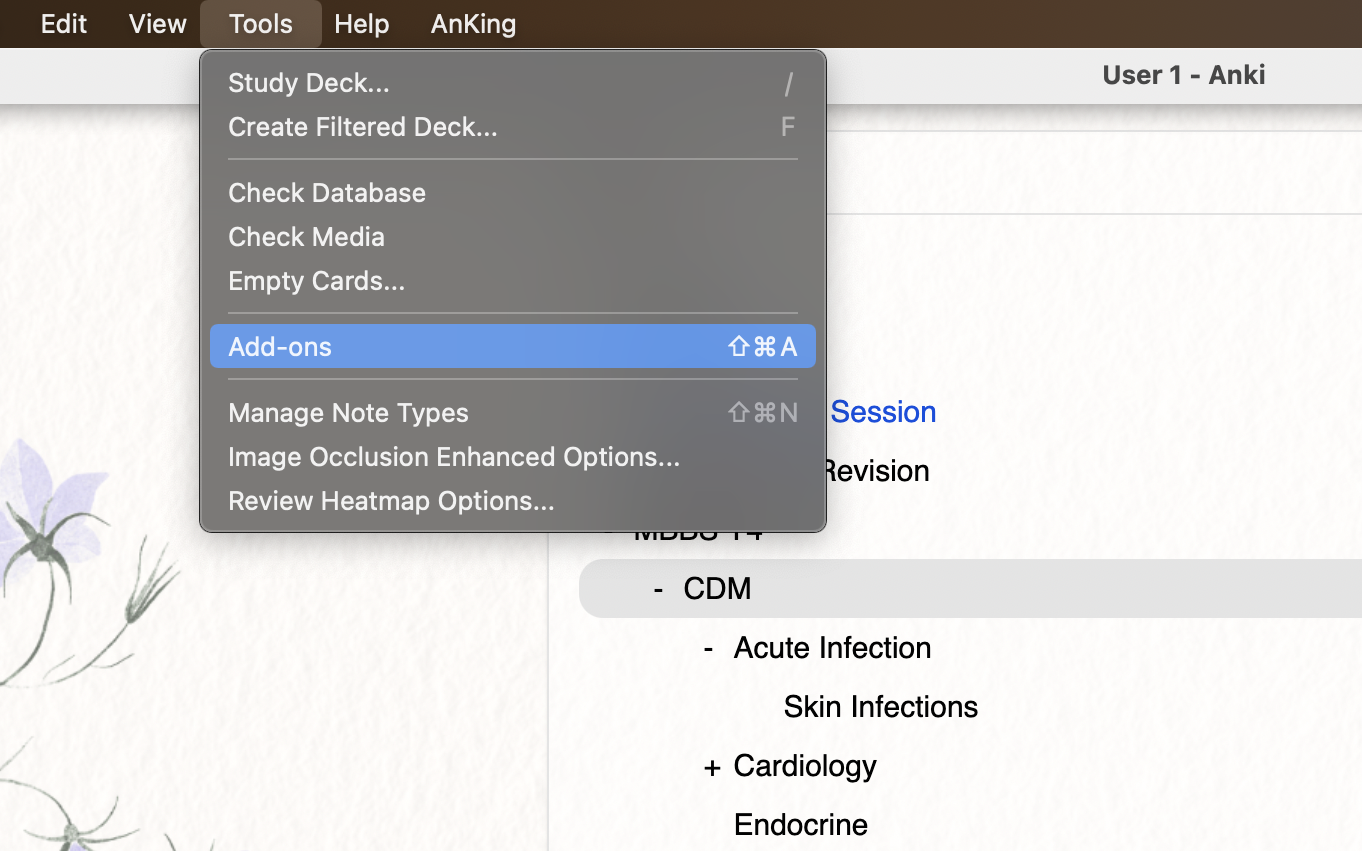
So there’s 2 ways to get to where you need to upload the background:
1. Click Anking -> Custom Background Image and Gear Icon
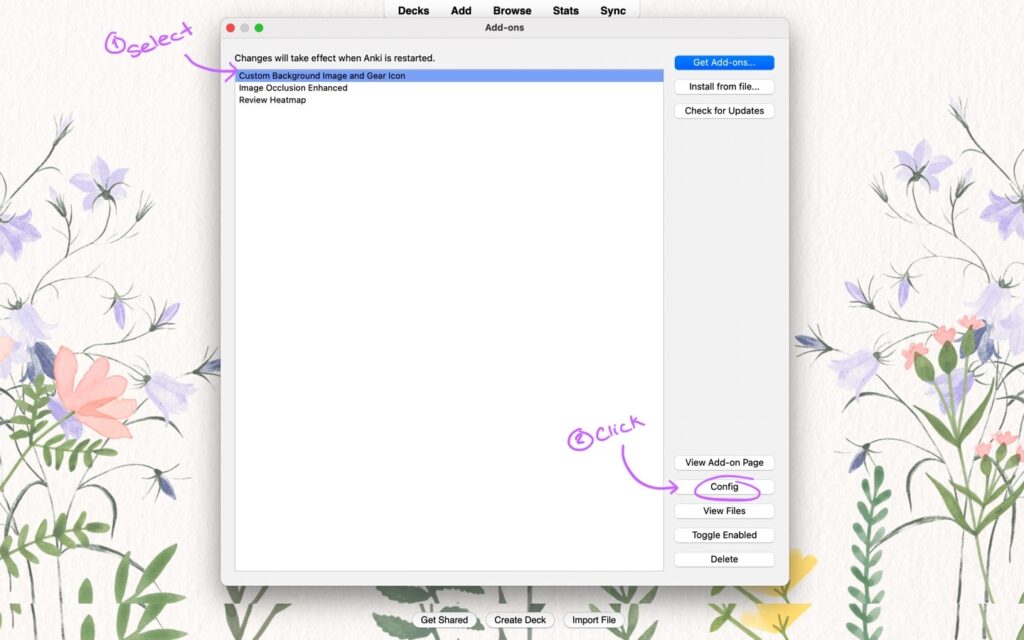
2. Click tools -> add-ons -> select the ‘Custom Background Image and Gear Icon” -> click Config
either way you’ll get this window to pop up:
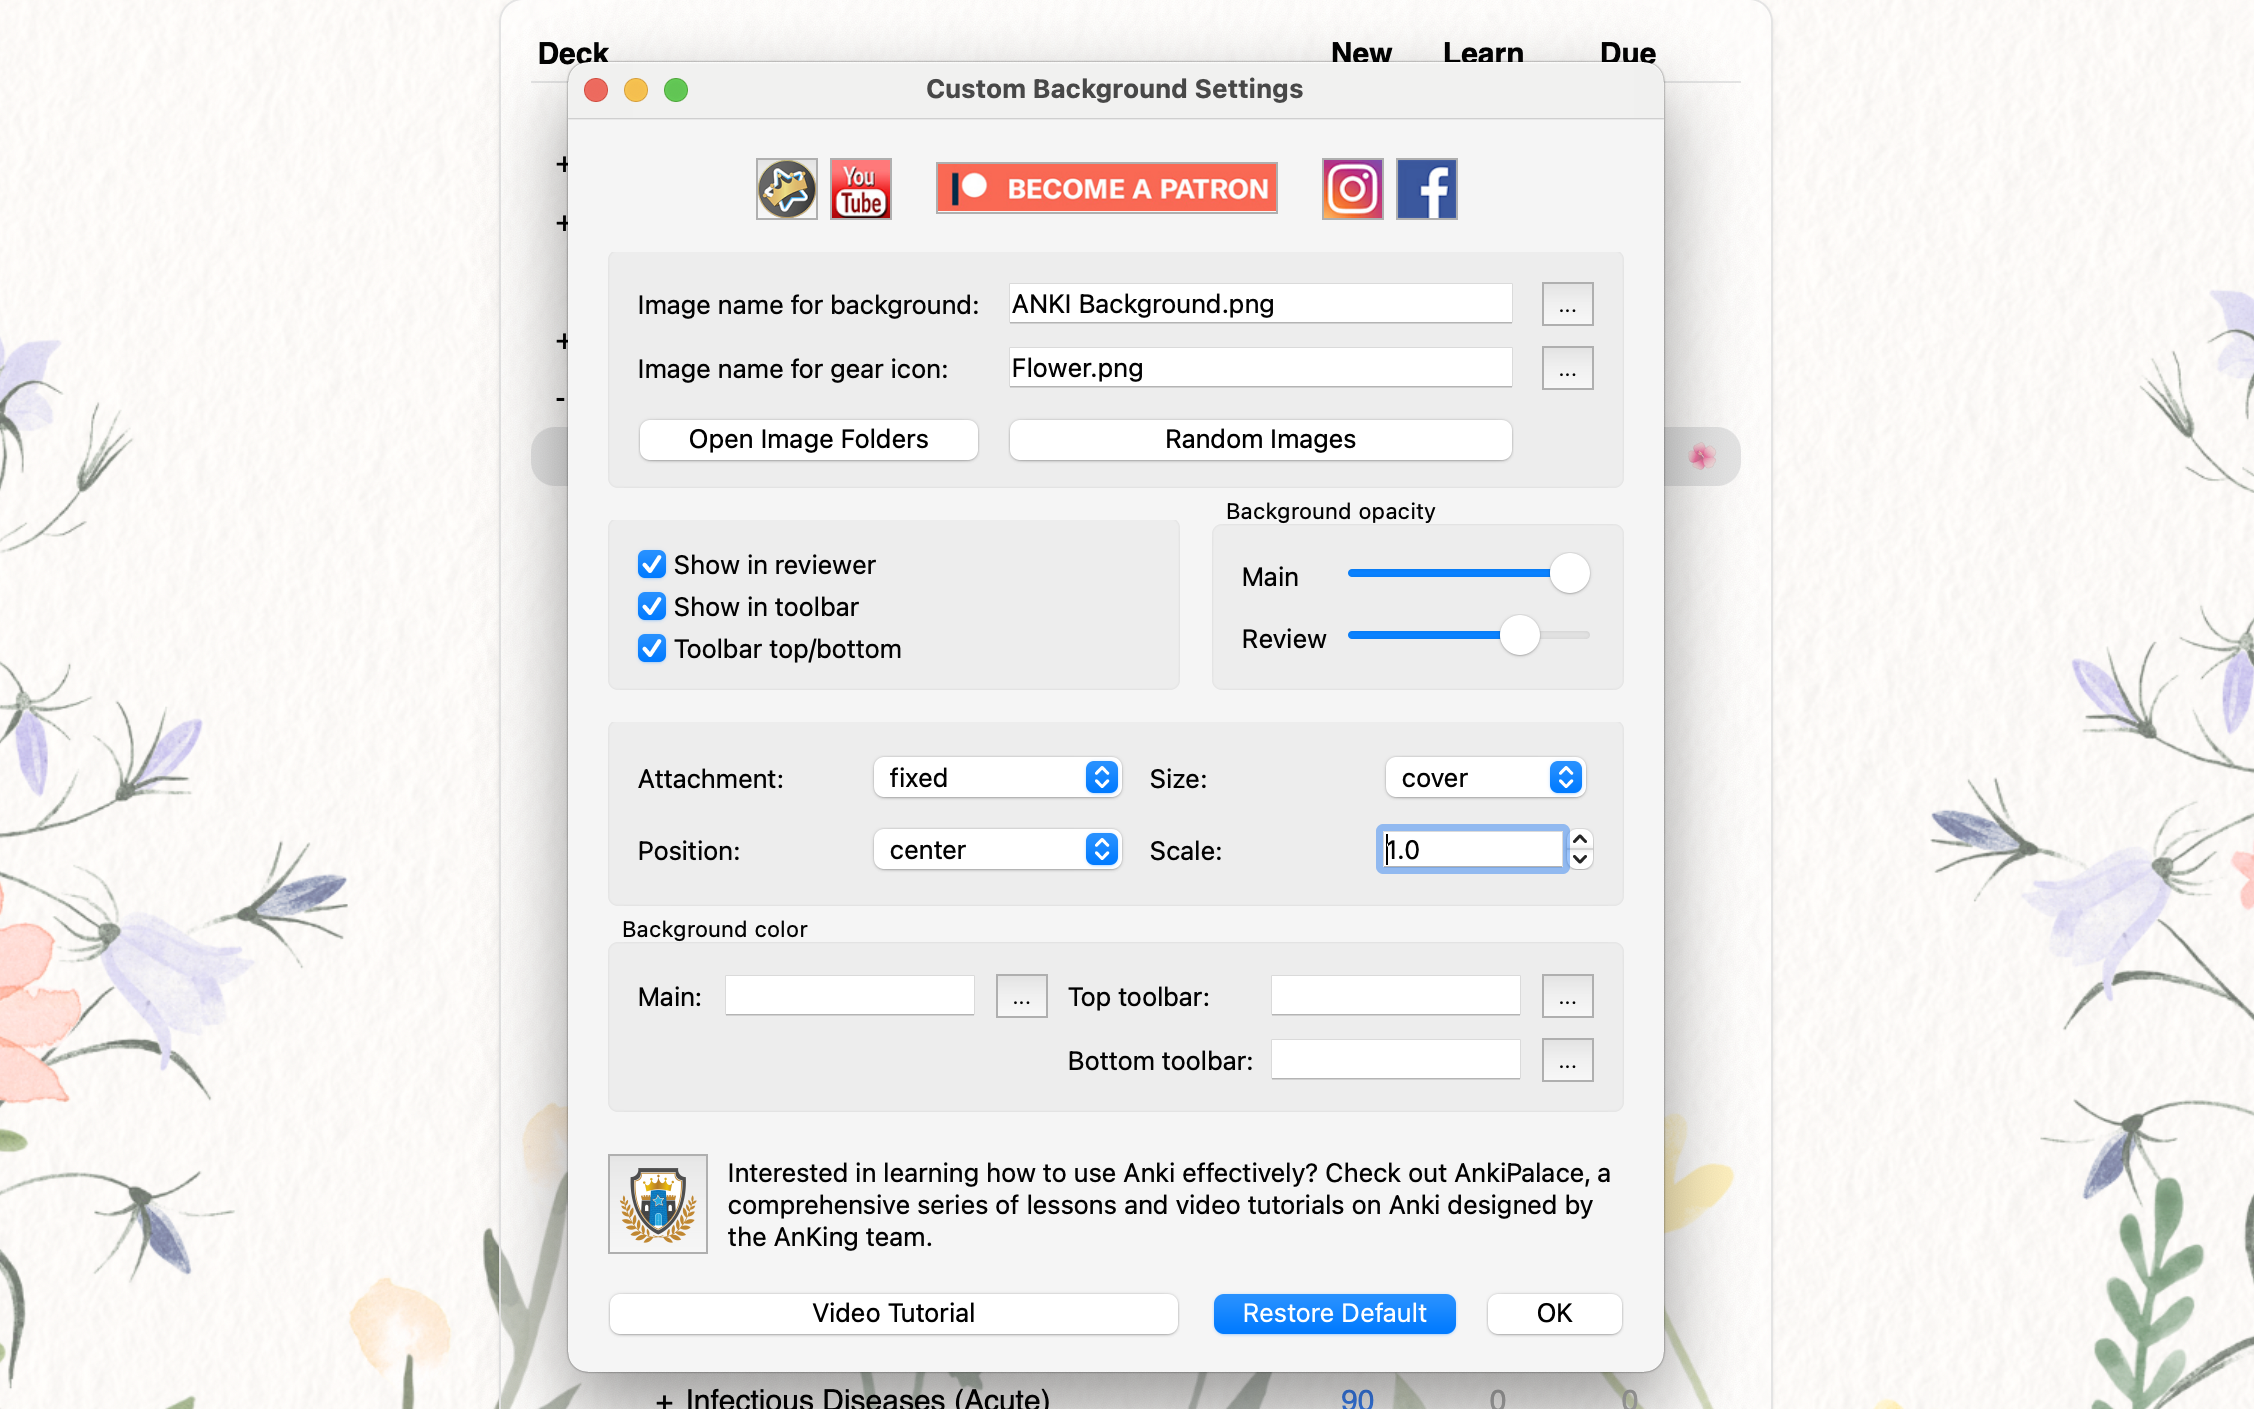
Now to use the image you’ve created you need to first add it to the add-ons files. So click ‘open image folders’ then add your image file to the background folder.
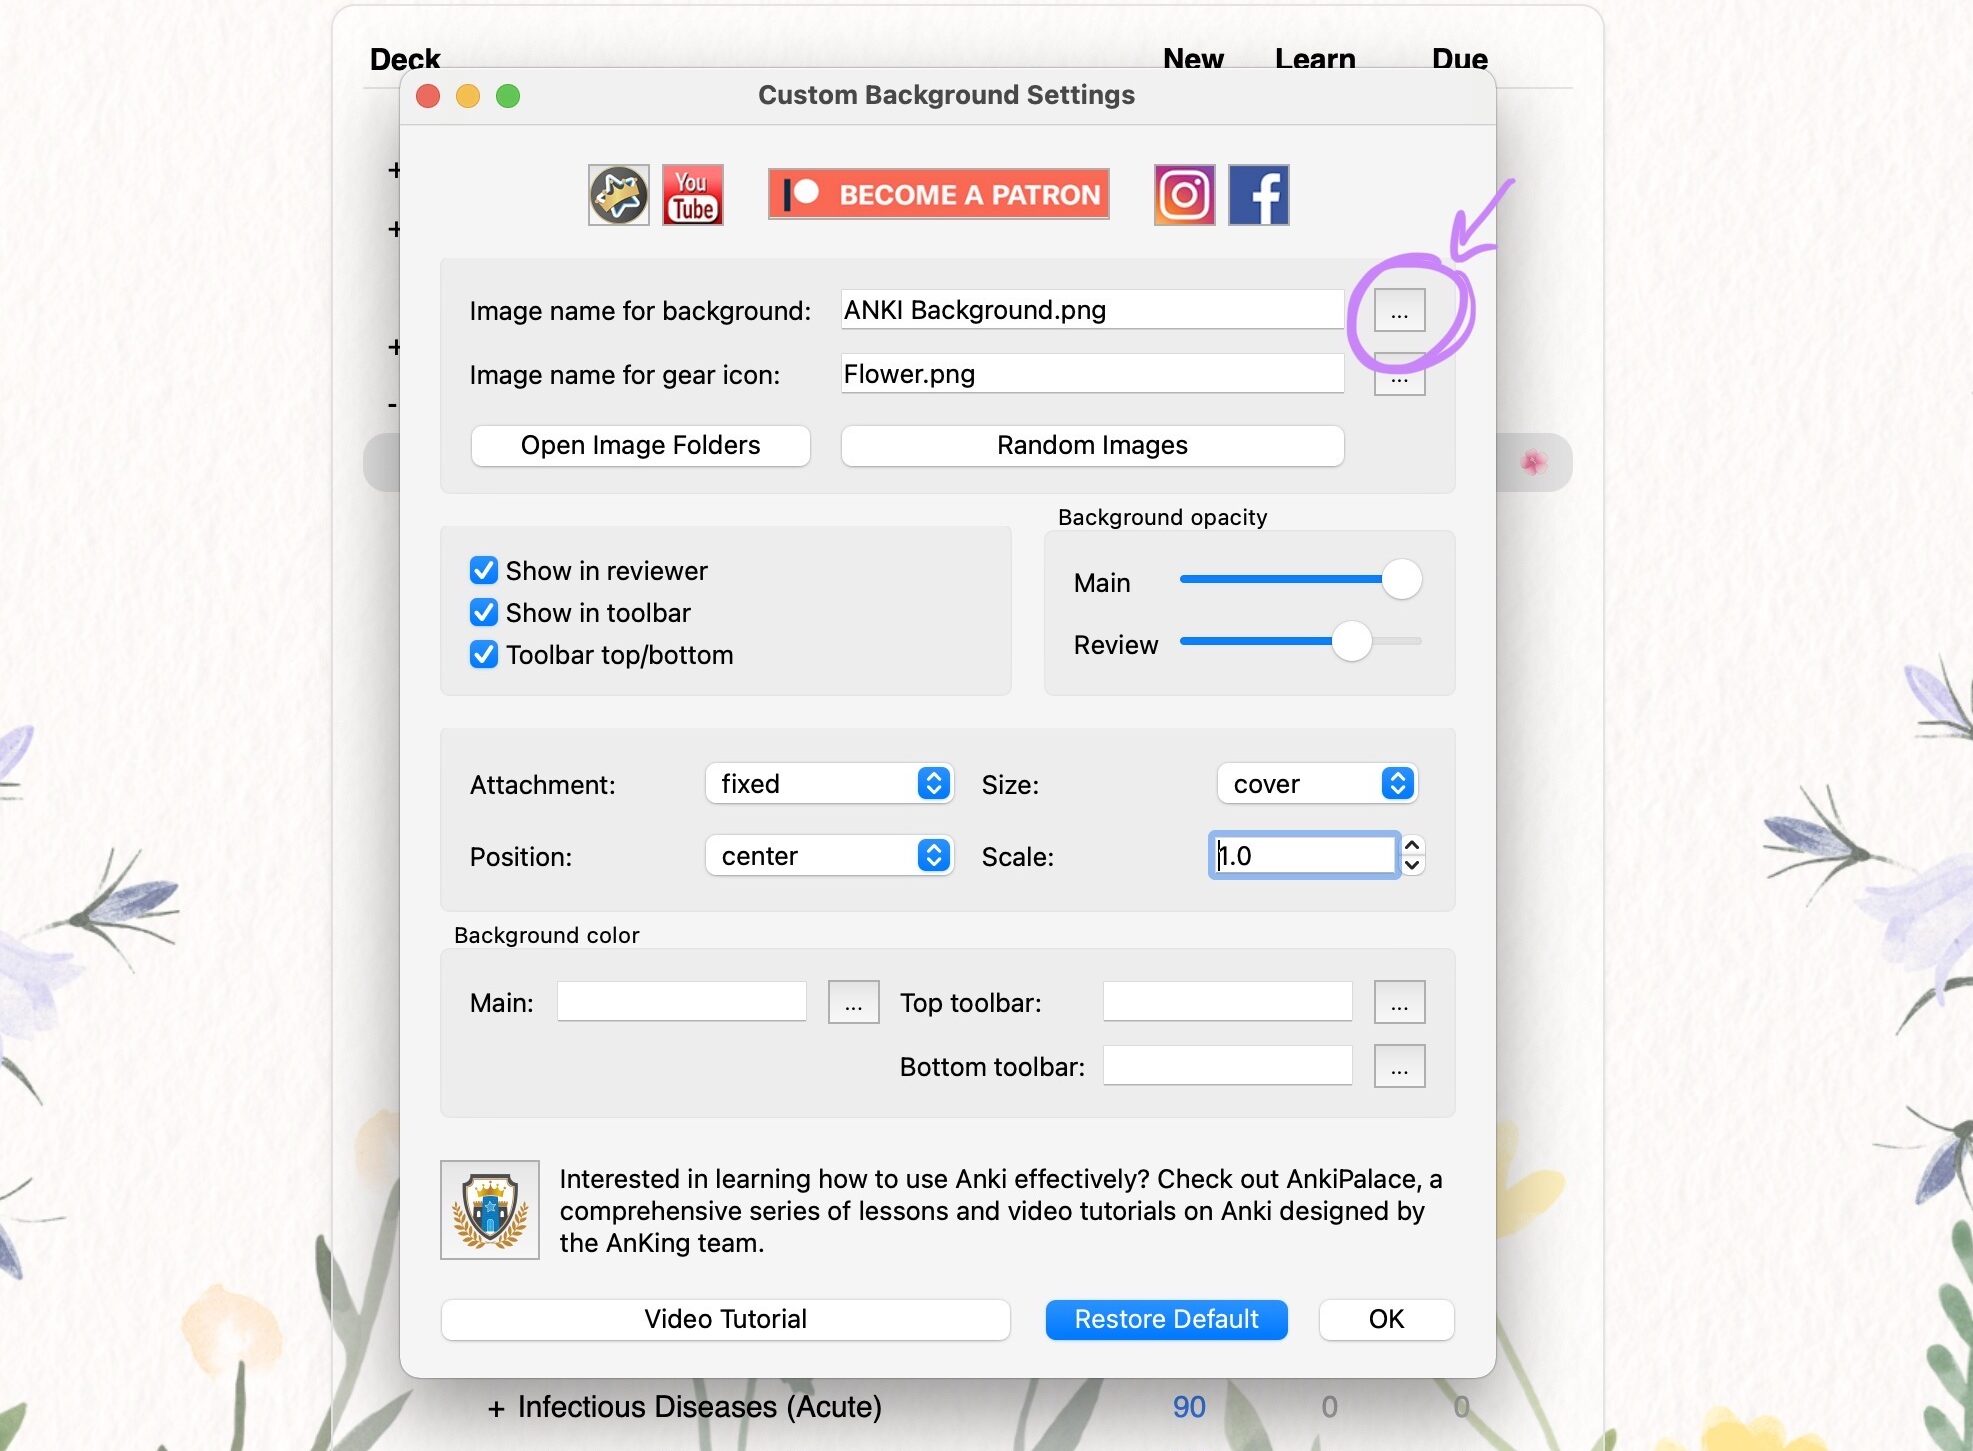
now go back to the Custom Background settings Box and where it says “image name for background” at the top you want to click one the ‘…’ button on the right this will open the background images folder and you can select your image.
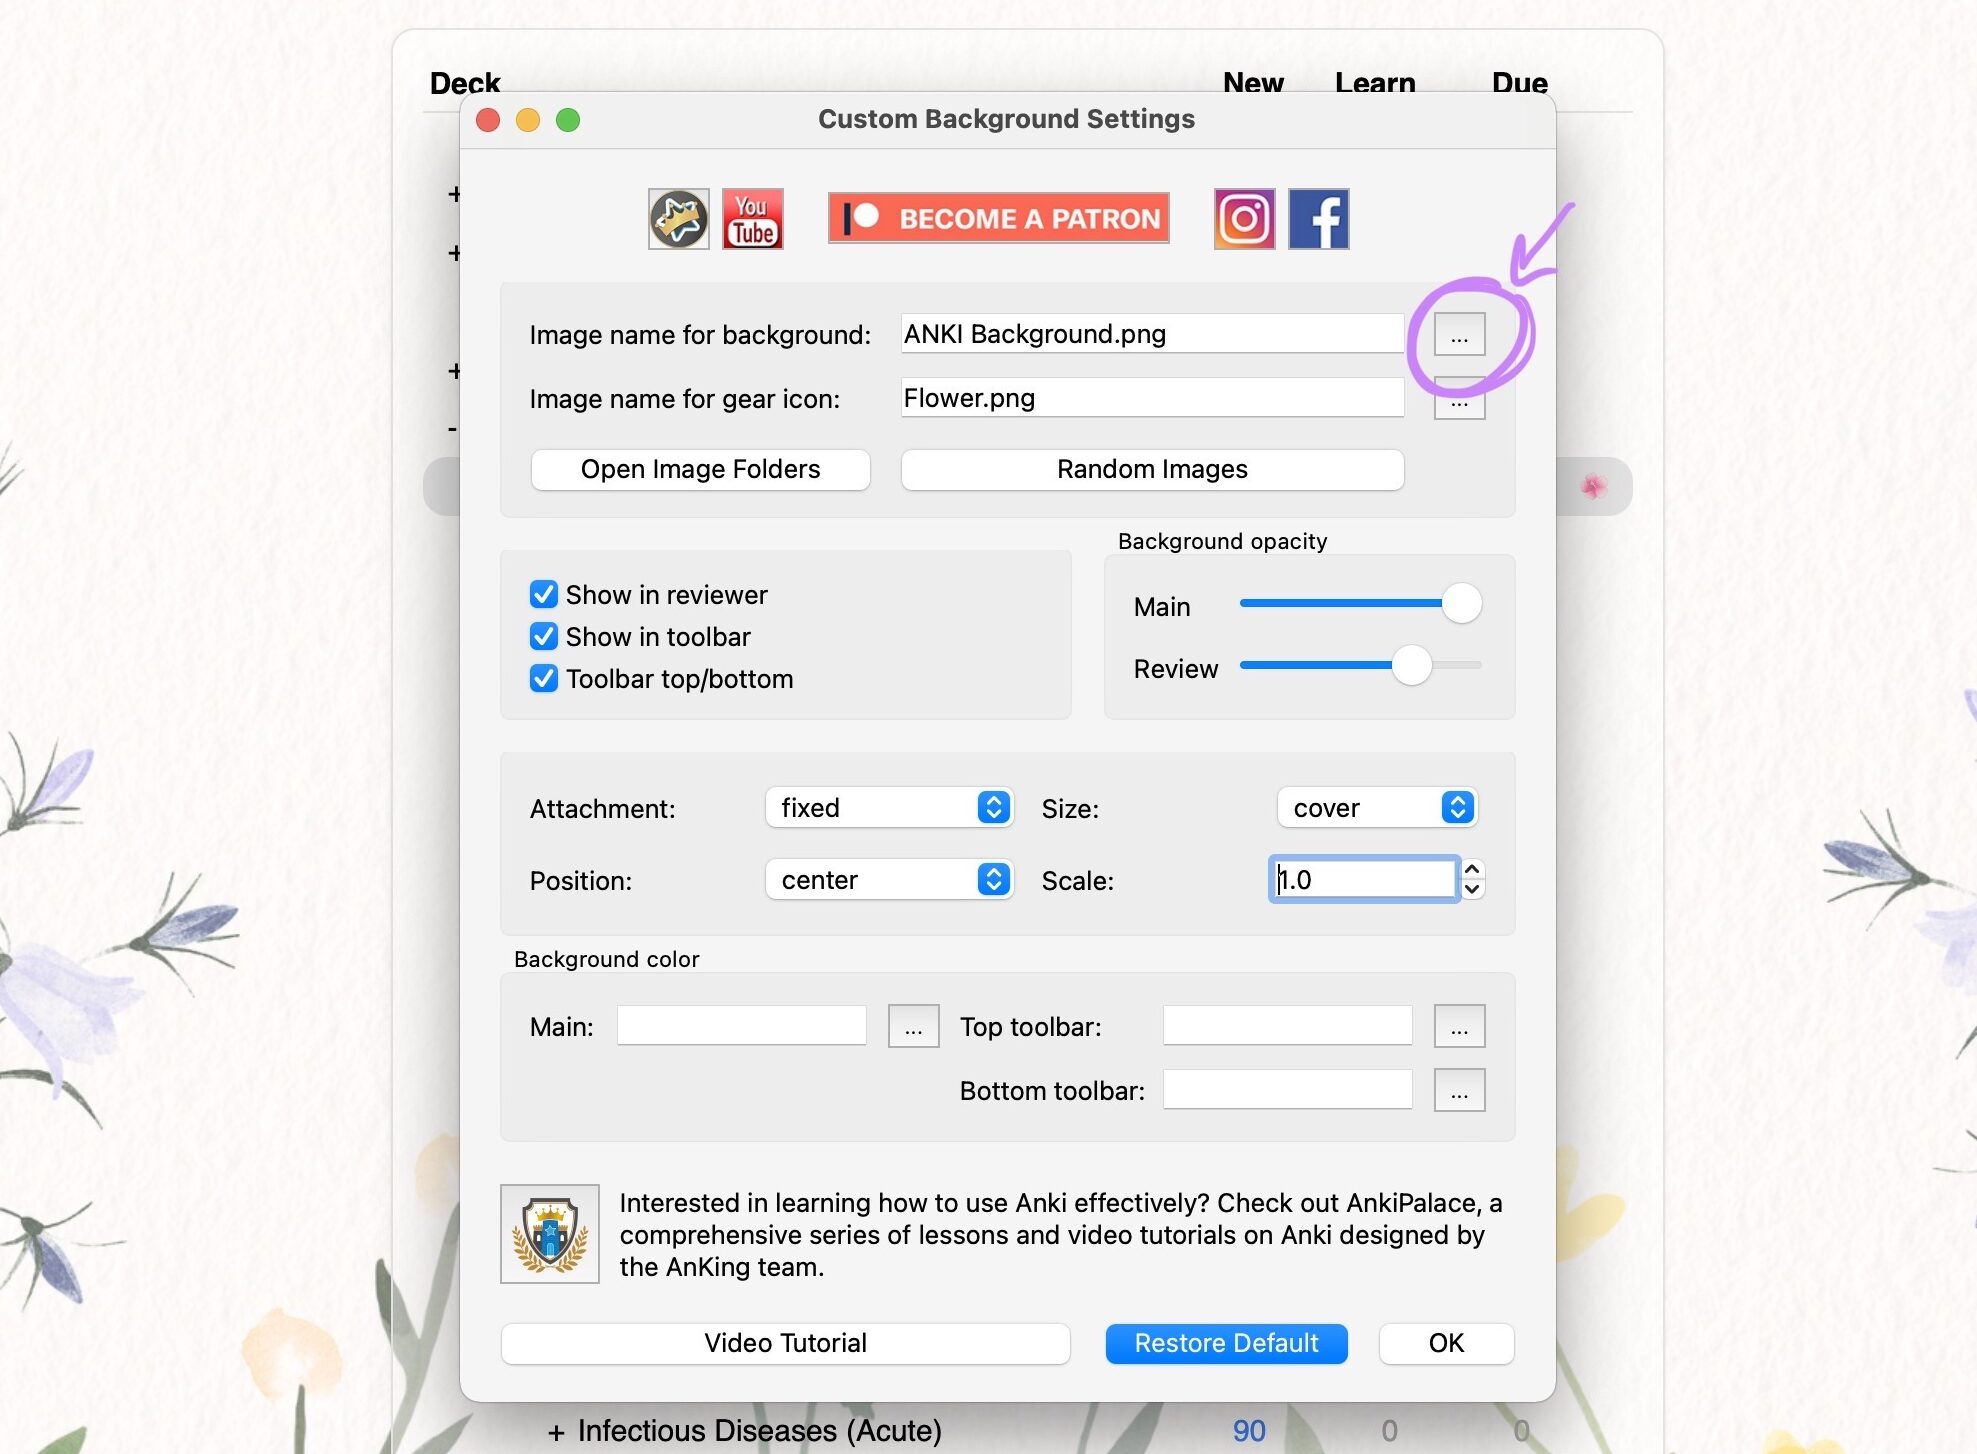
You can play around with the settings, but if you have kept the top edge of your design clear and want the background to extend into the toolbar you need to deselect ‘Toolbar top/bottom’
I have the background opacity reduced a little bit on the review (where you read your cards) but set to normal for the main page.
Heres what it looks like on the main page and when reviewing cards:
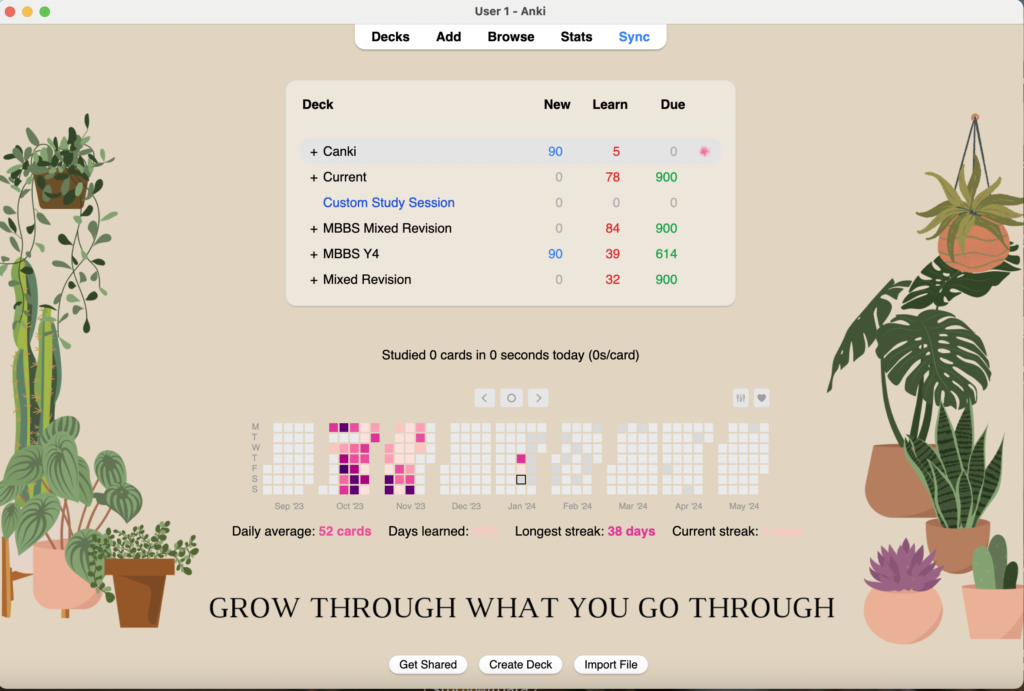
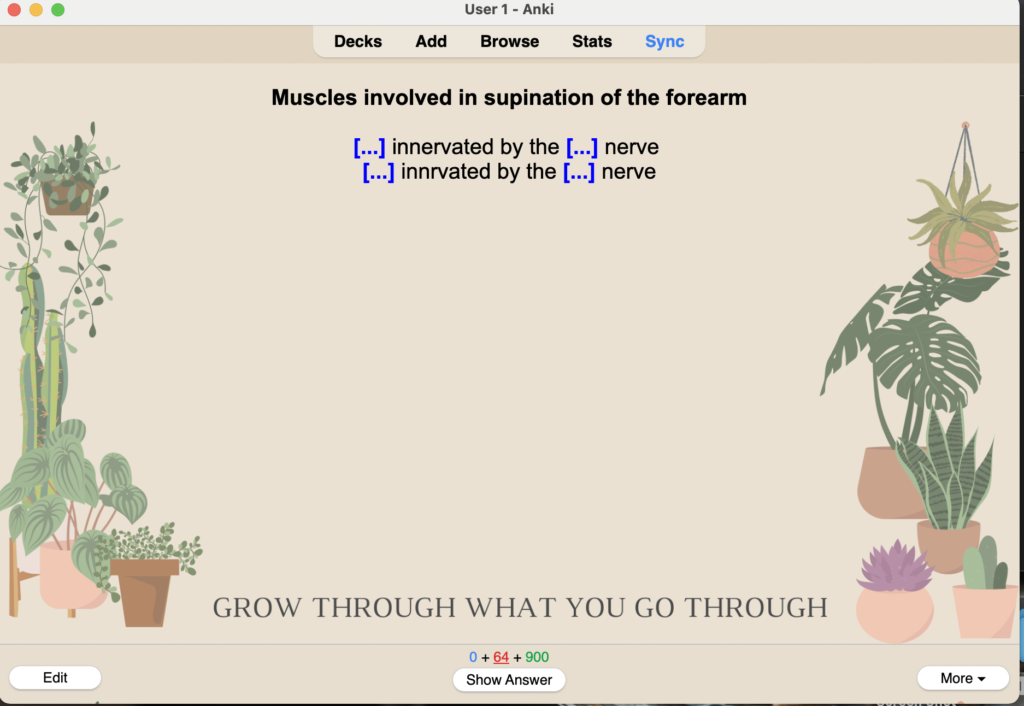
And that’s it! Now you have a cute, aesthetic Anki Background. I hope this tutorial was useful, if you have any questions pop them in the comments down below!


