How to Sew a Single Welt Pocket
The welt pocket is beautiful tailored pocket style that makes a great design feature. Single welt refers to the style of the welt pocket, having a single fold of fabric visible within the pocket opening versus a double welt pocket which has two folds within the stitch line of the pocket.

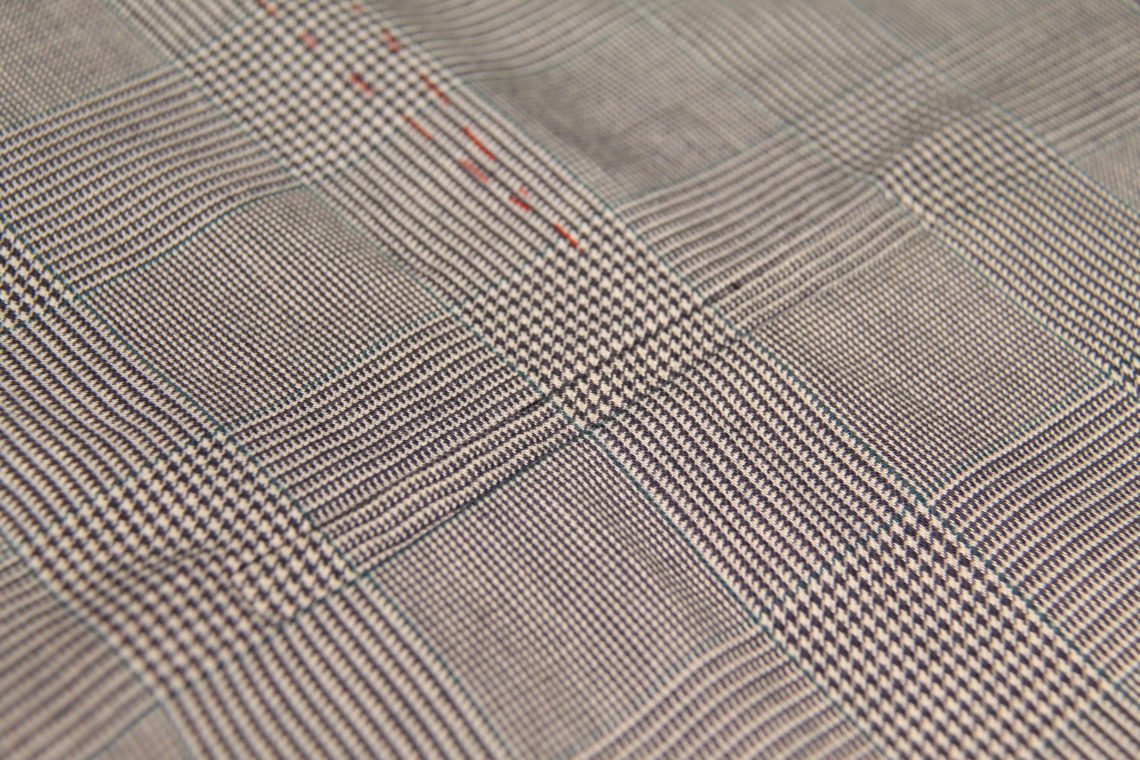
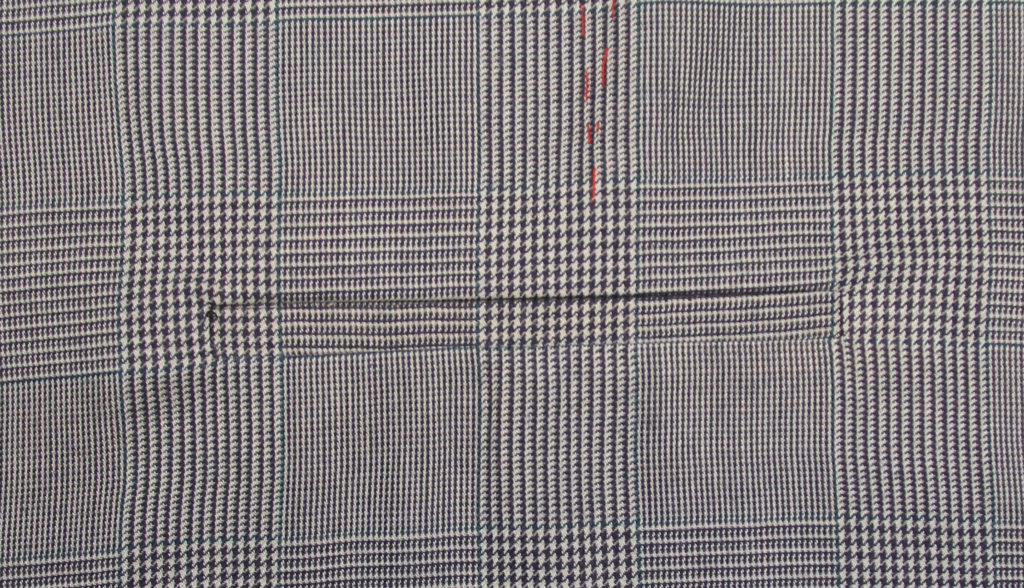
A few years ago I made a corset out of some really gorgeous grey suiting and I wanted to make a nice pair of dress pants to match. Unfortunately I only had a limited amount of the suiting left so I decided to make a mock up of them out of some fabric in my stash. I ended up loving this houndstooth fabric that I picked out so much that instead of a mockup I ended up making a finished pair of pants (they don’t match my corset but oh well!)
I wanted a really sleek look with these pants so I decided to do some welt pockets on the back (and have no pockets on the front). I will admit the first time doing a welt pocket is a little intimidating but once you’ve done it the process is actually quite straightforward. The most finicky part is actually the cutting, if you are nice and precise with your cuts you will end up with nice neat, square corners.
New for me on this project was pattern matching a welt pocket (ahhh!). It took me a while to get my head wrapped around how to do the pattern matching but it turned out really nice in the end!
To make a welt pocket you will need:
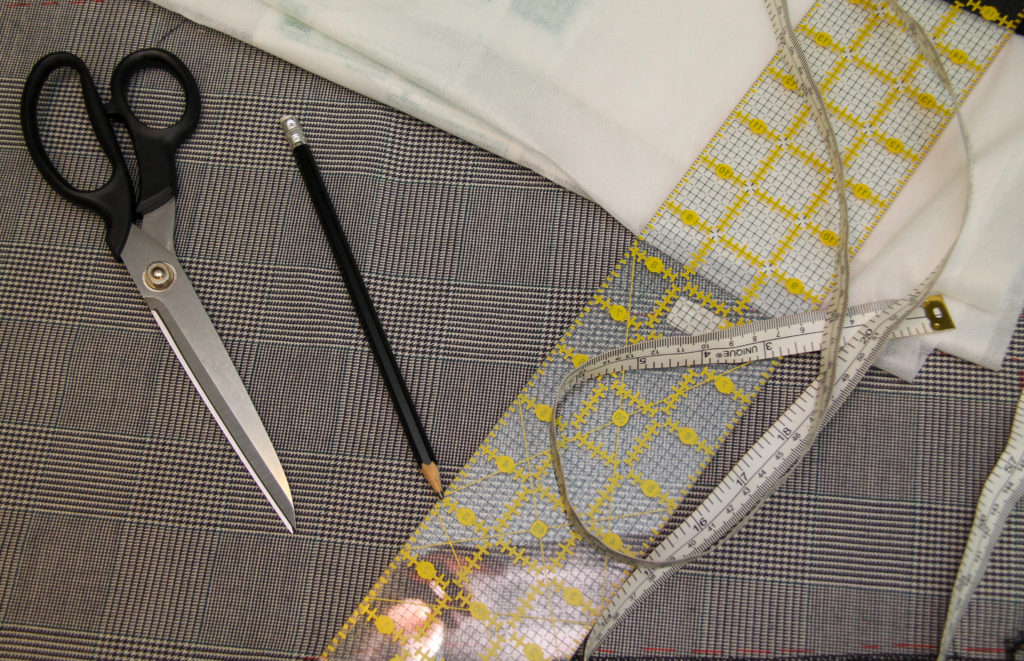
- Fabric shears or a rotary cutter
- Small scissors (embroidery scissors or thread snips)
- Pins
- Pencil
- Chalk
- Measuring tape or ruler
- Straight edge
- Fusible interfacing
- Fabric for the welt (either matching your fashion fabric or in a contrasting colour)
- Lining (optional)
Step 1: Cutting Fabric and Interfacing
To start you are going to want to cut all your fabric and interfacing to size. I am going to explain all the measurements so that you can adjust them to the size of pocket you want but if you want to just follow along with my measurements you will need:
- 7cm x 18cm fusible interfacing
- 14cm x 18 cm fusible interfacing
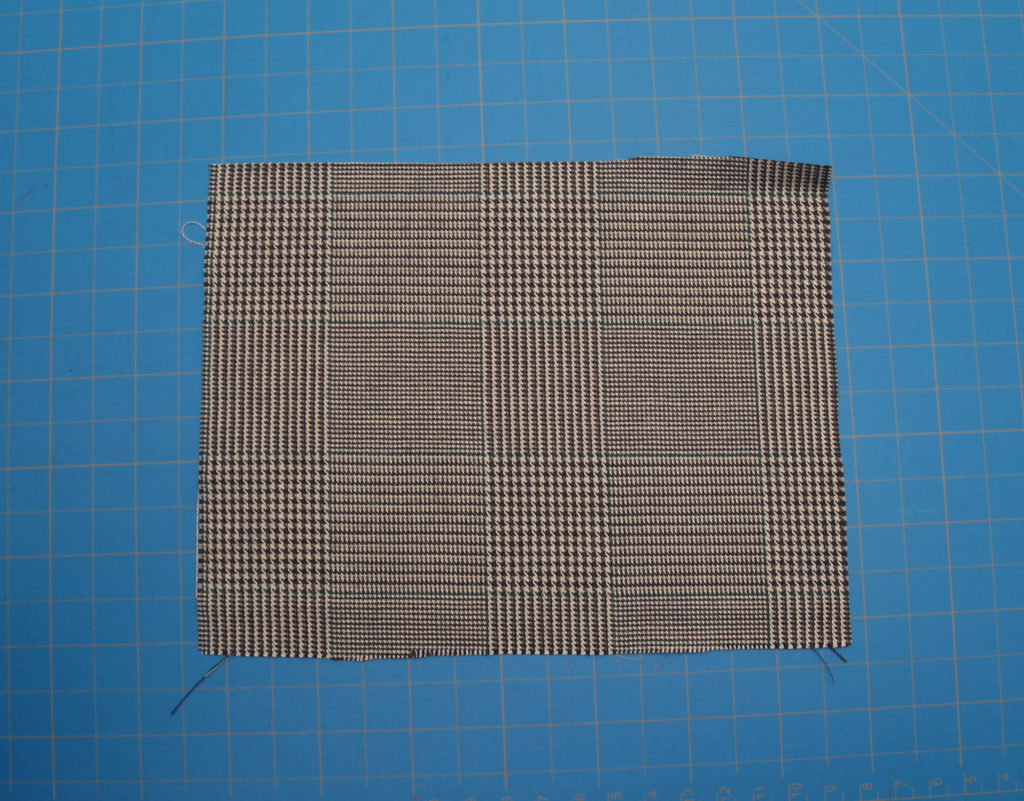
- 14cm x 18cm welt piece (fashion or contrast fabric)
- 16cm x 20 cm lining fabric (optional)
For one single welt pocket you will need a piece of fusible interfacing that measures 7cm x (the length of the pocket + 4cm). I wanted my pocket to have a finished width of 14 cm so I cut a 7cm x 18cm piece of interfacing. This interfacing will be attached to the inside of garment.
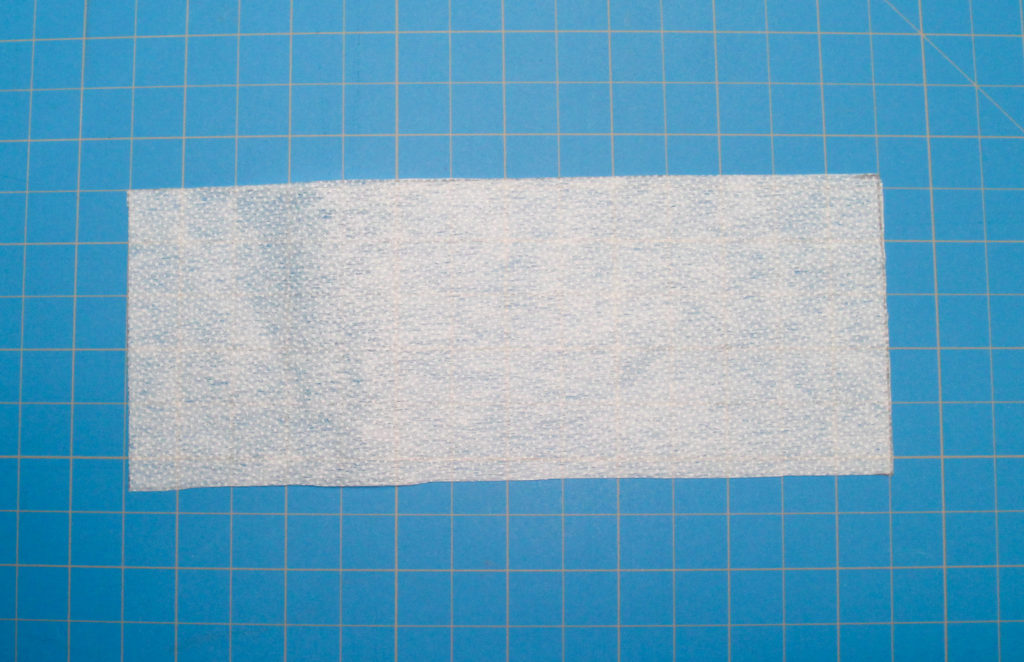
Next you will need a piece of fabric that measures 14cm x (the length of the pocket + 4cm), so with my measurements I cut a piece 14cm x 18cm. This piece needs to be interfaced so also cut a piece of interfacing to the same measurements.
The last thing you need to cut is the lining for the pocket. Your lining should measure double the depth you want your pocket to be and have a length that is the length of your pocket + 2cm. The pocket lining is optional as you can finish the pocket without it, however you end up with a shallower pocket. I wanted a pocket that I could actually fit my phone in so that is my I decided to add it to mine but I will explain how to finish it both ways.
Step 2: Interfacing and pocket placement.
Start by determining where on your garment you want your pocket to sit. Drawn a line on the wrong side of the fabric using chalk that is the length of your pocket. This line corresponds to the pocket opening/top of the welt.
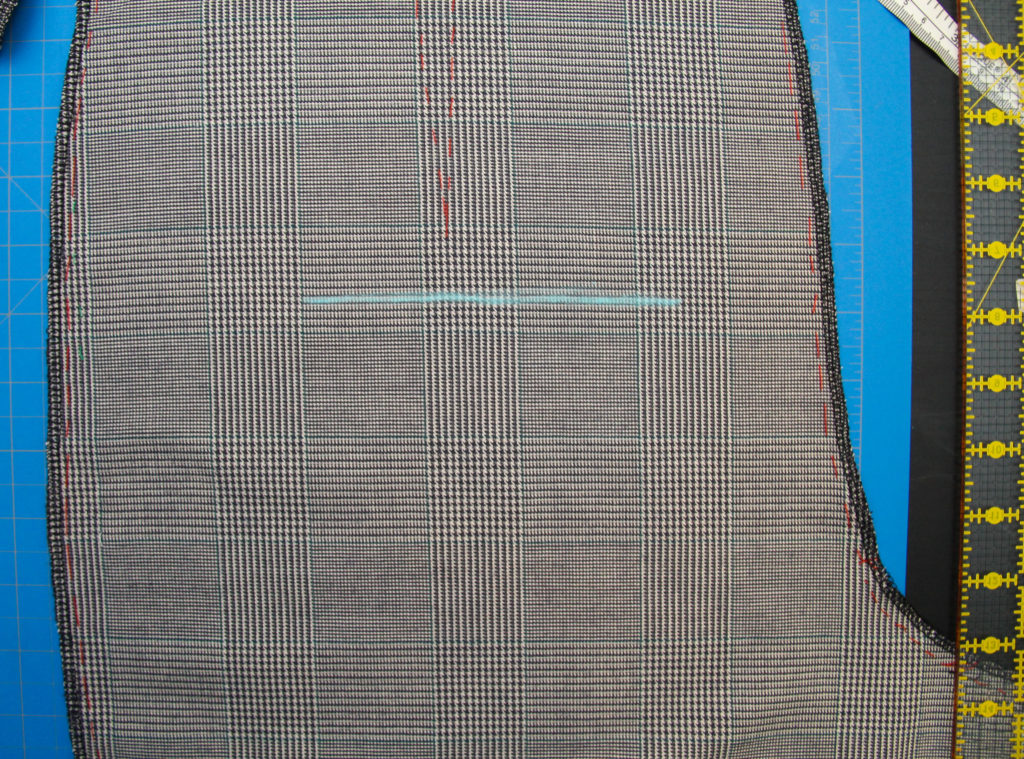
Tip: Sew your pocket on the individual pattern piece before you assemble your garment
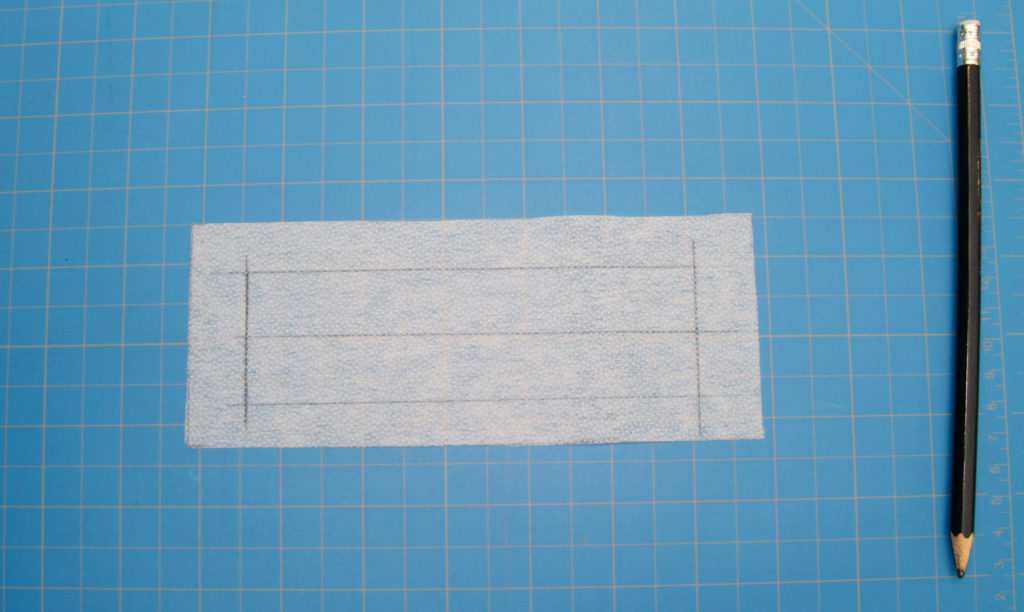
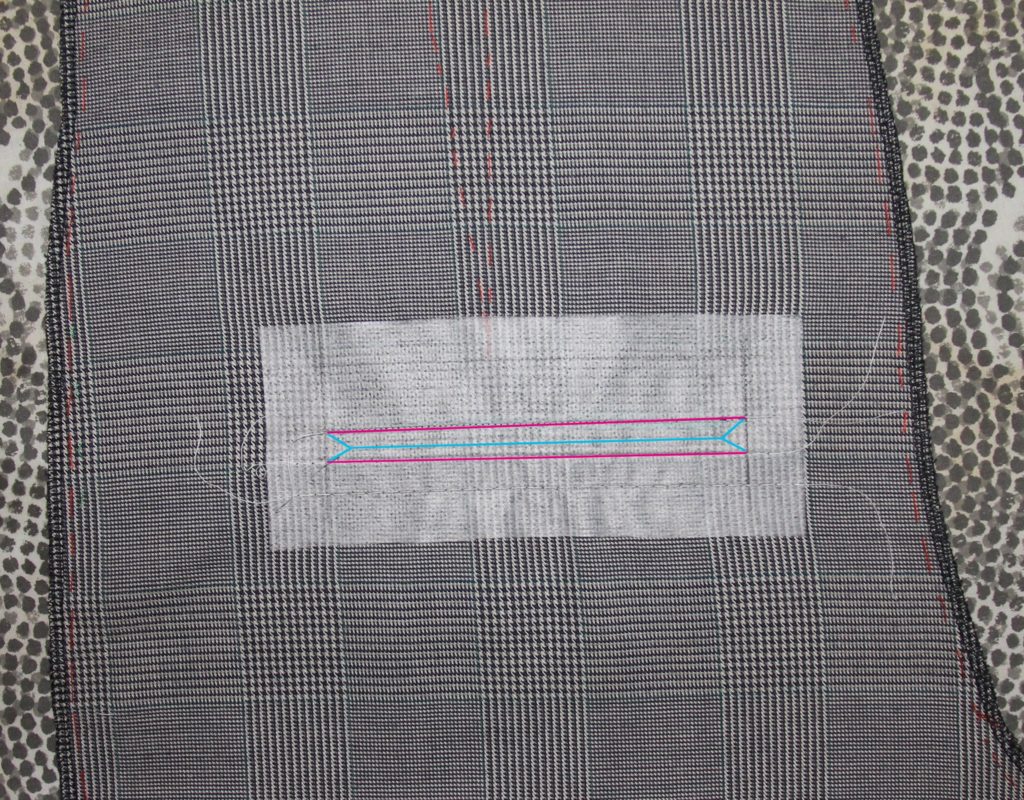
Next take the first piece of interfacing you cut (7cm x 18cm) and using your pencil and a straight edge drawn a horizontal line through the centre of your interfacing. Next you are going to drawn two parallel lines (one above and one below the line you just drew). The spacing of these lines determines the finished width of the welt. I like the look of a 1cm wide pocket so I drew my lines 1cm above and 1cm below my first line. Finally you want to drawn to vertical lines 2cm from the edge (one on each end)
Once you are done your interfacing will look like this:
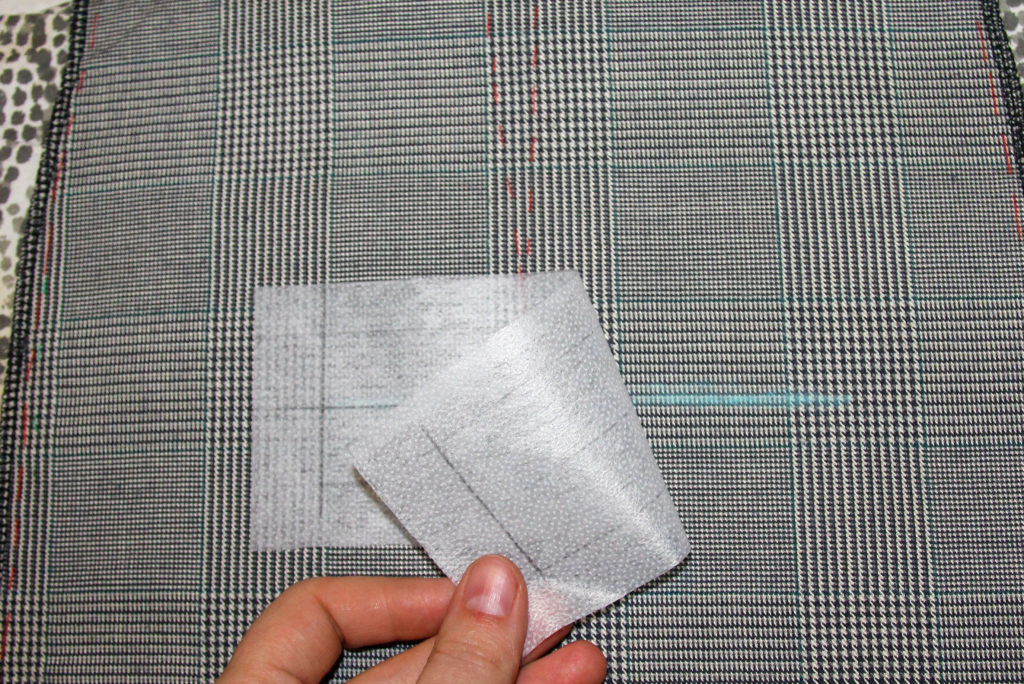
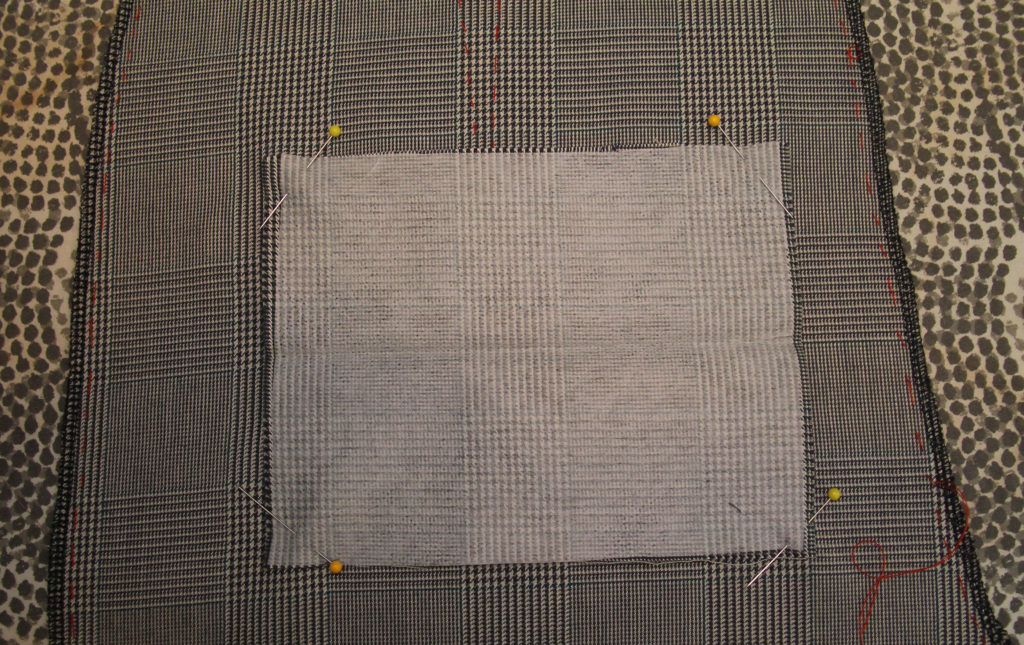
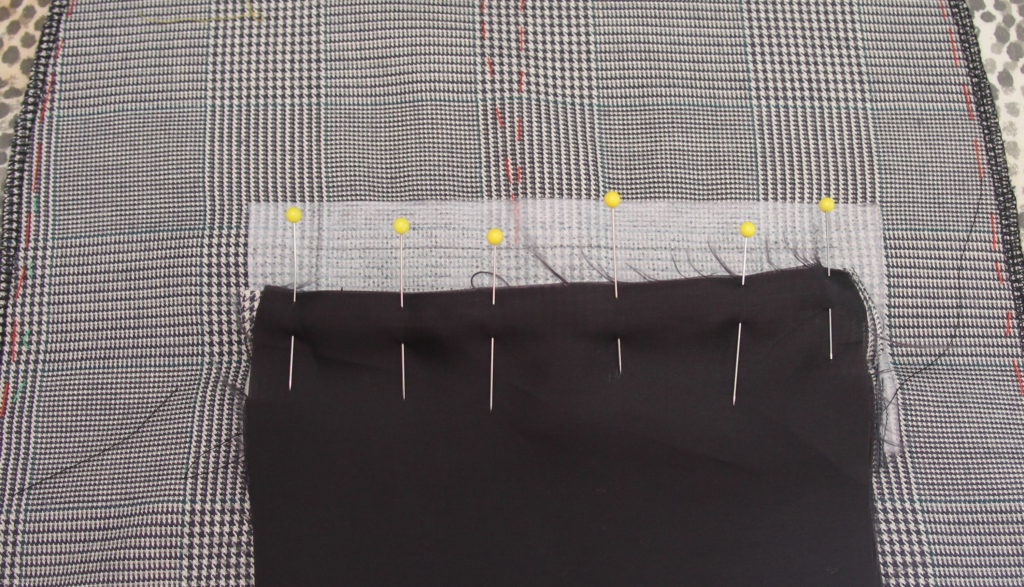
Next you want to fuse the interfacing to your garment. Start by lining up the top line of the three horizontal lines with the chalk placement line on the wrong side of your garment piece and pin in place. Follow the directions for your fusible interfacing to fuse it to the fabric. At this point you can also take your welt piece and fuse the corresponding interfacing to its wrong side.
Step 3: Attaching the Welt
Now that you fabric is prepped you can start sewing!
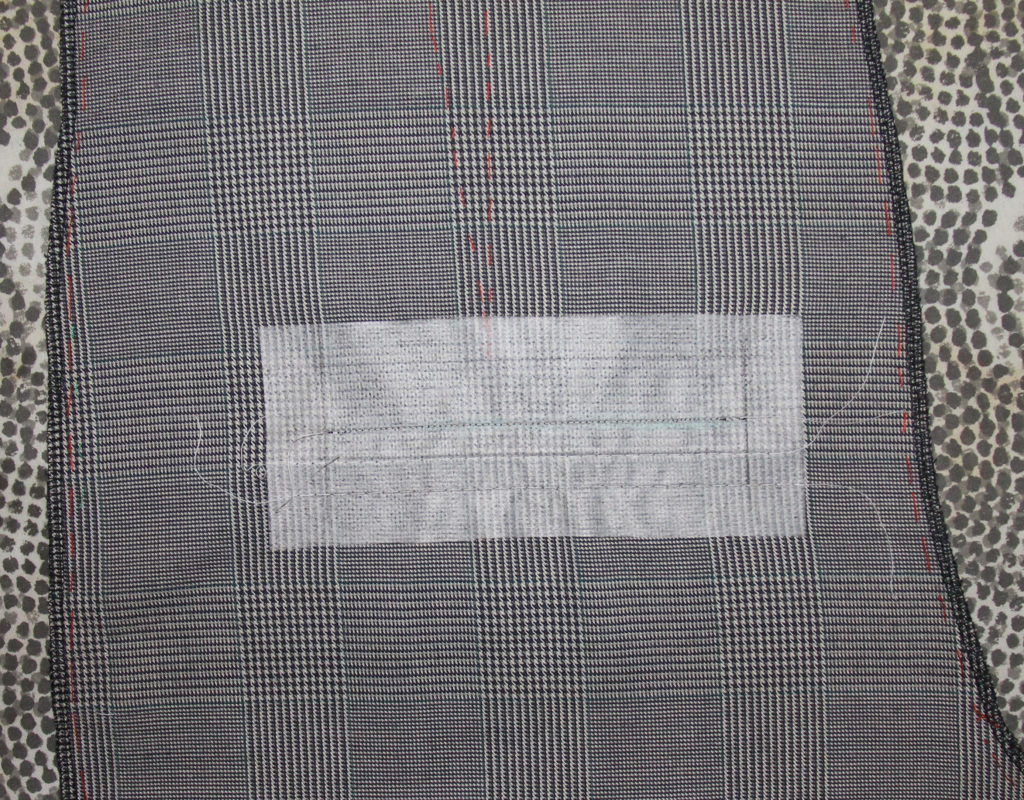
First you want to stick a pin through the cross where the centre line meets the vertical line on each end of the little grid you drew on the interfacing like so:
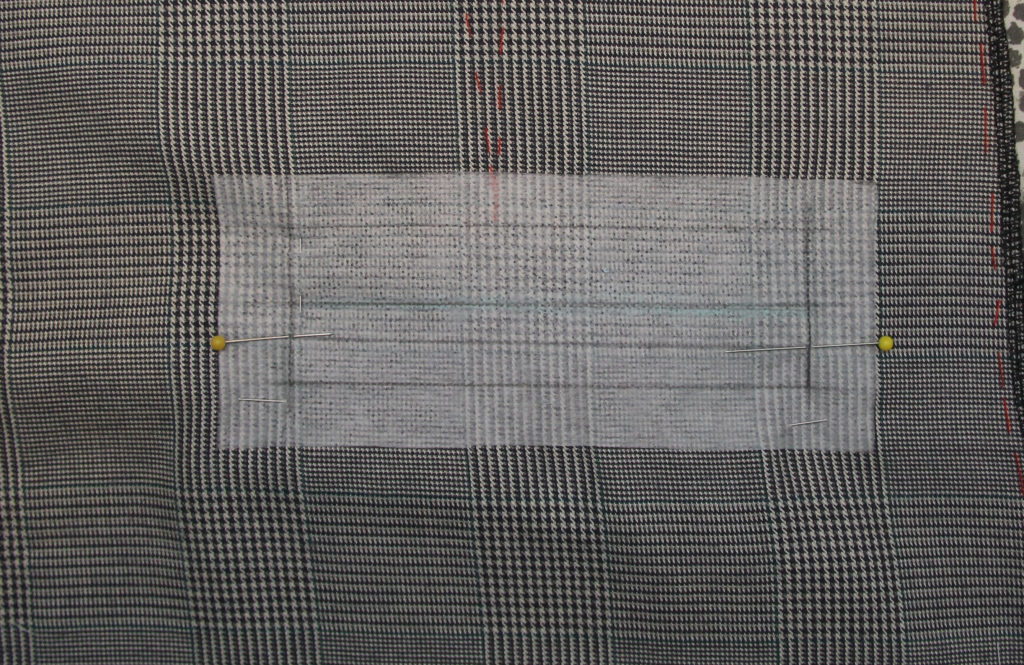
New you are going to take your welt piece and fold it in half and press it so that you have a crease going across it horizontally. Next you are going to line the fold up with where you can see the pins from the RIGHT SIDE of the fabric. Once its lined up open the welt piece so that you have right sides together and pin it in place.
Then from the inside of the garment you are going to sew a line of basting (set you machine to the longest straight stitch) following the top and middle lines. If you are trying to pattern match take this time to check that you pattern is lined up on the right sides. I apparently forgot to take a picture of this but if you are confused you can see the stitch lines in the next step.
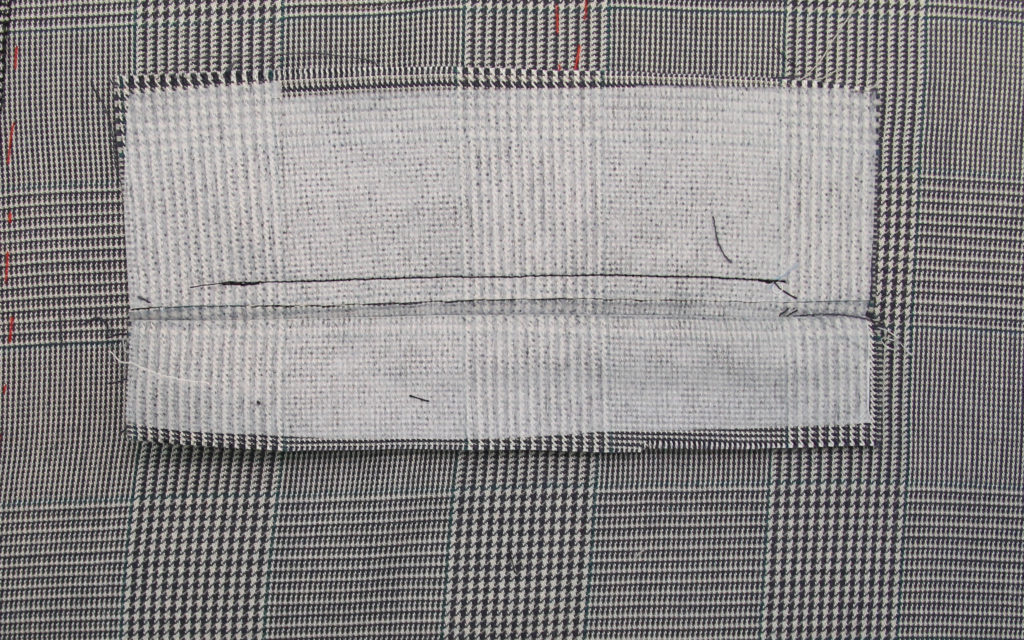
Now you want to press the welt piece up against the bottom (middle) line of stitching.
Then from the inside again and with the welt piece still pressed up you are going to permanent stitch (don’t forget to backstitch) along the top and middle lines, and ending precisely at the vertical lines you drew.
Step 4: Turning the Welt
Now we want to turn the welt piece from the outside to the inside of the garment.
Using your fabric shears you are going to cut just the welt piece in a straight line between the two permanent stitch lines.
Then you need to cut the opening in the garment piece. The is where you want to use your smaller set of scissors. Starting from the middle you are going to cut a straight line between the two permanent stitch lines but DO NOT go all the way to the ends. Stop about a cm away from the vertical line you drew. Then you are going to cut a little “Y” shape into the corner. The art of the “Y” reach towards the stitch lines the closer you can get the better but do not go past the vertical line you drew! (this is what makes the corners of your welt nice and neat and crisp so the more precise you are the better it will look).
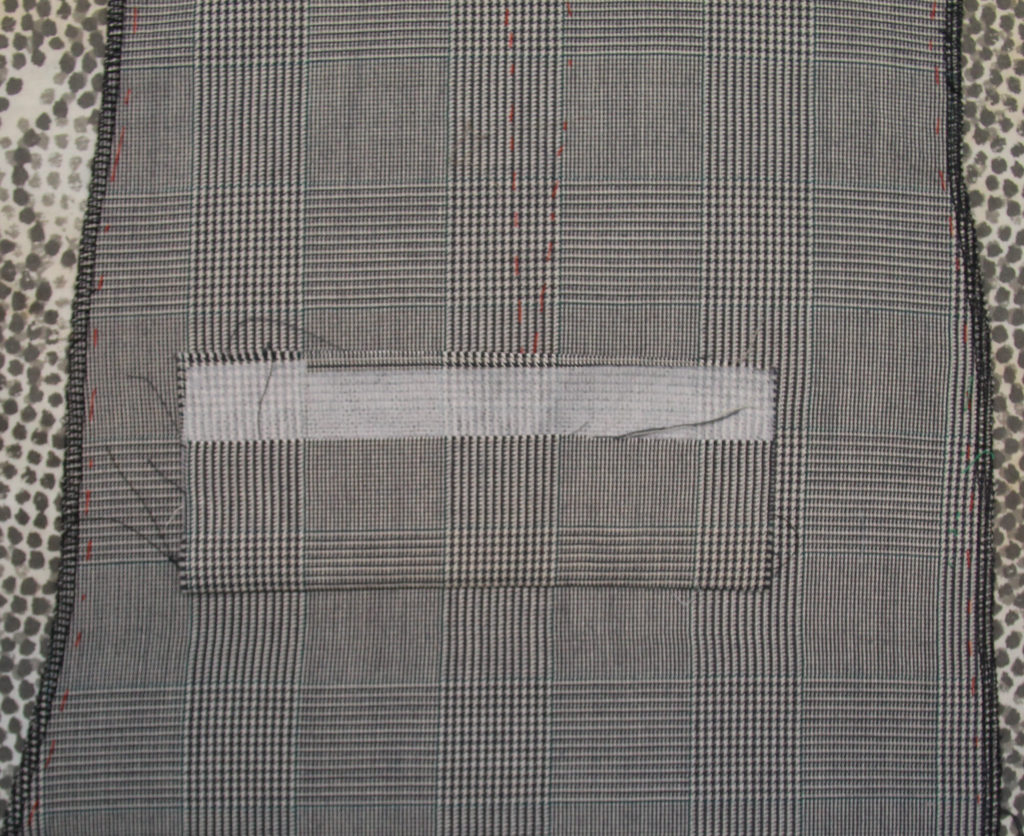
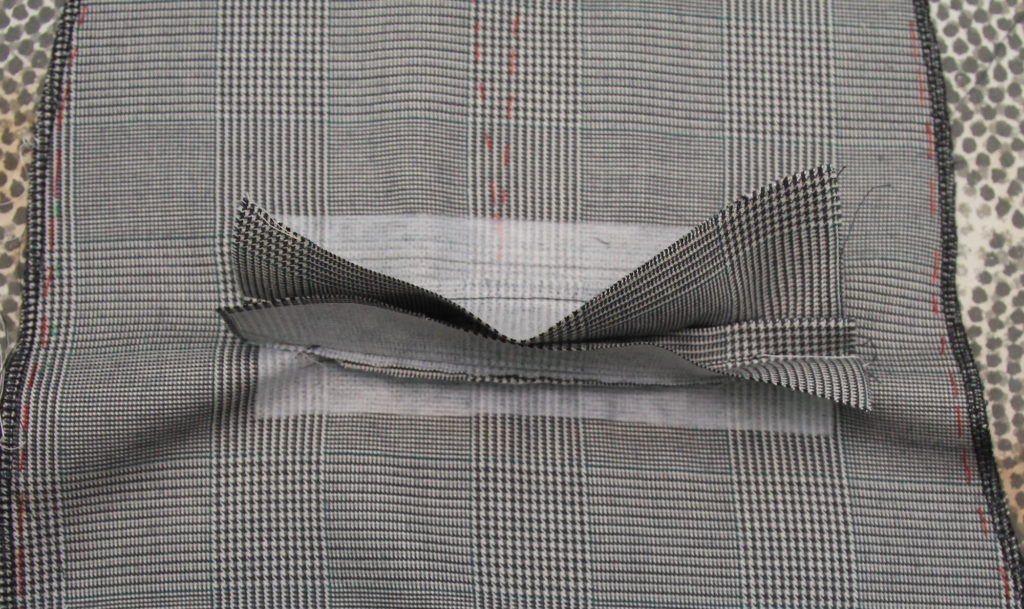
Once you’ve finished cutting take the welt piece and just kinda shove it through the hole you made until it looks like this:
Step 5: Securing the Welt
At this point you can adjust the position of the welt a bit before securing it in place. You want to make sure the top edge of the fold lines up with the top seam line and that the welt is laying flat. Once your happy with it give it a good press.
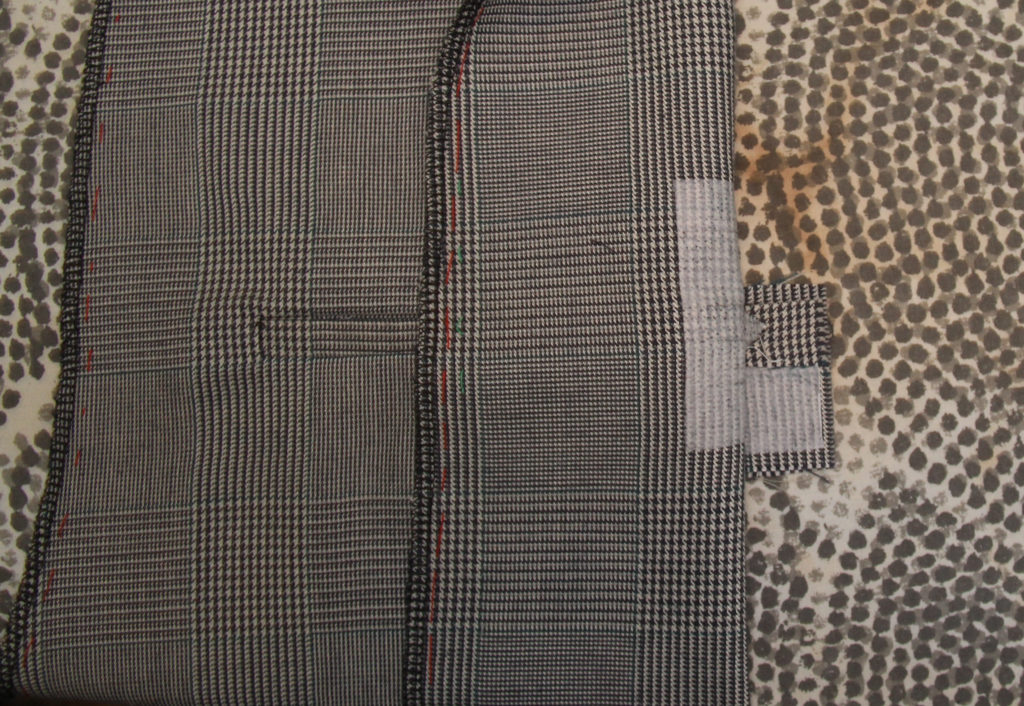
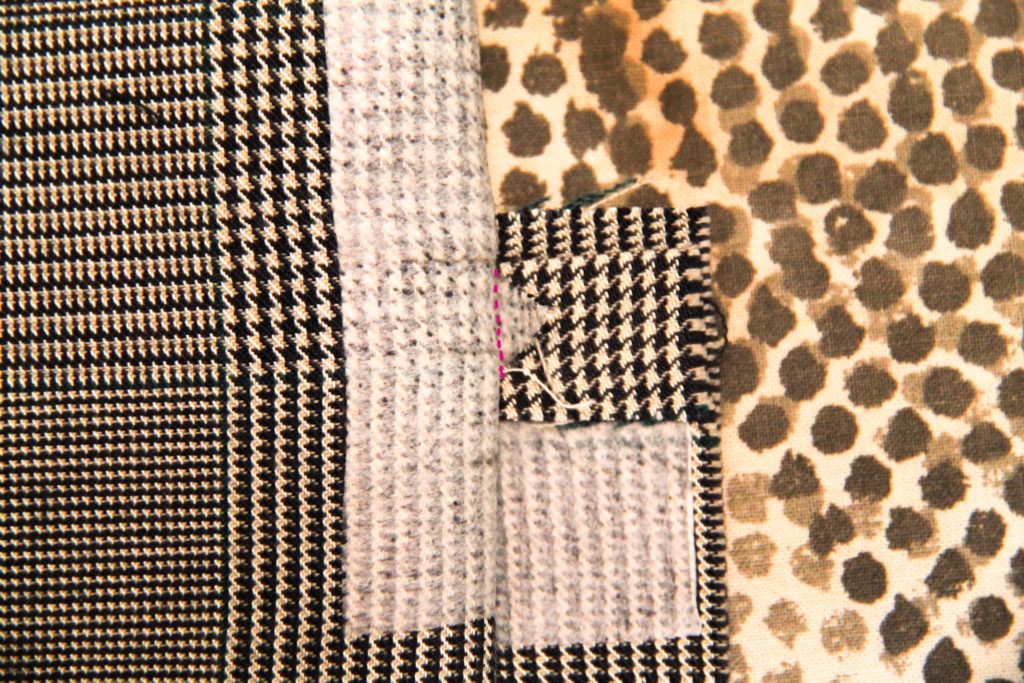
Next you are going to fold back the garment piece so you can see the little triangle that you cut earlier:
Then you are going to stitch through the triangle as close as possible to the stitch lines without going past them. (Pink dotted line is your stitch line)
Give it another press to make sure everything’s nice and neat (if you got any small puckers you can usually press them out).
Step 6: Finishing the Pocket
Like I said earlier you have two options to finish up the pocket. If you are ok with having a shallow pocket you can just stitch around the edges of the welt piece and you’re done.
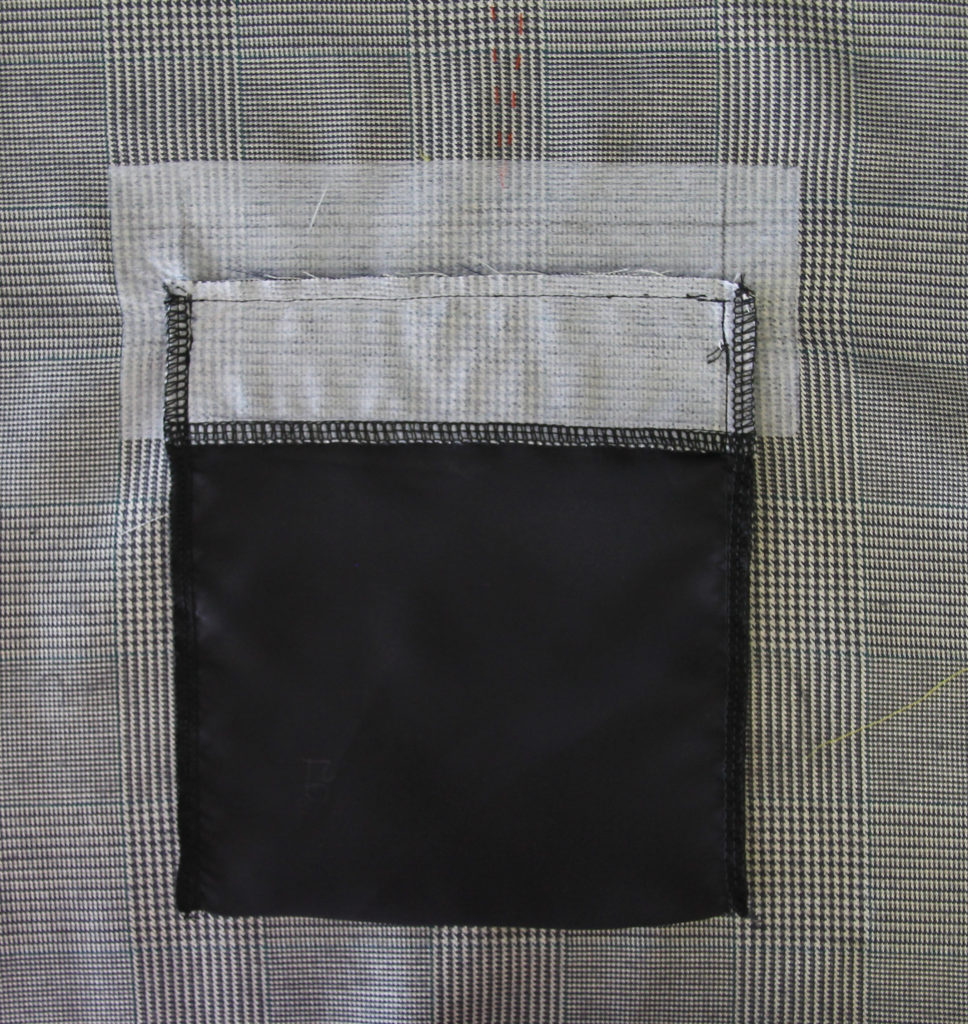
For this particular project I wanted pockets I could actually fit stuff in as I have no other pockets in these pants. So to do that I attached an extra lining piece. Start by folding your lining in half lengthwise and pressing it. Then you are going to line up the lining with the welt piece like so:

Pin the short ends to the ends of the welt piece and stitch together. I also serged these seams as the lining I used frays very easily.
Then stitch the sides close from the top of the welt piece down to the end of the lining.

Again I finished everything off by serging the edges.
I hope everything in this tutorial made sense but if you have any questions drop them down in the comments. Do have patience with yourself as you learn to do these (my first welt pocket definitely did not look this neat) and remember you can always make a sample before starting in on your good fabric.
Now go forth and sew!


