
How to Make Your Own Scrunchies
I have been looking for something to do with my scrap material for a while. I always save all my scraps but then I never know what to do with them so I now have a bin full of little bits of fabric. My friend suggested a little while ago that I try making scrunchies. I thought it couldn’t be too hard … and I was right! Turns out making scrunchies is super easy and now I can’t stop lol.
Since they are so easy to make I thought I would do a tutorial, and show you how I do it so you can make your own.
First things first, materials.
You will need:
- 4 x 26 inch strip of Fabric, (I try and use scraps)
- 7 inch piece of 1/2″ elastic
- Thread
Helpful tools:
- Fabric shears or rotary cutter and cutting mat
- Loop turner
- Pins
- Wonder clips
- Large safety pin
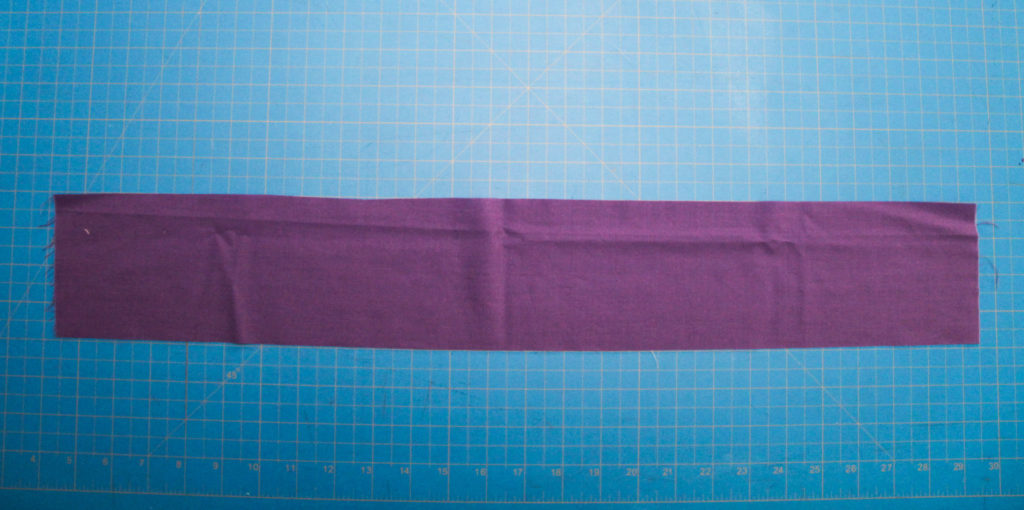
So start you want to cut you fabric into strips that are 4×26″ (approximately). You want the strips to be a minimum of 3x the length of your elastic (I do I little extra to give it a nice bouncy ruffle) and then 4 inches width means your finished scrunchie will be just over 1.5 inches wide.
Not going to lie, I didn’t have any half inch elastic on hand when I started making these, and I didn’t want to go out and buy new elastic so I just cut down the 1 inch stuff I had in my drawer (it seems to be holding up just fine). I choose 7 inches for length because that was the perfect length for the elastic to sit comfortably on my wrist once sewn together. If this is too big or too small for you wrist then just measure by wrapping a piece of elastic around your wrist and then adding about half an inch to an inch for overlap.
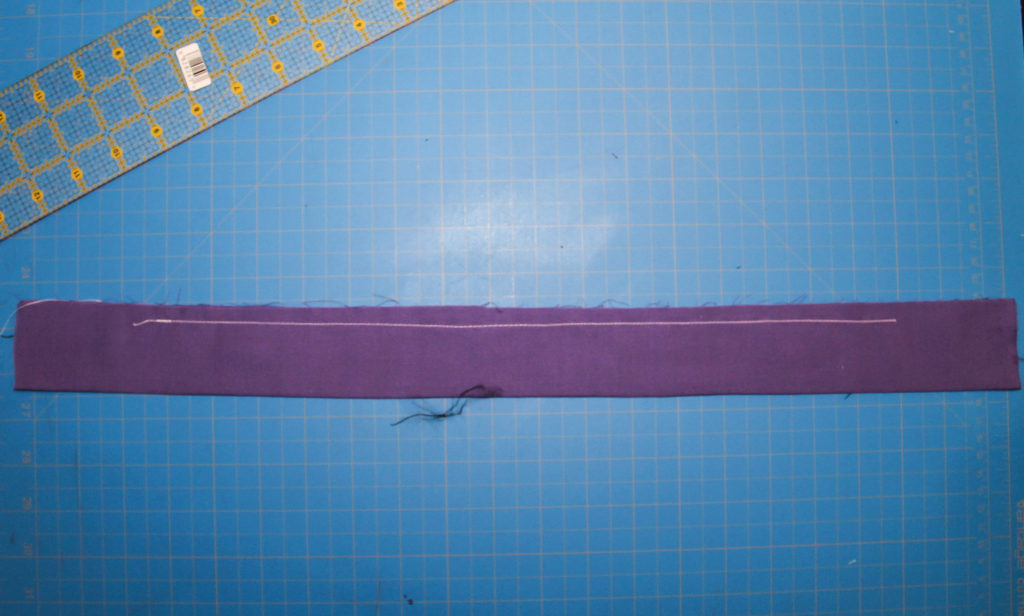
Sewing time! Start by taking your fabric and folding it in half lengthwise. Pin it 2 inches from each end (these are going to be your stitch starting and end points). Start sewing from the first pin (don’t sew over it!), remembering to backstitch. I use about a 1cm seam allowance or use the edge of the foot as a guide, lining it up with the edge of my fabric. Sew all the way down to the second pin, again remembering to take it out and backstitch. It should now look like this:
Now using you safety pin turn the tube you’ve made inside out. I find it helpful to press your seam at this point (including the unstitched portions at the beginning and end.
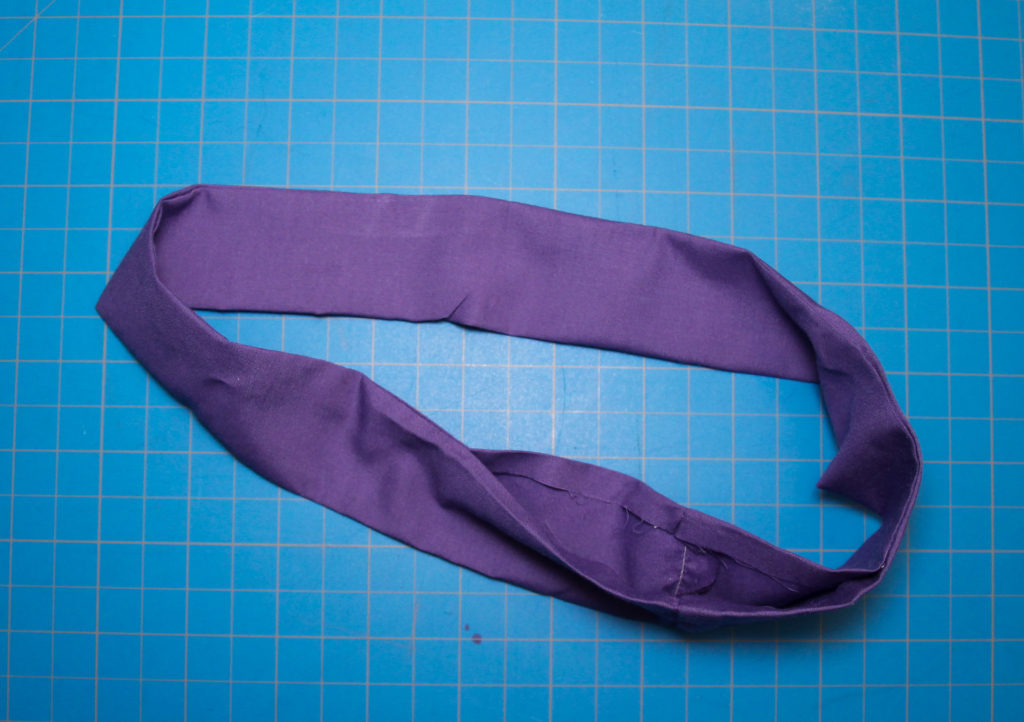
Next you are going to stitch the ends together (this is why you have left 2″ of the seam unstitched). Take both ends and place them right side together, making sure there are no twists, and pin them together. Then stitch straight across, backstitching at each end. I didn’t take any photos of me sewing this but this is what it should look like once you have the ends sewn together:
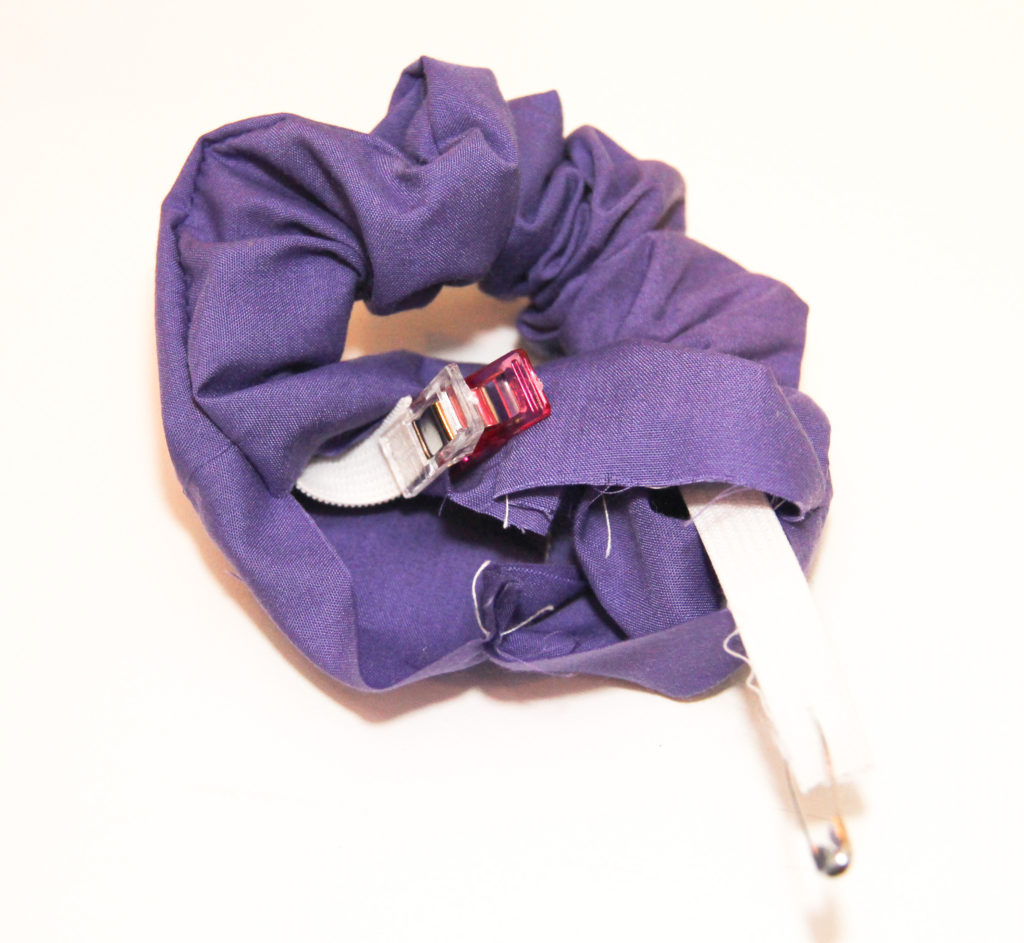
Now it’s time to add the elastic. First pin or clip one end of the elastic to the free edge of the scrunchie to keep it in place. Like so:
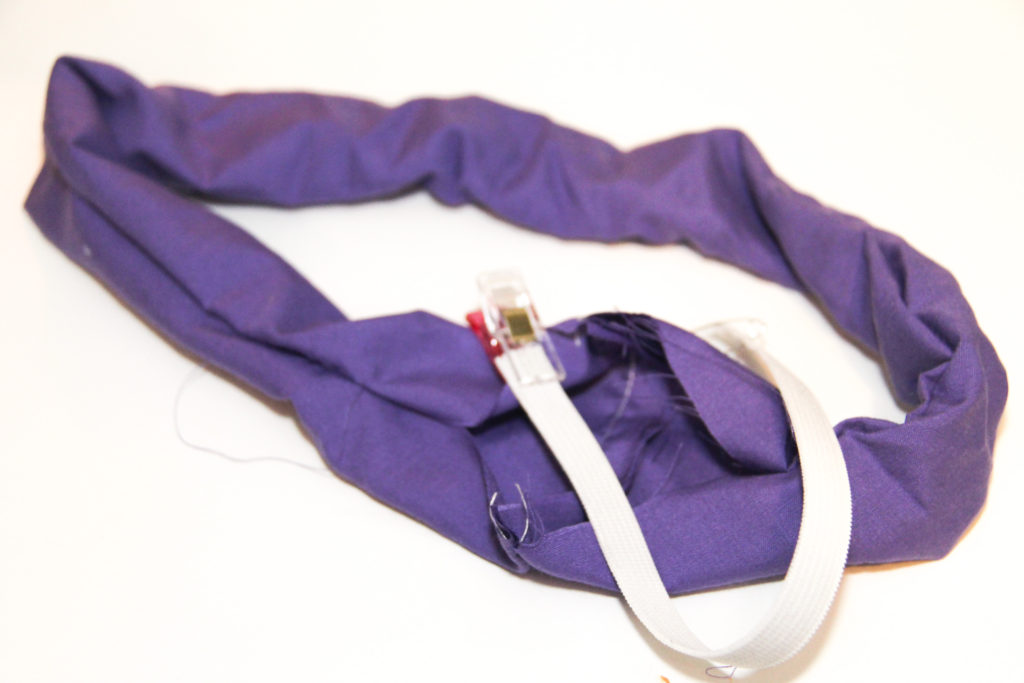
Then place the safety pin in the other end and use it to feed the elastic through the scrunchie.
Once your elastic is all the way through, take out the safety pin and unpin it from the scrunchie fabric. Then you want to overlap the ends of the elastic (~1/2”) and then sew the ends together using a zigzag stitch (I go back and forth a few times to make sure it’s secure.)

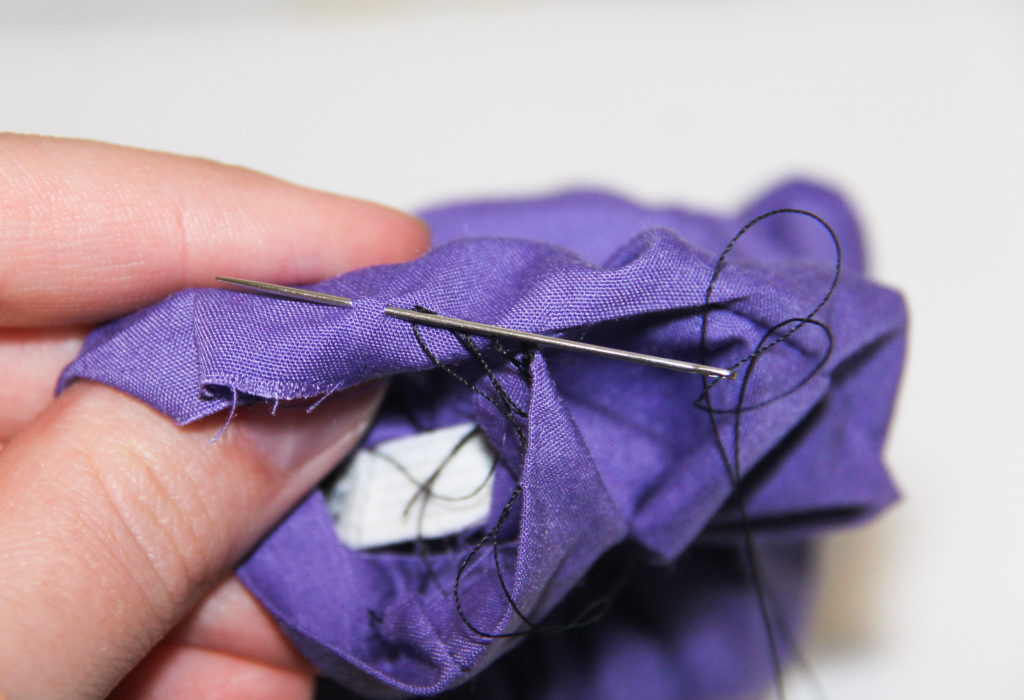
Now for the final step: closing up the opening. I like like to have a nice clean finish on my scrunchies so I do this by hand. Start by tying a knot in one end of your thread. Next anchor the thread to the fabric by doing a few overlapping back stitches close to the start of your seam. Then you are going to use a ladder stitch/invisible stitch to sew the opening closed.What you want to do is alternate your stitch on each side and with every stitch you are only catching the inside seam allowance, I tried to get some picture so you can see what it looks like but if that doesn’t make sense youtube is a wonderful place. Once you reach the end secure your thread with a few knots and trim and that’s it!
I hope you have as much fun making these as I do! And don’t forgot to share your creations with my on Instagram @littlewalletbigdreams


2 Comments
Carmen
What a beautiful blog you have Michaela. I will be suggesting my daughters subscribe as well. I know Taylor will love this post about scrunchies as she will love making her own!
Michaela
Thanks for subscribing Carmen!