How to Sew Origami Style Face Masks
Alright so I have been going back and forth about whether or not to make face masks (Everyone’s doing it and there are a million tutorials out there now) but masks recently became mandatory where I live and so it kinda made sense to start making them. That and my mom was wanting a style that was more comfortable to wear. I am also now slightly obsessed with making masks that match my outfit.

I ended up settling on this origami/folded 3D style because its comfortable to wear and really efficient in fabric usage. One of the nice things about it is that it sits off of your face a bit more than some other styles without looking too weird.
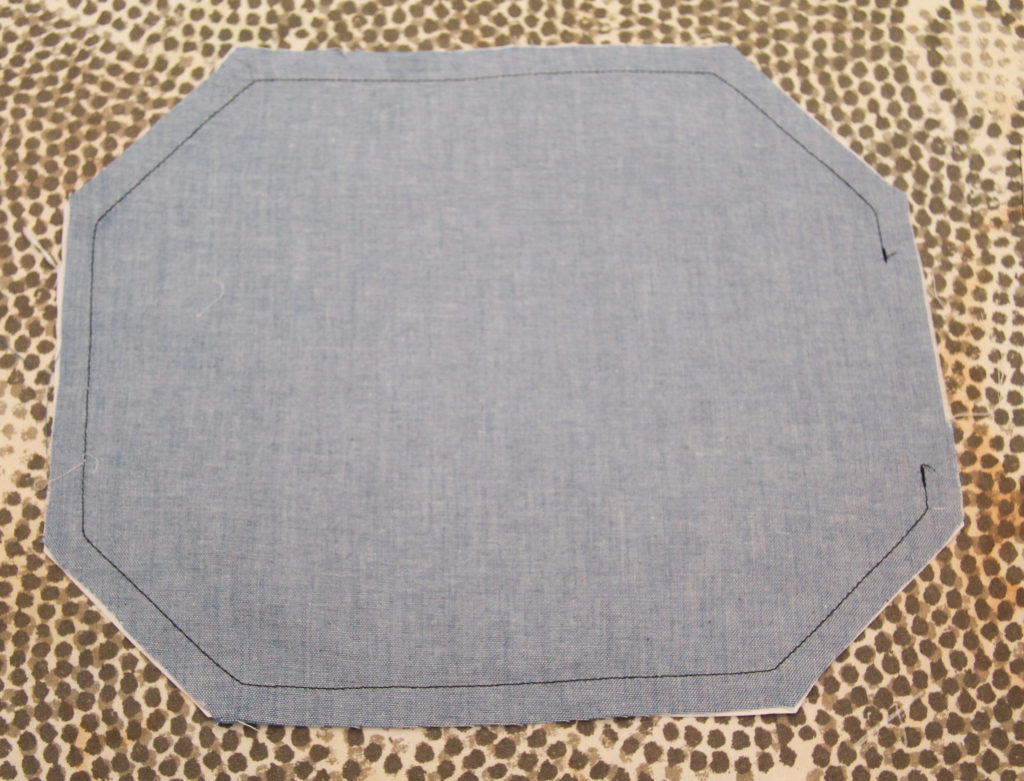
After playing around with the fabric for a bit this is the pattern that I came up with. You can either pattern it out directly on your fabric or if you are going to be making more than one I suggest making a paper pattern that you can reuse.
Making the Pattern
Start by drawing out a rectangle that measure 10 inches by 8 inches.
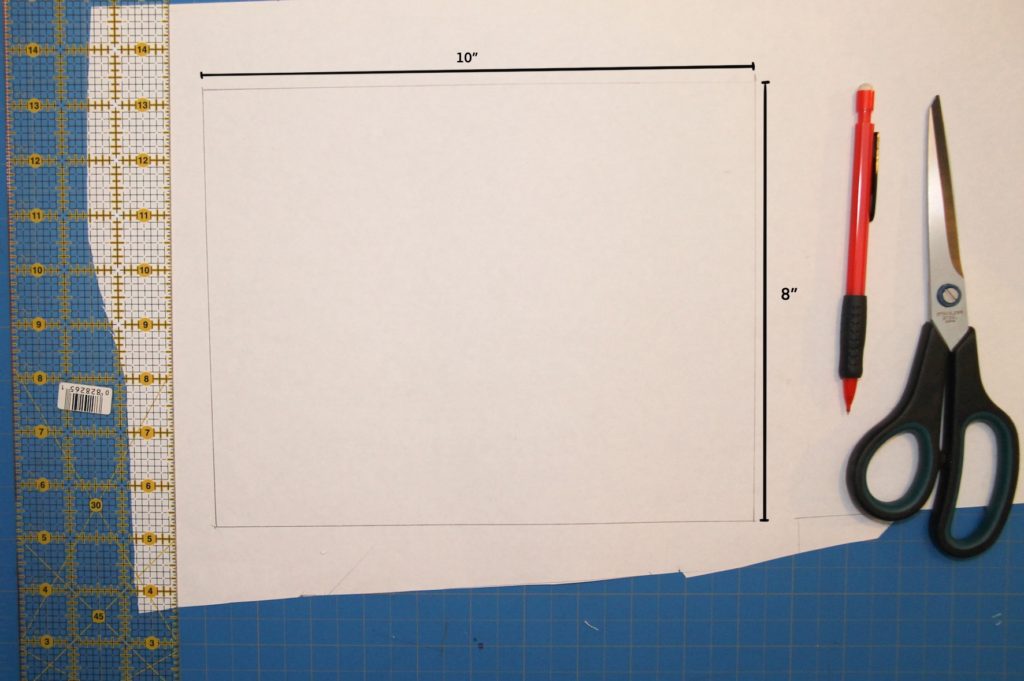
Then you are going to make markings on each edge 2 inches away from the corner

And connect the markings with a diagonal line.

Repeat for all four corners then cut it out like so:
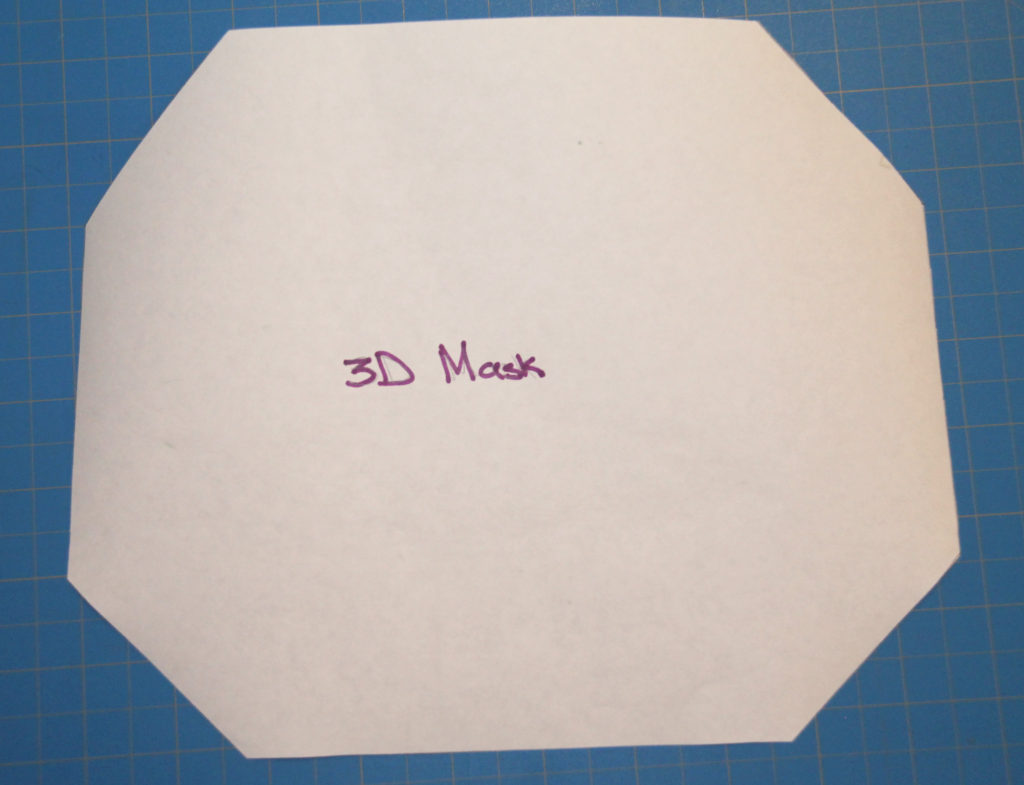
(don’t forget to label your pattern because there is nothing worse than finding a pattern piece and having absolutely no idea what its for)
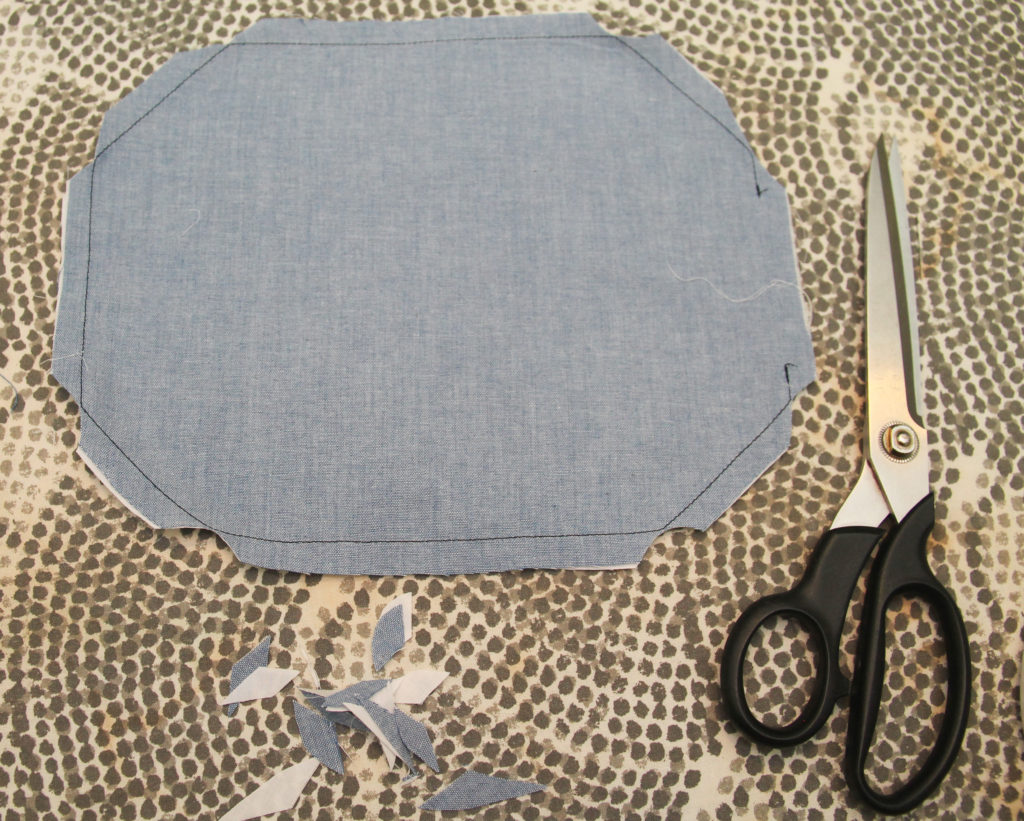
Cutting the Fabric
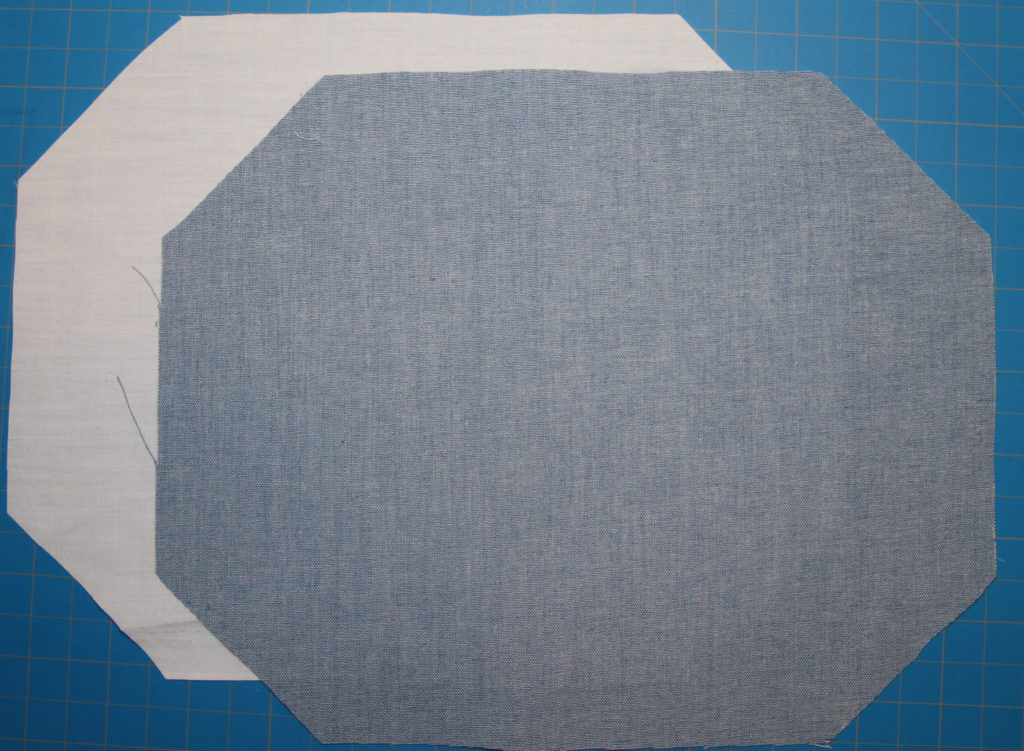
Then you can cut out your fabric using the pattern (I included a 1cm seam allowance so you can just cut right along the edge of the pattern). If you have pattern weight you can use them to keep your pattern in place rather than trying to shove pins through paper (I don’t so I just use literally whatever is in arms reach). You will want to cut out one piece in your outer fabric and one in a lining fabric (you can use a 2 piece of your outer as lining I just try and make sure its cotton so that it is nicer against the skin)
Sewing The Face Masks
Once you’ve got everything cut out you’ll want sew along the edges leaving an opening on one of the short edges
Then clip all your corners
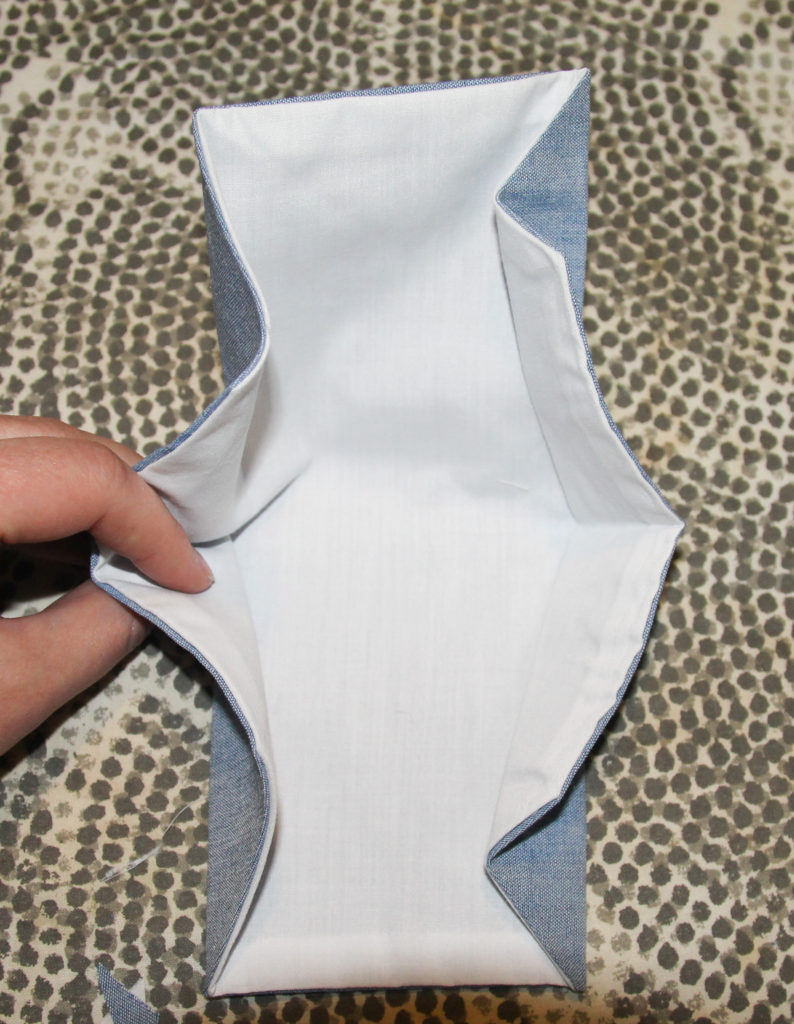
Turn right side out and press:
Now for the folding. First you want to fold the top and bottom edges toward the centre and press so that it looks like a long rectangle like this:

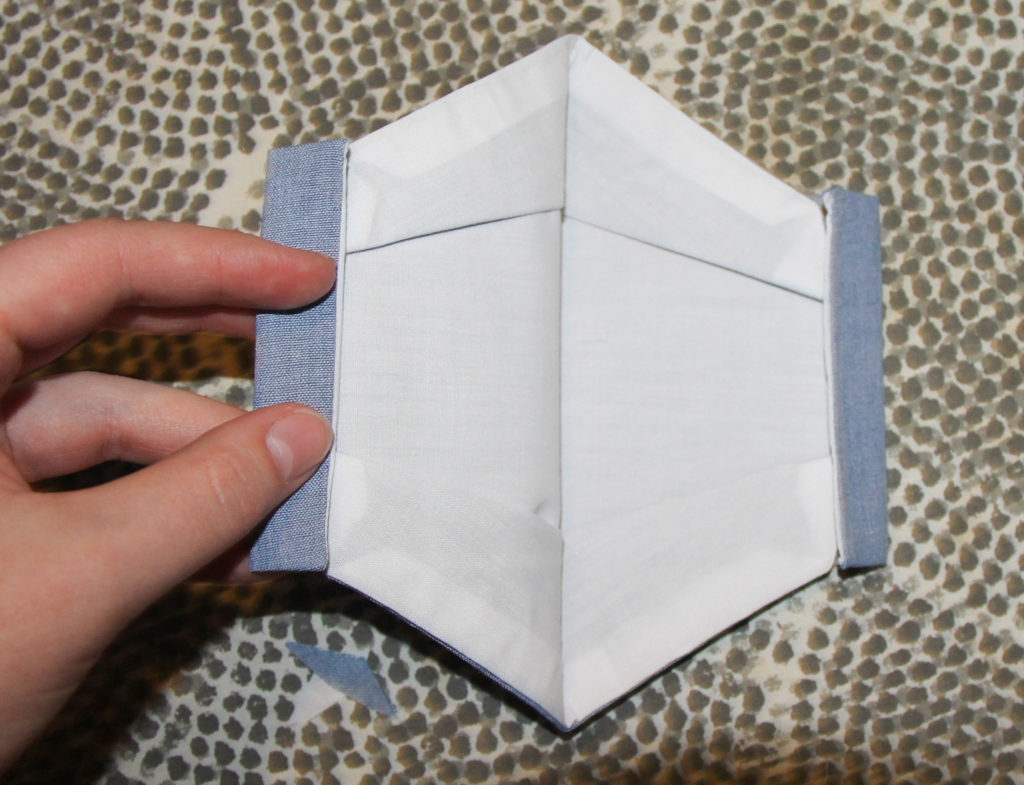
Folding out the points for the chin and nose is slightly more complicated and very hard to photograph with one hand so I did my best. But what you want to do is fold the short ends to ward each other and at the same time pinch out the long edges so they can form this kind of wedge shape. It helps to first fold it in half and press it so there is a crease at the centre.
It doesn’t have to be perfect because once you get it in the general position you can adjust so that the creases end up in the right spot. You want to line up the point of the nose/chin bit with the fold of the main part to that it looks like this:

Don’t forget to press everything to get a nice crease.
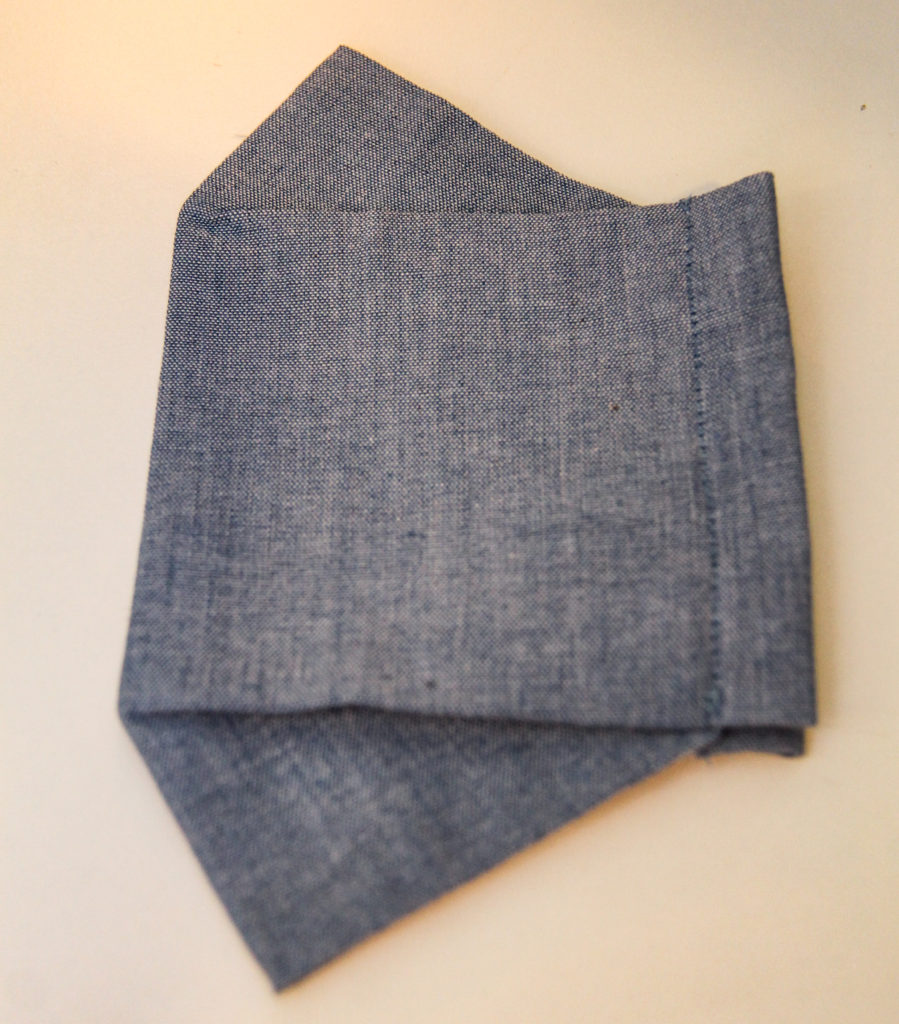
The final bit of folding to do before you can finish sewing is the channels for the ties to go in. You are going to fold over the short ends about 1 cm (maybe slightly more I was eyeballing it) making sure that once they are folded the edge just overlaps the ends of the folds of the nose and chins bits.
Then you are going to stitch along the edge of the fold you just made, securing everything in place and creating a channel for your ties. I like to use a matching thread for this part.

And thats it you have a finished mask. You can either put loops of elastic through the channels so that the mask secures over your ears or use a long tie or ribbon so that you can secure it behind your head (my preference).
Don’t forget to share your creations with me over on Instagram @littlewalletbigdreams
You can also purchase my masks over on my shop!


6 Comments
Lana
They are so comfy. Thank you for making mine. I would rather purchase from you than make my own. Lol. Well
Done
Michaela
I’m glad you like it 🙂
Jo-Ann Euler
I LOVE the masks you made for me! They fit great and look great!
Michaela
So happy you like them!!
Jo Ann Euler
I made 10 of your masks yesterday! The black ones had flannelette on the outside so don’t create as well but they turned out great anyway! I am going to make a few more out of scraps if I can get elastic tomorrow!
I posted a picture on your mom’s Facebook.
Michaela
That’s awesome! I’m so happy you like the pattern 🙂