
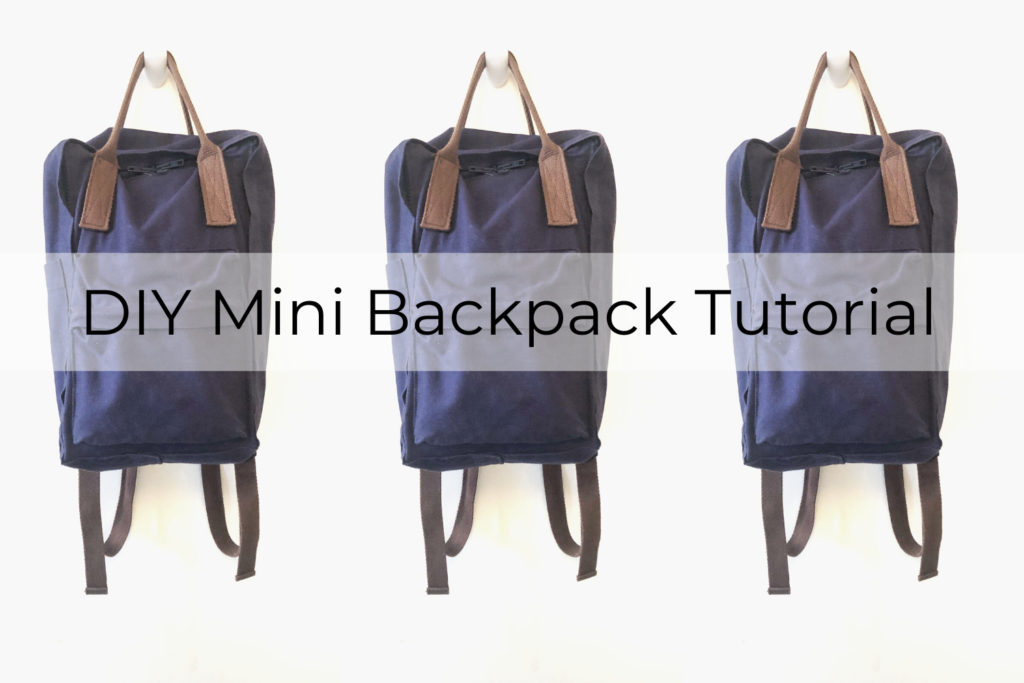
DIY Mini Backpack Tutorial
I’ve been wanting a mini backpack for awhile. They look cute but also are more practical than a little purse, and perfect for day trips. If you’re like me and trying to stick to a budget then a DIY mini backpack is the way to go!
I was inspired to make this by WithWendy’s YouTube tutorial which was awesome, you can see her video here. If you find videos helpful to figure out how to sew I definitely suggest having a look! I did make a number of changes to what she did in her tutorial including adding a few extra pockets and some changes to the pattern dimensions.
This post contains links to products, as an Amazon Associate, I may earn from qualifying purchases at no extra cost to you.
Materials
To make the backpack you are going to need:
- 0.7 metres of fabric (if using a lighter weight fabric also get an equal amount of interfacing.
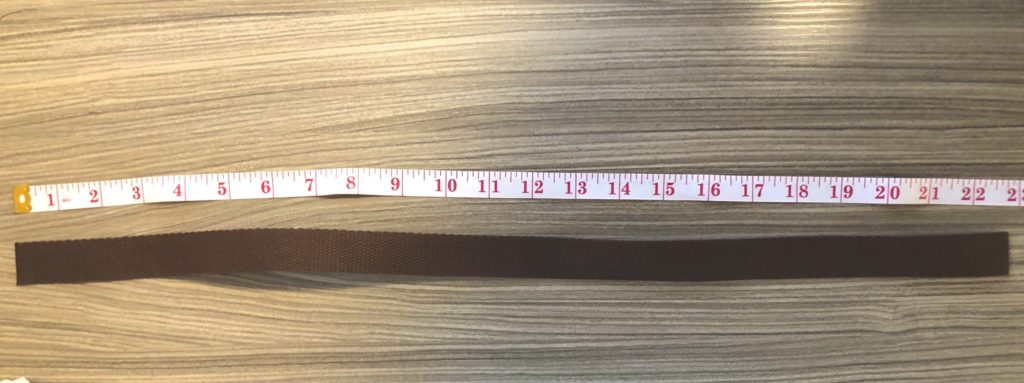
- 3 metres of 1 inch cotton or nylon webbing
- A set of plastic strap adjusters
- 1 60cm double slide zipper (also called a two-way zipper) OR two 35cm single slide zippers
- 1 20cm single slide zipper
- Thread
All of these can be found at your local fabric store but you can also find most of the on amazon or online fabric stores.
Pattern Pieces
- Front and Back – 9″ x 12.5″
- Side Panel – 41″ x 13″
- Front Pocket Top – 8″ x 5″
- Front Pocket Bottom – 8″ x 6″
- Side Pocket – 9″ x 8″
- Back Pocket – 9″ x 8″
All the measurements include a 1cm seam allowance. (Also I know I jump between imperial and metric it’s because my quilting ruler that I used for measuring the pattern pieces only had inches but I usually work in cm.)
Cutting Your pattern
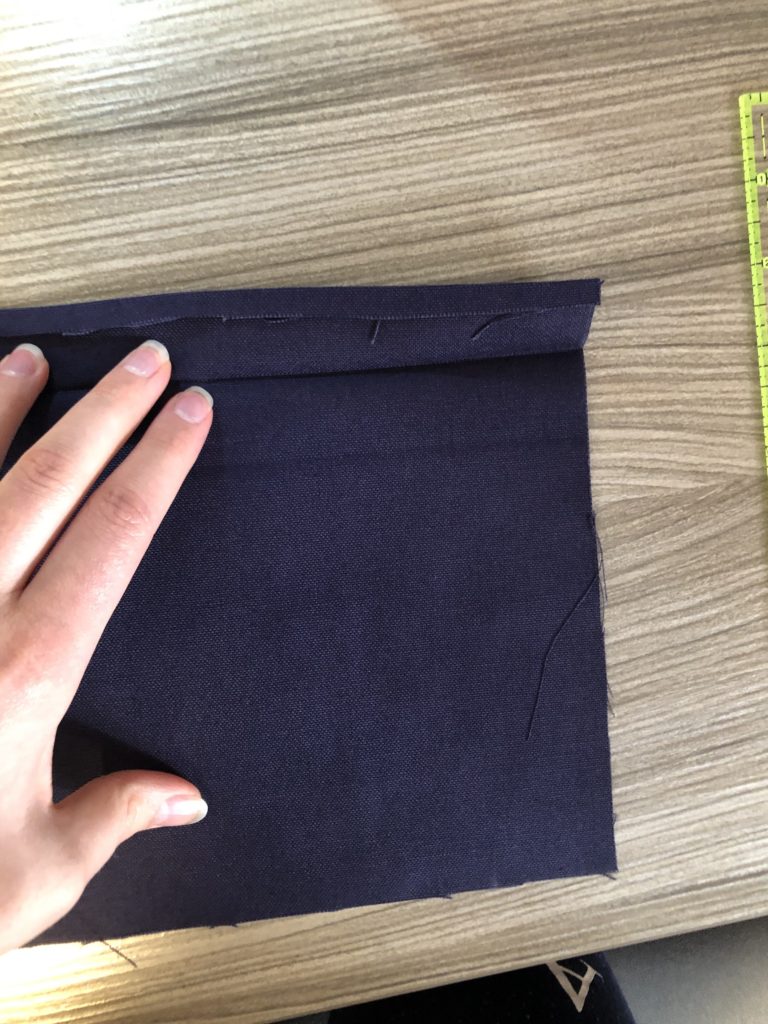
Cutting the pattern is super easy. Start by laying out your fabric with it folded in half selvedge to selvedge. The pattern pieces can then be measured and marked out in chalk. The side panel can be cut on the fold so measure out a piece half the length that I have above (20.5″ x13″).

You can also cut the webbing at this point using the measurements in the pictures below.

Sewing the front pocket
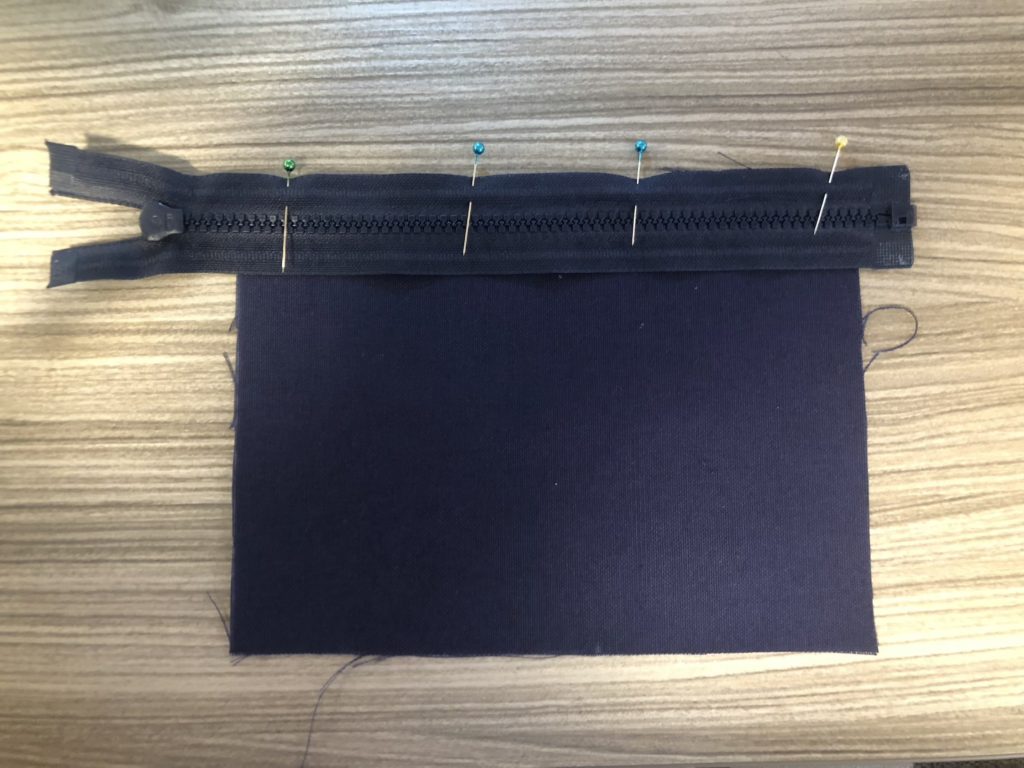
The next thing to do, is to assemble the front pocket. Start by attaching the zipper to the long edge of the front pocket bottom (8″ x 6″). Start and end the seam about 1cm from the edge so that the zipper is not attached to the seam allowance.
Once the zipper is attached, press the seam open and then top-stitch it down. Again, your stitching should start and end about 1cm from the edge.
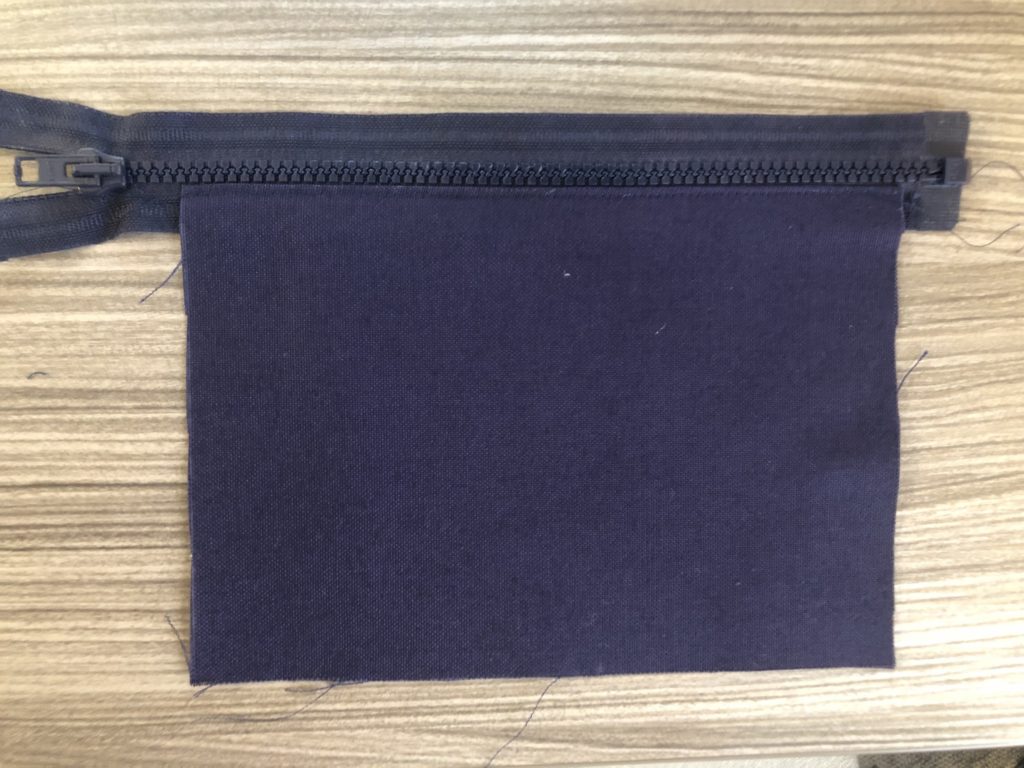
Next attach the top pocket piece (8″x5″). Line up the top piece with the zipper, right sides together. Sew together starting and ending 1 cm from the edge. Next fold back the top piece so that the folded edge lines up with the bottom edge of the zipper. Press the fold and then add a line of top stitching along the top edge of the zipper (see the second picture below).
Now, stay-stitch along the perimeter of the pocket about 1cm from the edge (see photo above). After you have stitched along the perimeter cut back the ends of your zipper all the way to the stitch line, so that the zipper does not extend into the seam allowance.
After you have trimmed the zipper you need to stitch all the corners to give the pocket the puffed out appearance. This is done by folding the pocket along the diagonal, right sides together (creating a triangle). Then starting 2cm from the corner sew a line to create a right angle triangle (see picture below for placement). Repeat this at each corner.

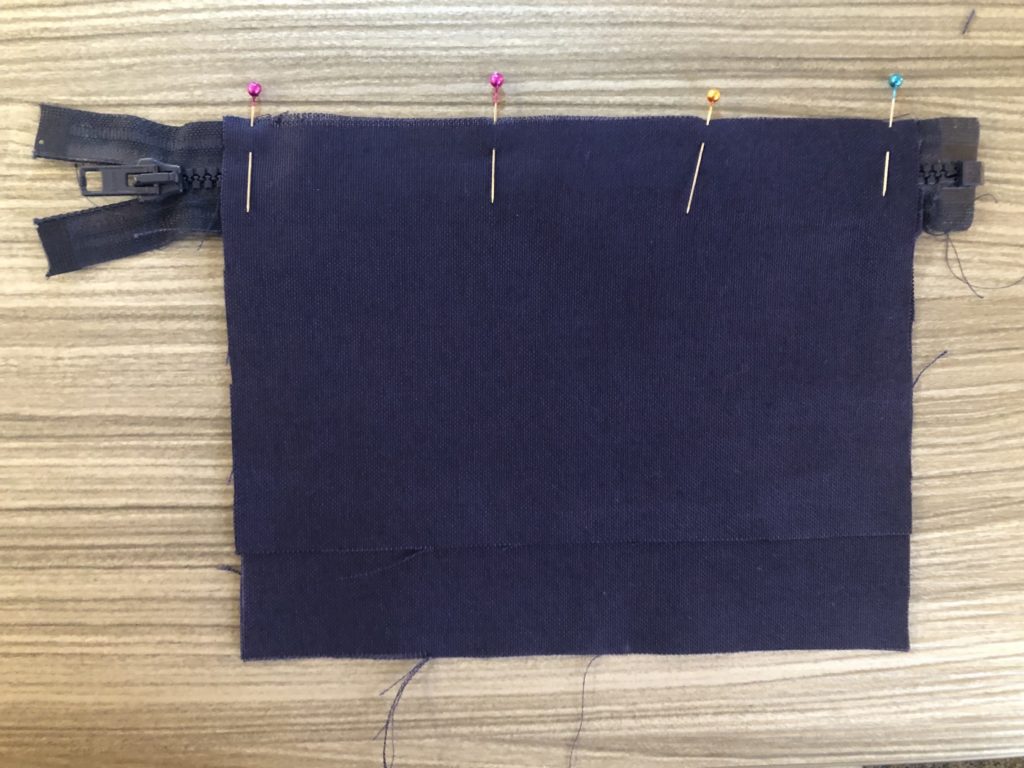
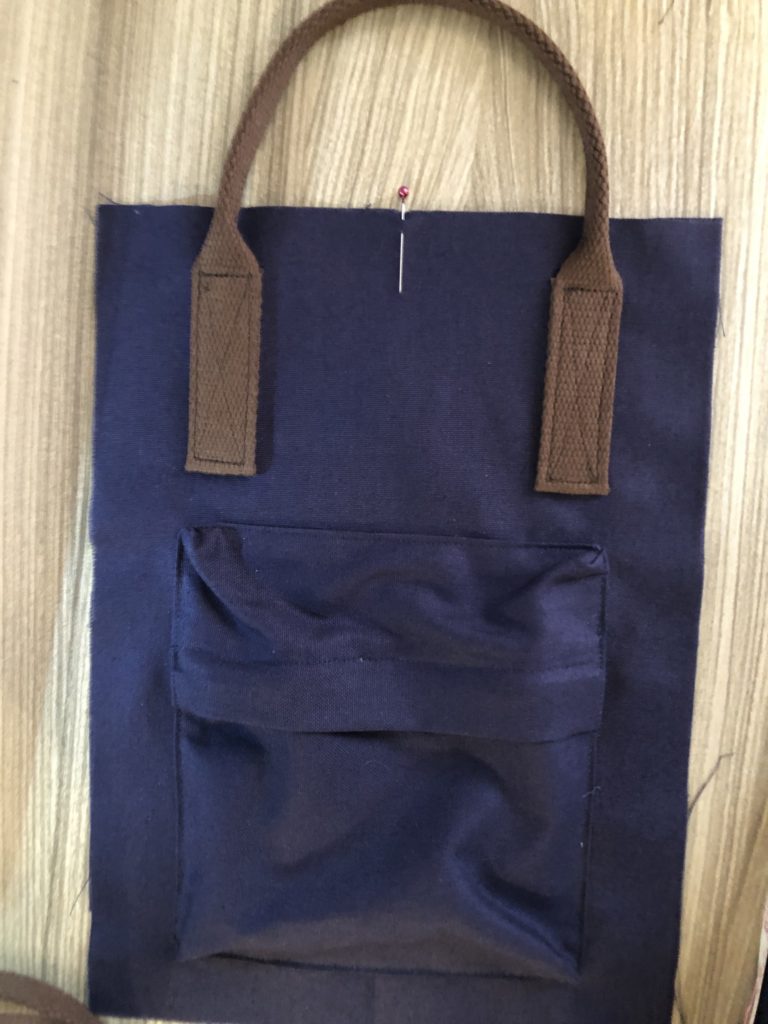
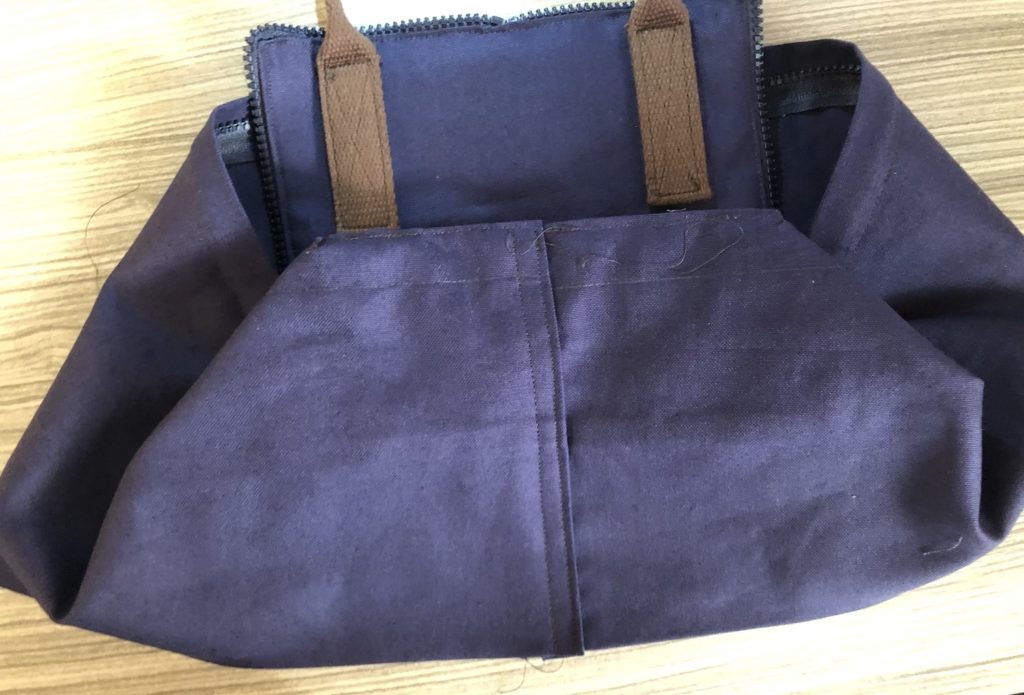
Finally, using the stay-stitching from earlier as a guide fold under the 1 cm seam allowance and position the pocket on the front panel (12.5″ x 9″). I marked the centre point on the front panel by folding it in half and placing a pin at the fold point. I then used this as a guide to keep the pocket centred. Make sure that the bottom edge of the pocket sits at least an inch above the bottom edge of the front panel.
Once you have the correct placement pin the pocket in place (keeping the seam allowances folded under). Be generous with your pins to keep everything in the right place (see picture). The last step is to sew the pocket on by top stitching along the the edge as close as you can manage.

Attaching the front handle
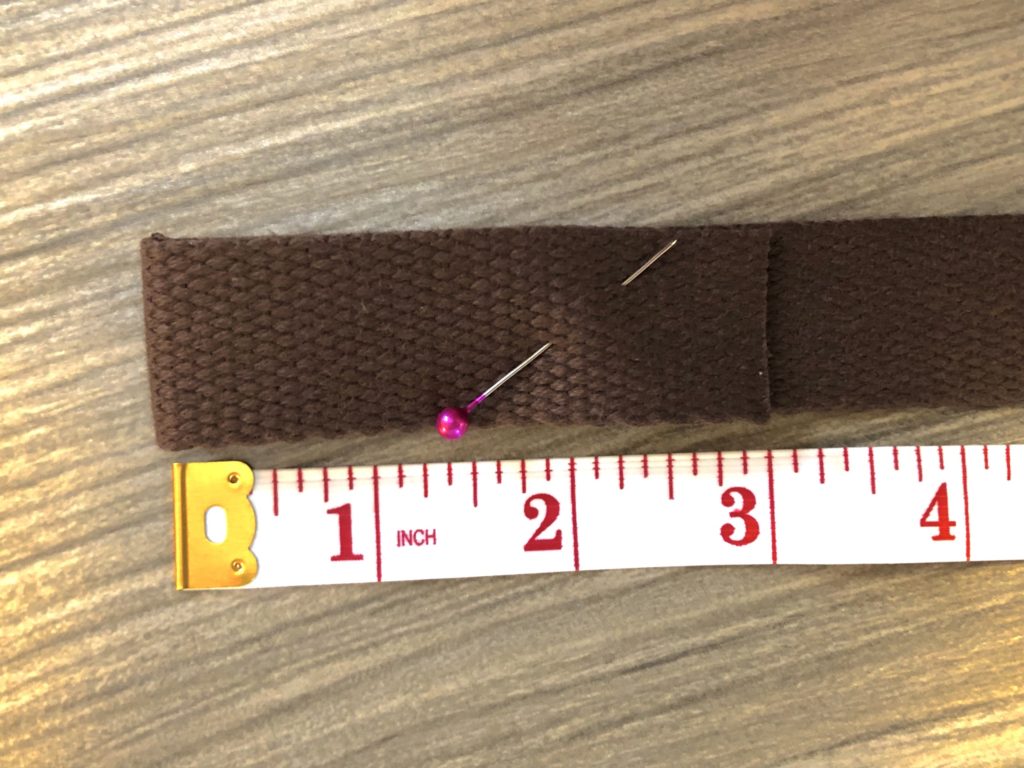
The first step in attaching the straps is to measure out a piece of cotton webbing 23″ long for the front handle.
Next take each end of the strap and fold it over 3 inches and pin in place. Sew the fold in place by sewing a rectangle, stitching along the edge.
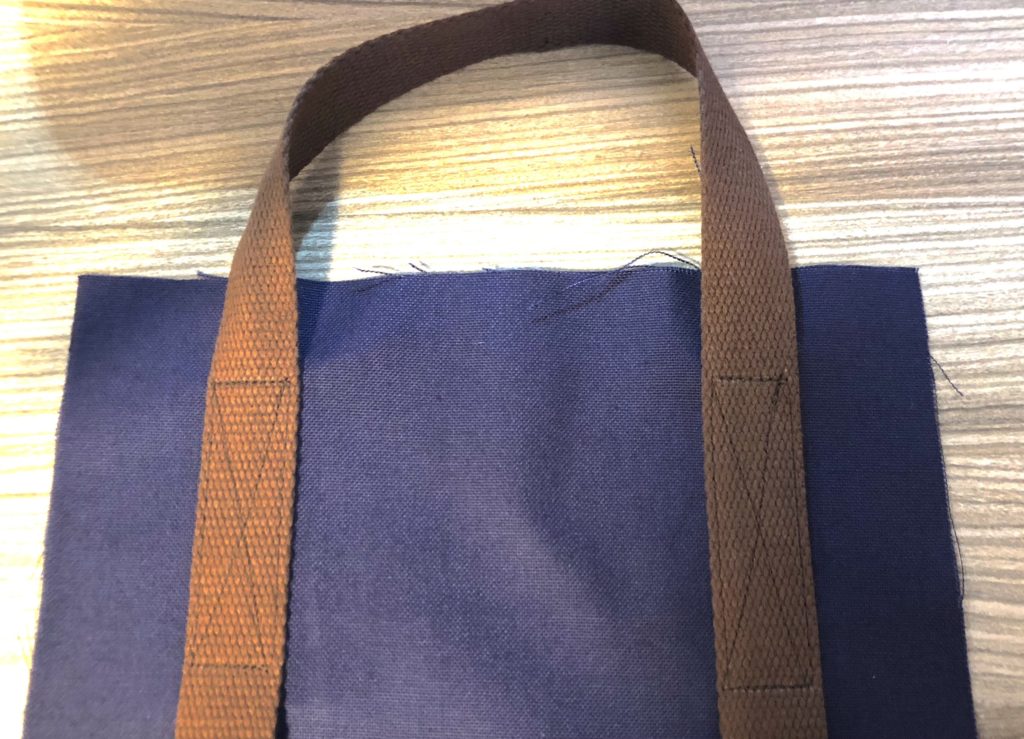
To create the handle fold the webbing in half lengthwise, and sew the edges together. Next attach the handle to the front panel. Start by lining up the edges of the folded ends with the edges of the pocket and pin in place. Sew the handle on by following the previous rectangle that you stitched and then and an ‘X’.
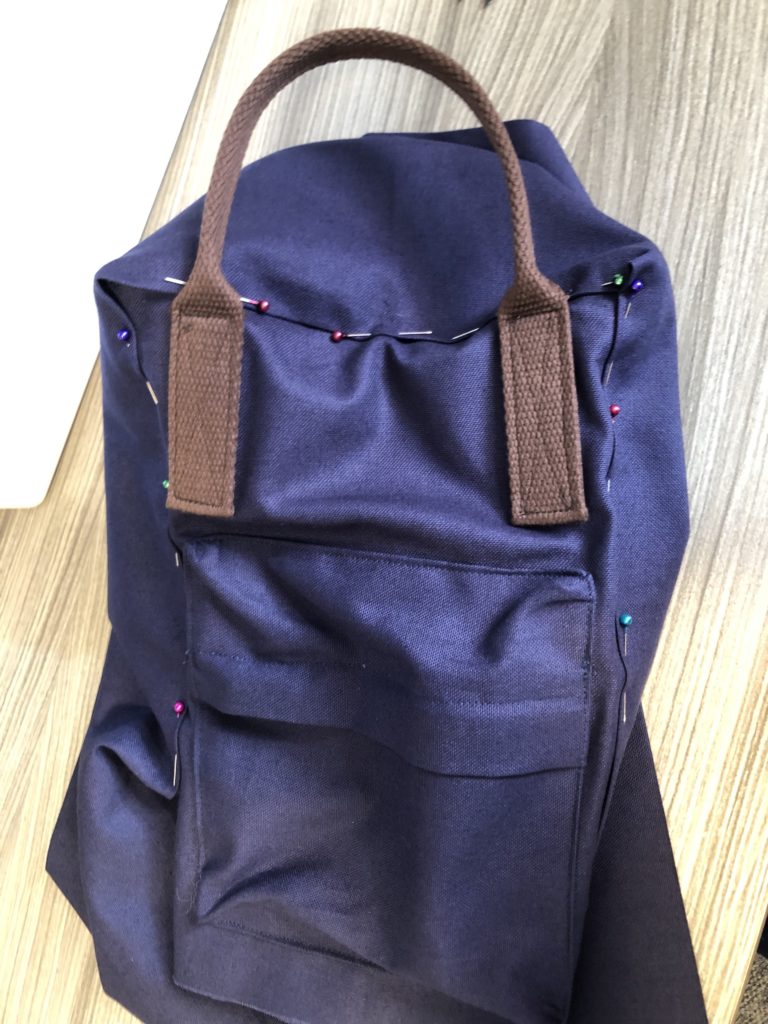
Attaching the back handle and straps
To attach the back handle/straps take the remaining piece of webbing and fold it in half and mark the centre with a pin. Use the front handle as a guide to keep the back handle the same length, use pins or chalk to mark on the strap where the from handle ends. Then place the front and back panel next to each other and use the front as a guide for the placement of the strapping on the back.

Sew this in place using the same stitching pattern at the front (your rectangle should measure 3 inches long. Then fold the strapping in half along the length of the handle and sew the edges together.
Next the webbing is crossed over to create the straps. The point of cross over should line up with the top of the stitching for the handle. Sew a diamond where the straps overlap. Then, sew straight across so that the the top of the rectangles, the point of the diamond and the straight line of stitching are all in line (see second picture). Make sure to reinforce the straight line of stitching by going over it a few times as this is the major stress point.

Finally, sew down the angled folds with a straight stitch.

Sewing the back pocket
To prep the back pocket fold down the long edge by 1/4 inch and press. Then fold it agin by 1 inch and press.
Sew the fold in place with a straight stitch along the folded edge.

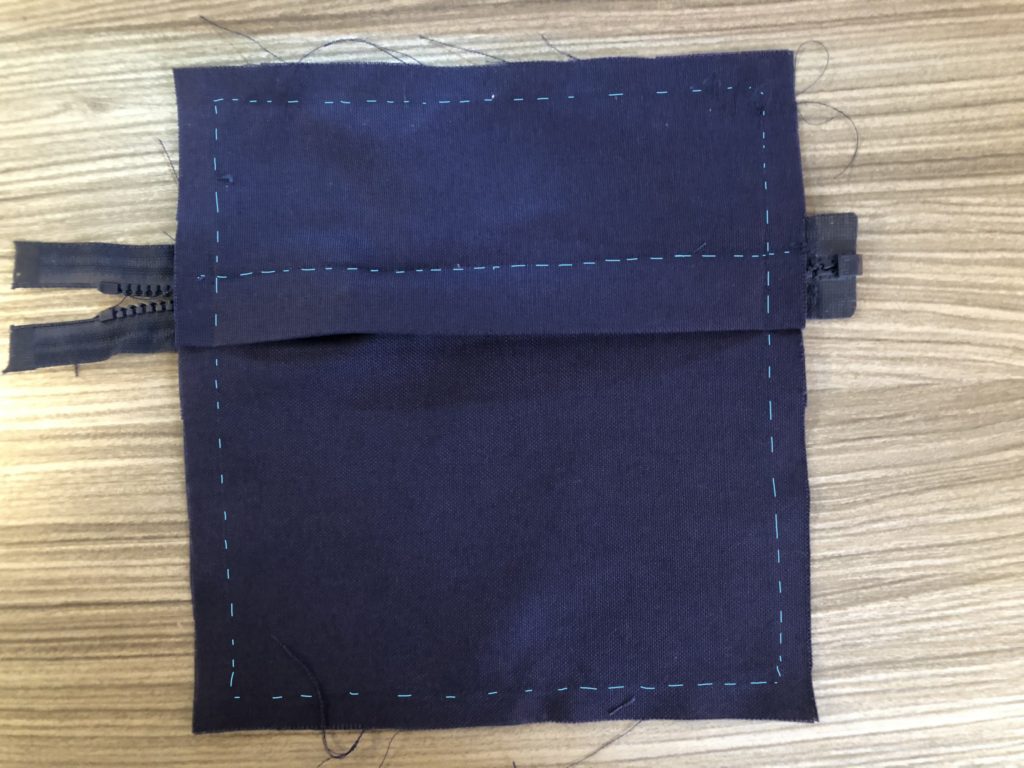
Next, place the back pocket piece on the back panel with the fold facing in towards the panel, and the smooth side facing out.

With a straight stitch secure the pocket in place by sewing inside the seam allowance.
Finishing the straps
Start off by grabbing your strap adjusters and two 2.5″ pieces of webbing.
If you haven’t already cut these pieces from the webbing cut one from each end of the straps that are already attached.
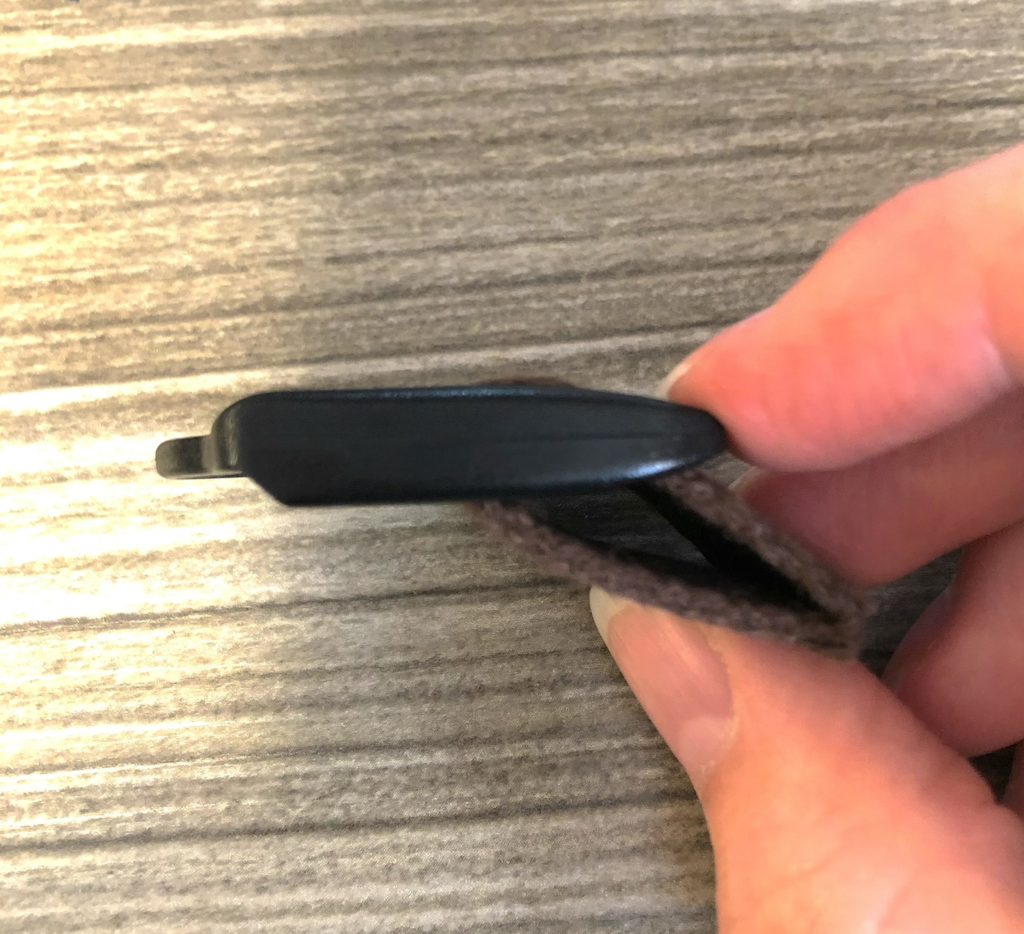
Take each piece of webbing feed it through the strap adjuster. Make sure the webbing sticks out from the curved side (see picture).
Attach the strap adjusters to the back panel using the webbing along the bottom edge. Place them about 1 cm away from the sides.
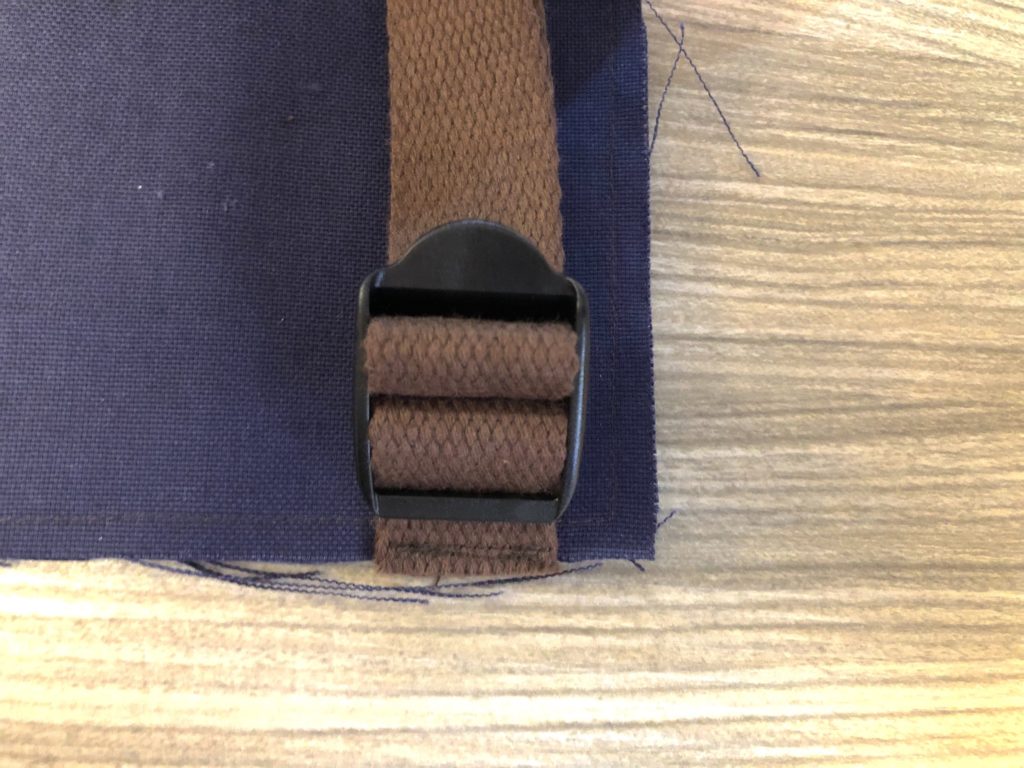
Once the sliders are attached, feed the straps through the middle section then the top section. Once the strap has been fed through, fold over the end of the strap two times to keep the end from fraying (if you are using nylon webbing you can heat seal the ends and fold them once).
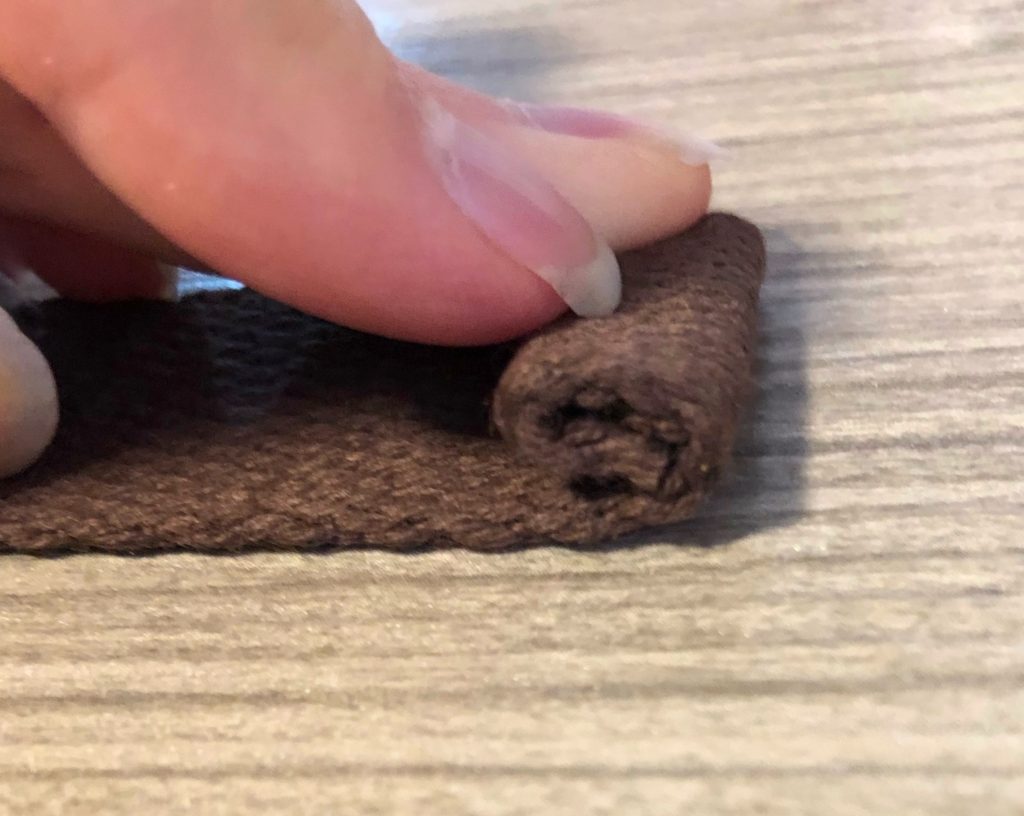
Sew straight across to secure the ends.

Attaching the Zipper and Side Panel
My apologies in advance as I don’t have a lot of pictures for this section. I couldn’t figure out why I forgot to take pictures of attaching the zipper, but then I remembered that this was the point at which I got quite frustrated 😬. I find zippers annoying to attach at the best of times but turning zippers around corners is a little tricky and a bit more so when you add in the top stitching.
One thing I will note, is make sure that as you turn the corner make sure you don’t stitch too close to the zipper. I did this on one corner and it makes the pull a little difficult to move.
Start by sewing the zipper to the front panel. Mark the centre of the front panel with a pin (see picture) and use this as a guide to place your zipper. (If you are using two single pull zippers line the tops of both up at this point).
Once the zipper is pinned in place sew it on using a zipper foot, taking care as you turn the corners and remember to back stitch. Then top stitch all the way along the length of the zipper.
After the zipper is attached you can set the front panel aside while you prepare the side panel.
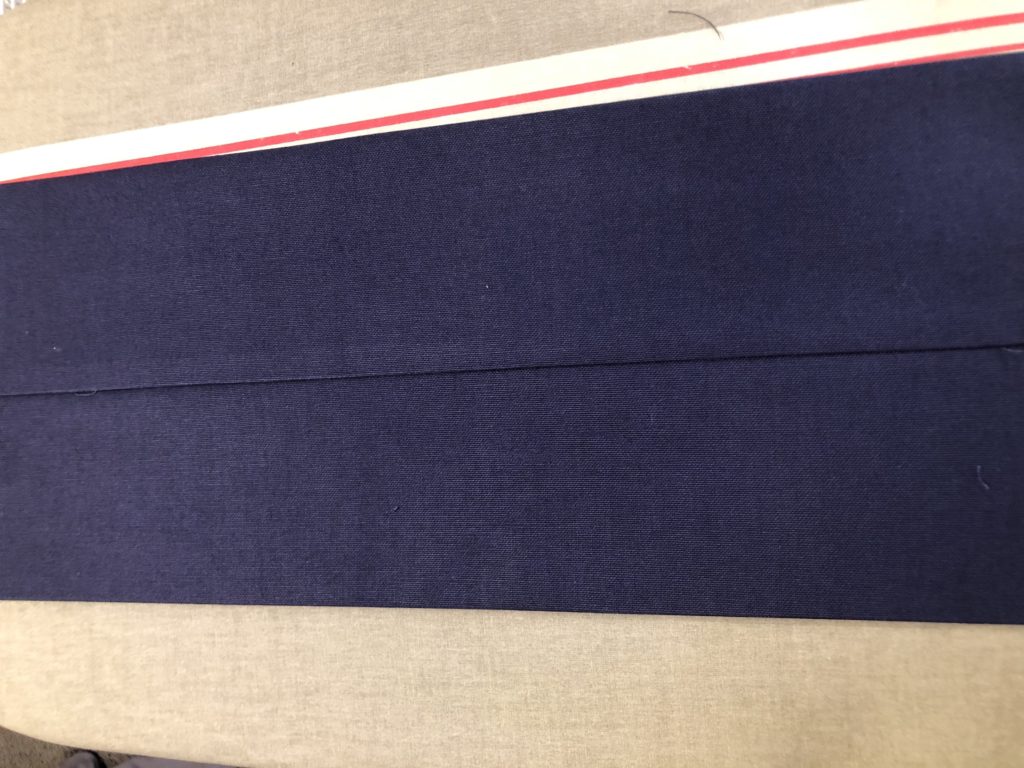
Take the side panel piece and fold it in half lengthwise. Sew the two edges together all the way down using a straight stitch.
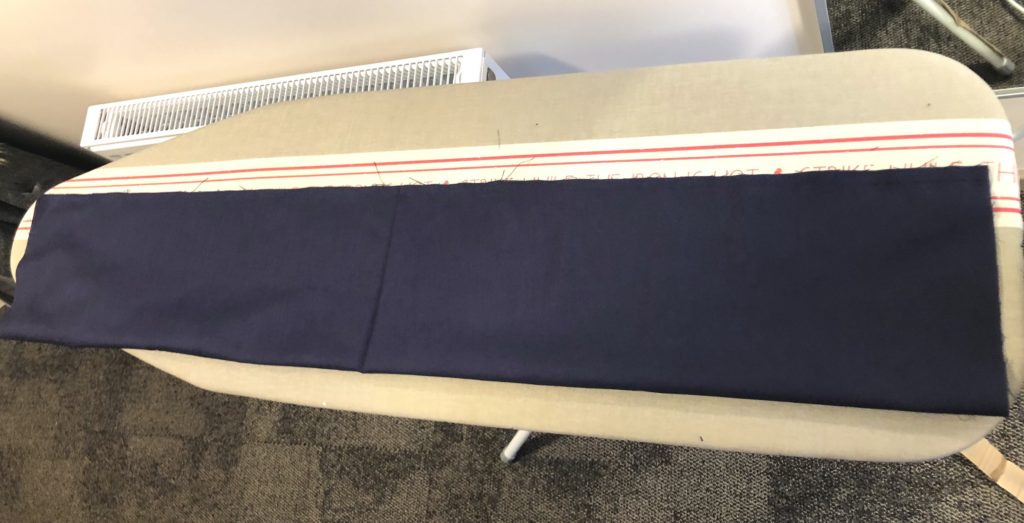
You should now have a long tube that you want to turn right side out and press. When ironing make sure that the seam is in the centre (see picture) and not at the edge.
The next step is to attach the side panel to the zipper. Again, start by lining up the centre point of the two pieces. Then use the folded edge of the side panel to completely overlap the zipper and pin in place all the way to the end of the zipper.
Starting at the edge of the zipper stitch all the way around to the other side (top stitching the panel to the covered zipper). You should only be sewing the panel to the zipper tape of the free edge of the zipper (your stitch line will sit about an inch from the folded edge). This attaches the zipper, while at the same time creating the zipper cover.
Before attaching the side panel the rest of the way around, fold over the seam allowance of both ends. Make sure that you fold them in opposite directions. This is so that when you overlap the ends to sew the bottom closed you will have a neat folded edge on both the inside and outside.
Starting on one side pin the side panel to the front all the way down and around to the bottom edge of the front. Sew this side in place beginning just before the end of the zipper, sewing close to the folded edge. Do this again with the other side overlapping the end with the other side.
Next, sew the bottom close. Pin the overlapping ends in place and sew two straight lines, one close to the edge of the fold, and one about 1 cm away (close to the edge of the inside fold).
Sewing the side pocket
Before you can finish your DIY mini backpack by attaching the back you need to first attach the side pocket.
Start by finishing the top edge of the pocket piece the same way as the back pocket (folding over two times and stitching down).
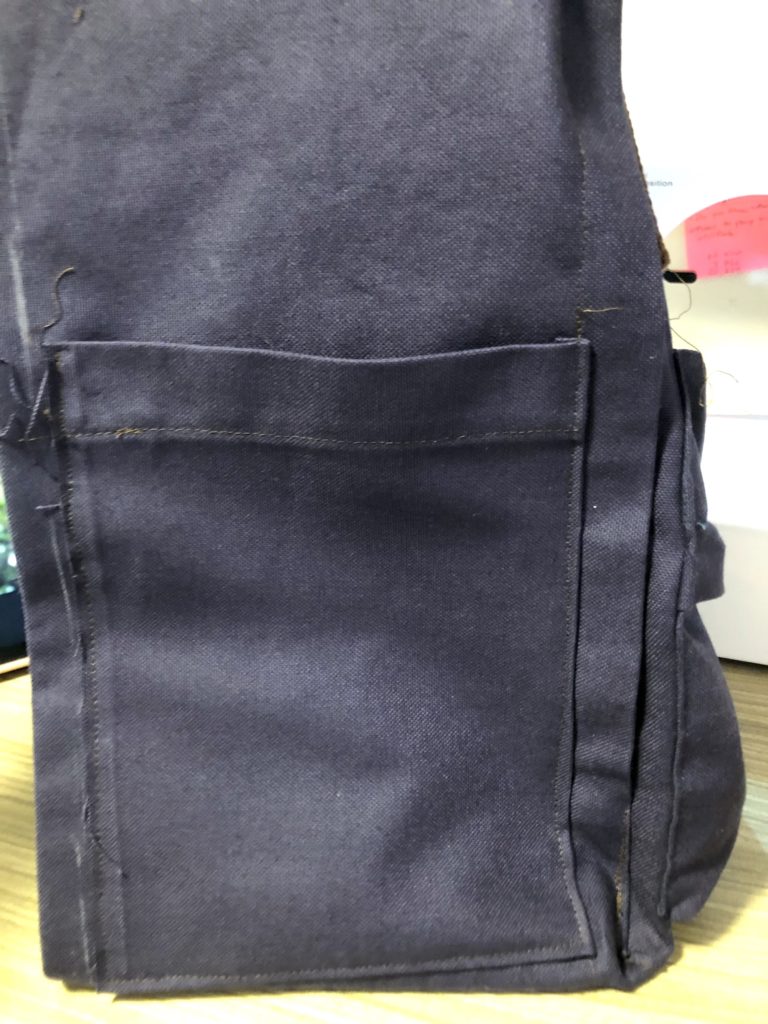
Once that is done, press the seam allowance of the front and bottom edge back. This creates a folded edge to top stitch down when attaching the pocket. The second side doesn’t need to be folded back as it will become part of the seam with the back panel.

Next, pin the pocket directly to the side panel. I did this with the backpack sitting up, so that I could line up the bottom edge of the pocket with the corner of the backpack.
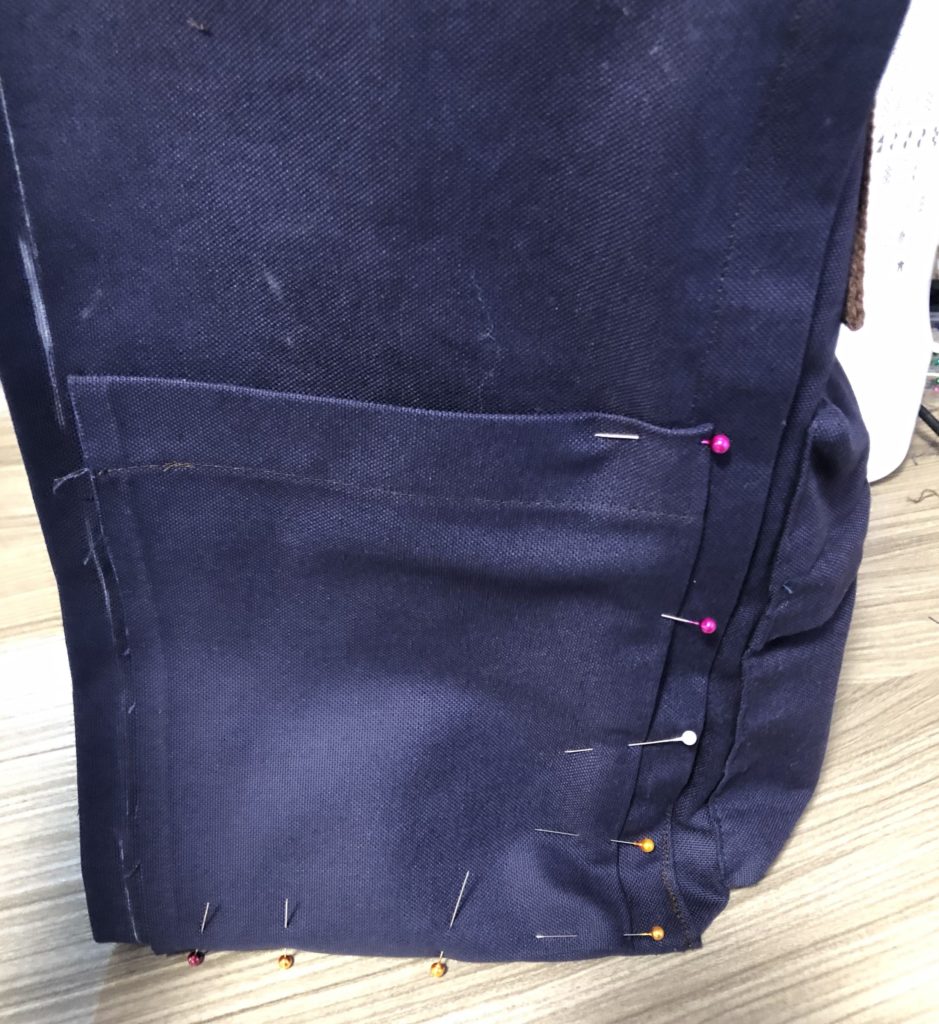
Finally stitch all the way around both sides and the bottom, sewing as close to the folded edge as possible.
Sewing on the Back
The first part of sewing on the back panel is to pin the bottom edge of the panel to the bottom of the side panel. line up the two edge and sew them together, starting and ending 1cm away from the edge.

The next part is less finessed. All you do is turn the main part of the backpack inside out and then line up the remaining edges of the back and sides. Starting at the bottom left corner sew up one side, across the top and down the other side.
I chose to finish this seam with a zigzag stitch to keep the edges from fraying.
Finally to finish everything off, topstitch around the perimeter of the back panel. As you do this make sure you are catching the seam allowance, keeping the insides a little neater.
Don’t forget to trim any loose threads.
Thats it! Your DIY Mini Backpack is Finished
I hope you liked this tutorial and found it useful. If you make your own mini backpack I’d love to see it! you can share it down in the comments or tag me on instagram @littlewalletbigdreams
Other Posts You May Like


One Comment
Lana
Your backpack is constructed beautifully a d anyone wanting a quality mini backpack should try this! Great Job! And it’s cute too!!