
Thrift Flip – How to Turn a Men’s Shirt into a Dress
I’ve been wanting more summer dresses, but since I’m on a student budget I don’t want to go out and drop a bunch of money on new dresses. Instead I’m trying to use fabric I already have or flip some pieces from the thrift store. The first dress I made this year is from a thrifted button down shirt so I thought I’d walk you though how to turn a men’s shirt into a dress.
This post is all about how to turn a men’s shirt into a dress.
p.s. I’m really bad at taking photos as I work so I’ve included some diagrams to help illustrate everything I did.
Picking the Shirt
First things first you need a shirt that will work. For this dress I chose an oversized men’s button down. I found this really nice blue silk shirt at a thrift sale for about $10. I liked the buttons on this too so I wanted so something that kept the buttons and used the original hem (I hate hemming 😂).
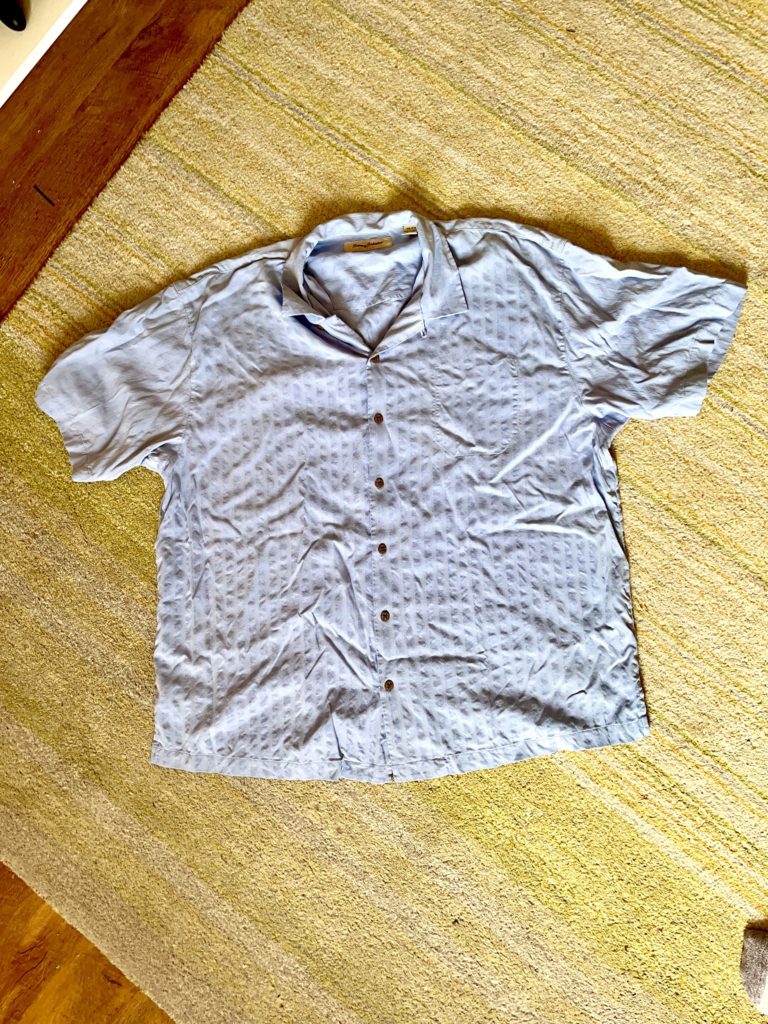
Next you want to wash the shirt and pick out some matching thread.
Taking it apart.
I chose to seam rip a few of the seams but for the most part I just cut everything apart along the seam lines. You’ll want to remove the sleeves, then cut along the side seams and shoulder seams. My shirt also had a yoke in the back so I removed that too.

Your shirt should now be in a bunch of pieces
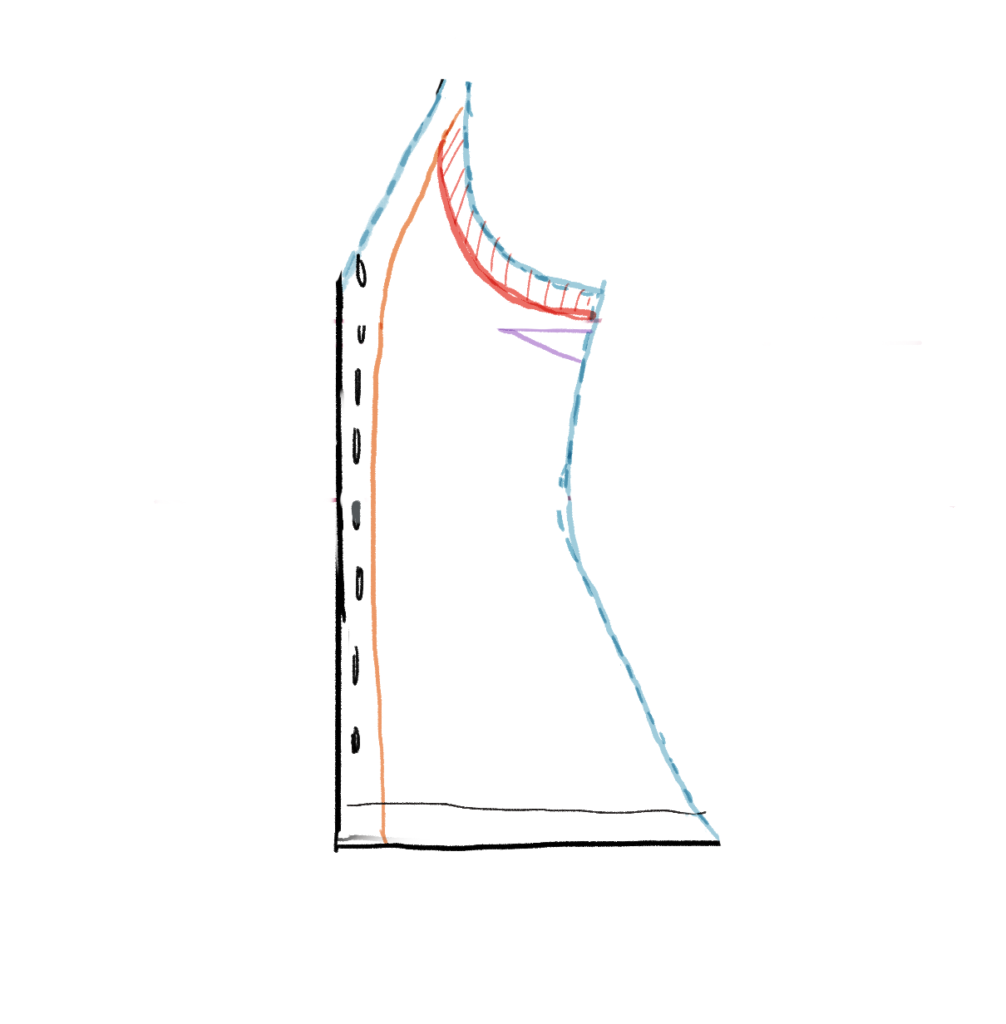
Shaping the Neckline
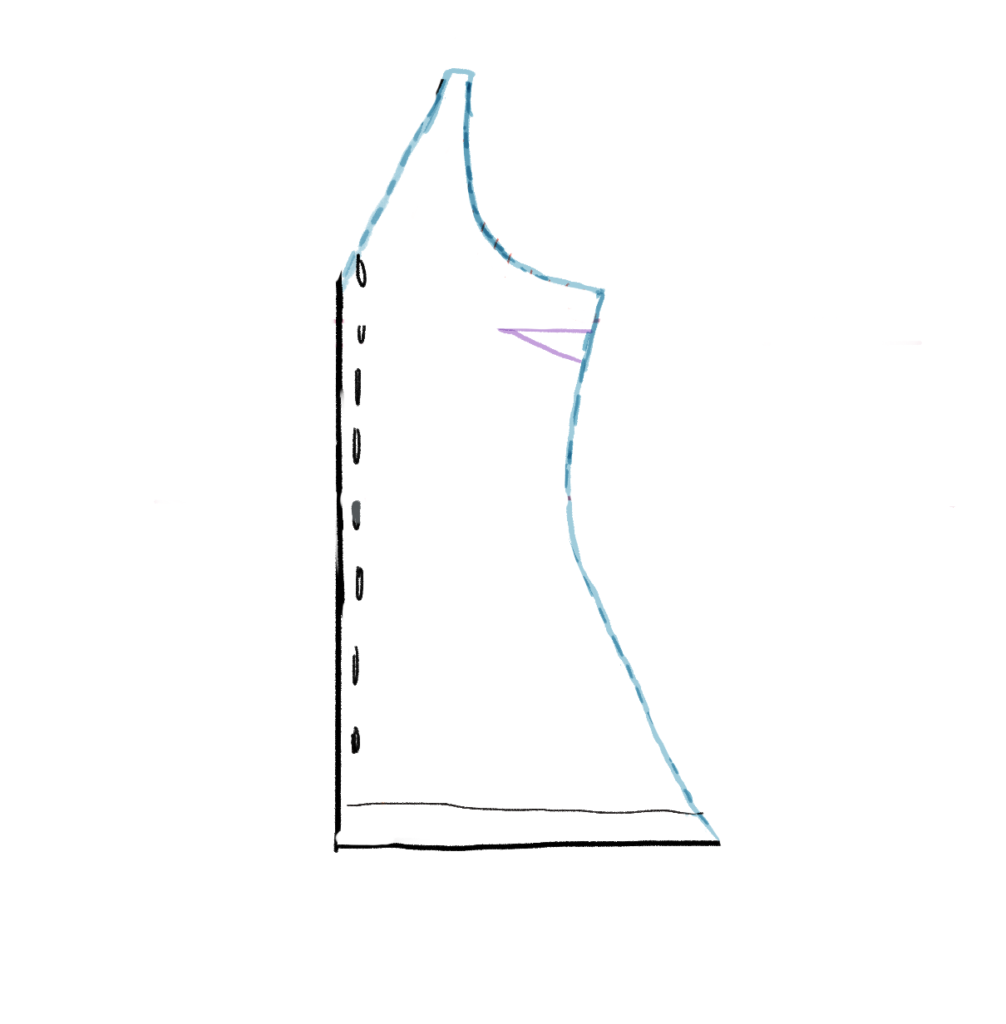
Take the front piece of the shirt and undo the buttons so that you have two pieces. Lay them on top of each other right sides together.
I used some chalk to drawn in the general shape I wanted for the neckline and armscye. Once I was happy with how it looked I trimmed it down (leaving some seam allowance). Hold the pieces up to yourself in the mirror to check how the neckline looks (or pin to a dress form if you have one).


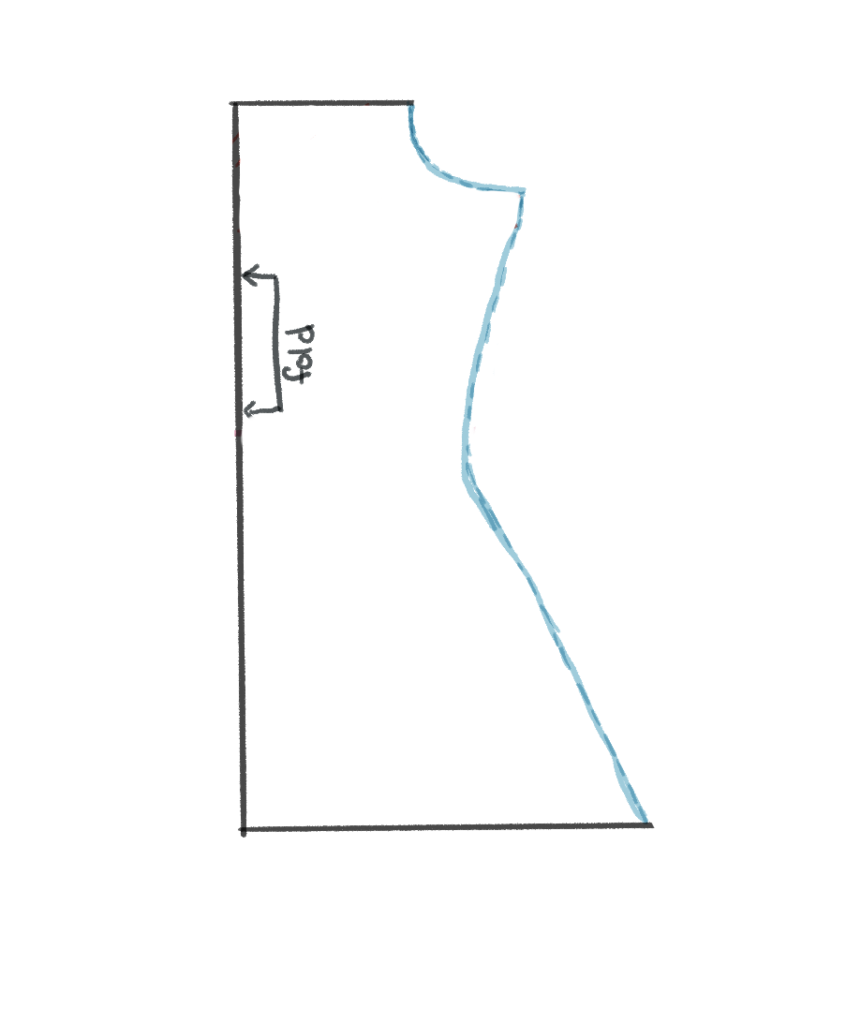
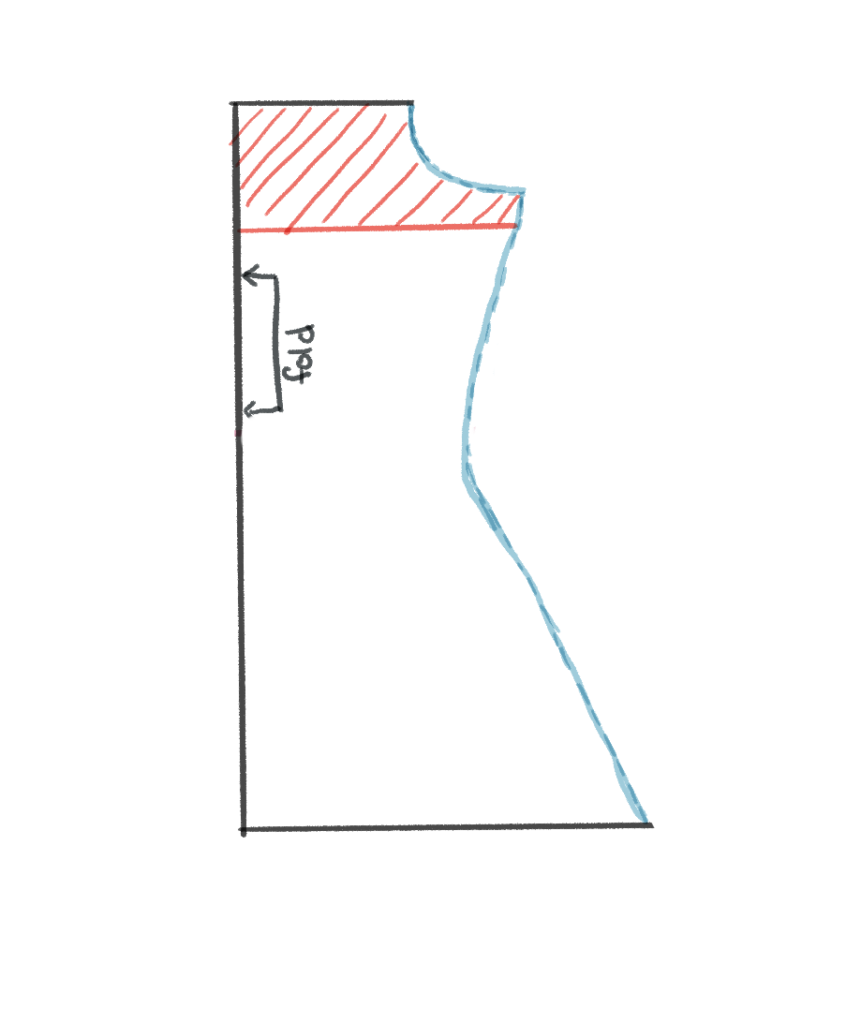
For the back I continued the curve of the armscye onto the back and then used the top edge to make a straight across back.
Making Straps
The next thing I actually did was to try and figure out the fit for the side seams but this was kind of a pain without the straps so this will be an easier order to do things in. The straps were super easy to make. Just cut 1 inch wide strips of fabric out of the sleeves and fold them in half length wise. Then sew along the length with the fold even with the edge of your presser foot to make a long tube. Trim off the excess fabric and turn the tube inside out – now you have straps!
Adding Bust Darts
I started by marking the placement of the side seams at the bust. To do this you want to take your bust measurement divided by 4 and measure that amount from the centre front. This is just to help you place the base of the dart and may get adjusted when you fit the sides.
I did a roughly 1.5 inch wide dart in the side seam at the bust with the tip of the dart point to the bust point. I just eyeballed the placement and then pinned to dart so I could check how it fit.
Once you’re happy with the placement of the dart you can sew and press them.
FUN TIP: Use your fabric scraps to make a matching scrunchie!
Fitting the Sides
Start by taking your straps and pinning them to the front and back. Make sure you dot set your straps too far apart in the back or they will want to slip of your shoulders (trust me I had to move mine 😅). Put the dress on (or on your dress form) and make any adjustments to the strap length you need to and mark the strap placement.
Now you are going to pin the side together until you have the right fit. I did mine fairly fitted in the bodice and then looser after the waist. Once I got to the hem I used almost the full width of the shirt.
Once you are happy with the fit mark the seam line and trim the excess fabric, remembering to leave a seam allowance.
Making a Facing
I finished the top edge of the dress with a facing so before you sew up the side seams you need to cut some facing pieces. For the neckline of mine I was able use the facing from the shirt front edge and just adjust it a bit. I then traced facing for the front sides front the sleeve. The facing for the back was made form the yoke piece.
To trace the facings just lay the dress piece on top and trace the shape of the neckline. The bottom edge should follow the same shape so that you have facing that is about 2 inches wide.
I didn’t interface any of my facing as I didn’t have any but I think a lightweight interfacing would help it sit better. Once you’ve cut and interfaced all the facing pieces you can set hem aside.
Sew the Sides
Line up the side seams for the front and back and sew along the seam lines you marked. You can finish the seam with a serger or a zigzag stitch.
Attach the Facing and Straps
The last thing to do is to attach the facing and the straps. Start by sewing the facing pieces together at the side seams. The do a small rolled hem along the bottom edge. Next you want to pin the facing to the dress. Start by placing the straps so that ends point towards the edge and the strap hangs down along the dress. It may look a bit back wards but you want the straps sandwiched between the facing and dress so that when you turn the facing in the straps are on the outside. Once the straps are in place you can pin the facing to the dress right sides together.
Sew the facing to the dress and then grade the seam allowance. Finish off by understitiching the facing.
Thats it! You now have a brand new dress from an old shirt!
I hope you have fun refashioning and up-cycling some old clothing!


