DIY Couch Cover
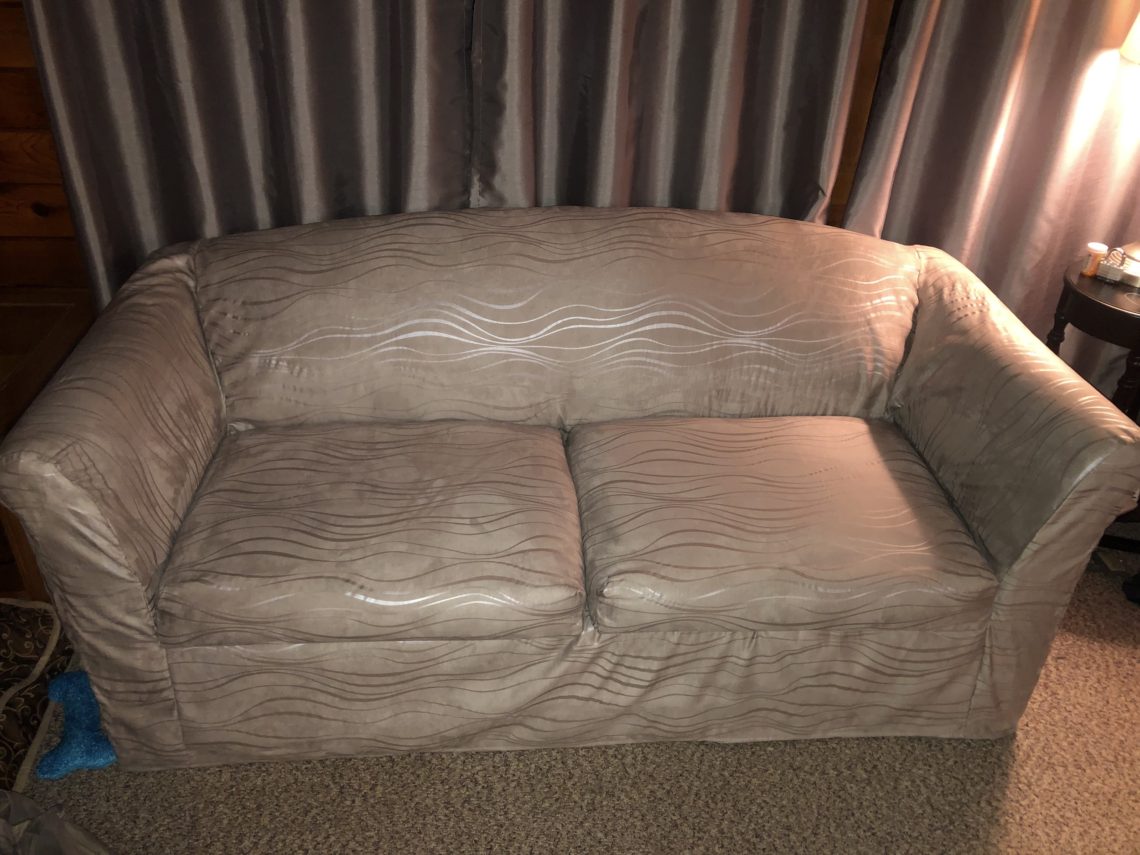
This is a project I did last summer while I was helping my mom out at our cabin. We had been wanting to do some new window covering for a while and even bought a bunch of fabric for them, but then my mom found some curtain panels she liked on sale somewhere. I got the new curtains hung but I had a bunch of fabric laying around, so I decided to make a slipcover for our couch because it’s old and I think the fabrics ugly 😂.
Also I’m going to apologize for the quality of the picture right now lol, I took most of them at night or just in terrible lighting in general.

Normally when I am sewing something from scratch I’ll take measurements and flat draft a pattern but that was honestly more work than I wanted to put in so I went ahead and just draped the fabric right on the couch and started cutting.
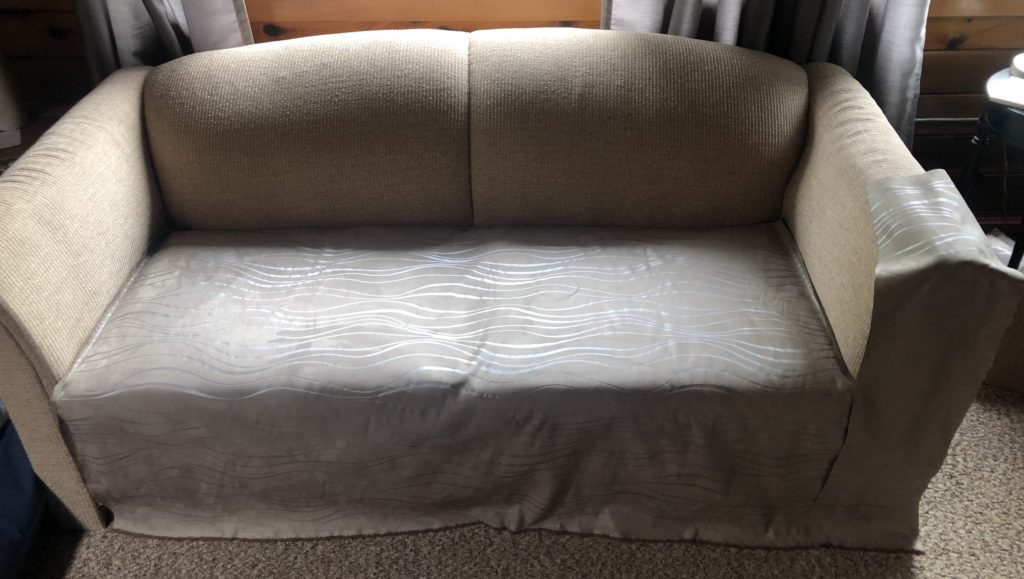
I started with draping the back and seat, following the contours of the couch to cut my seamlines (making sure to leave a generous seam allowance). I also cut a straight line where the back and seat of the couch meet so I could put in a seam there. (I originally did this with the couch cushions in place but then realized that there was nothing to keep the cover in place so I decided to cover the cushions separately and place them on top of the cover for the main couch. So If you are going to do this don’t be like me, and start by taking the cushions off so you can avoid the headache of seam ripping from the beginning)
Once I was happy with that I draped the back of the couch, pinning the fabric directly to the couch to keep it in place while I cut.
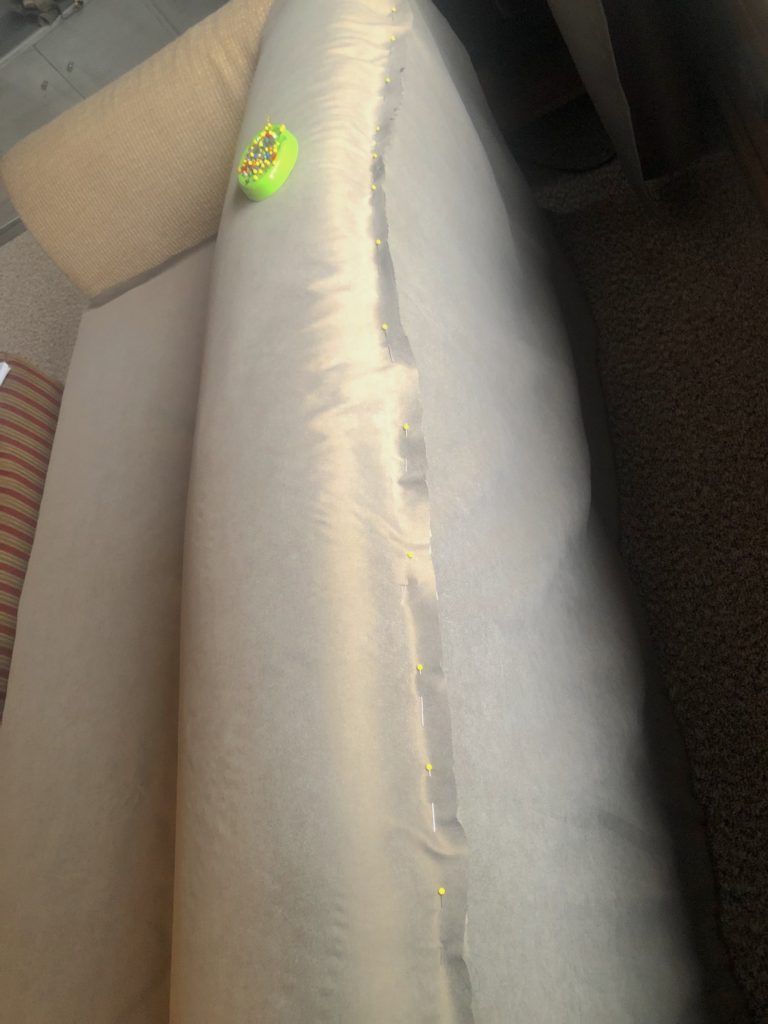
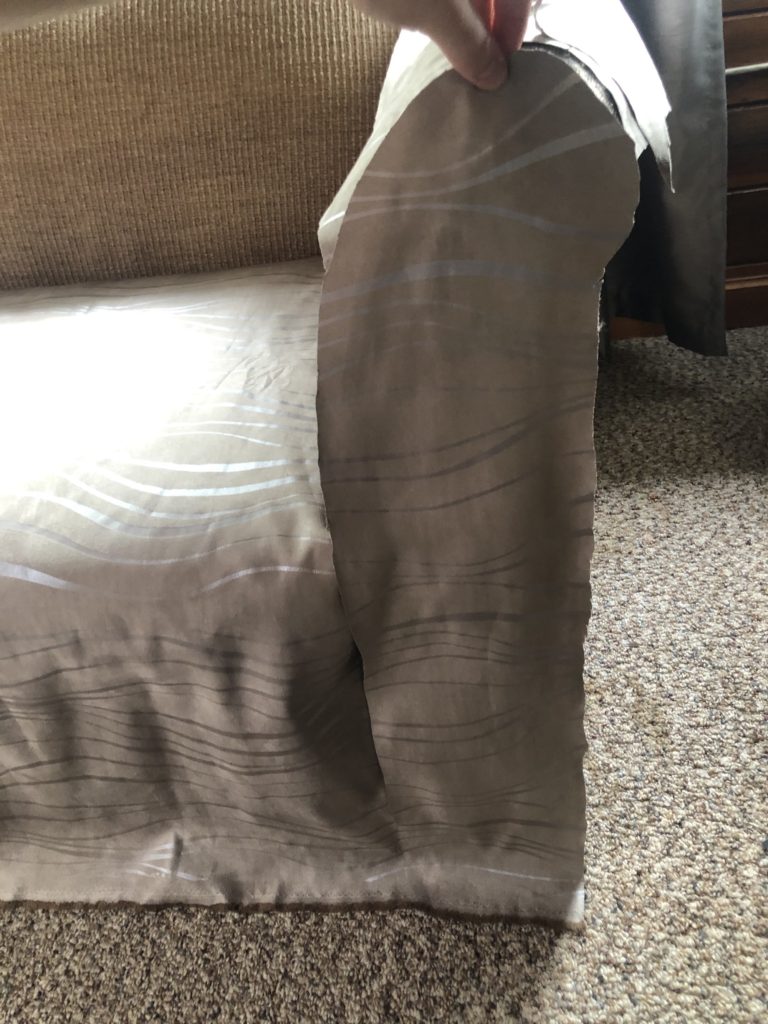
Then I moved on to the arms of the couch. I draped one long piece from the seat cushions, over the arm and down to the floor. Then cut my sea line while following the curve of where the arm meets the back of the couch. Once I had one side cut I just laid it out on top of my fabric and cut the mirror image for the other arm.
The last pieces for the main part of the cover were the front part on the arms. Again I pinned the fabric to the couch and then cut out the shape, remembering to include a seam allowance and then used that as a pattern to cut out the mirror image for the other side.
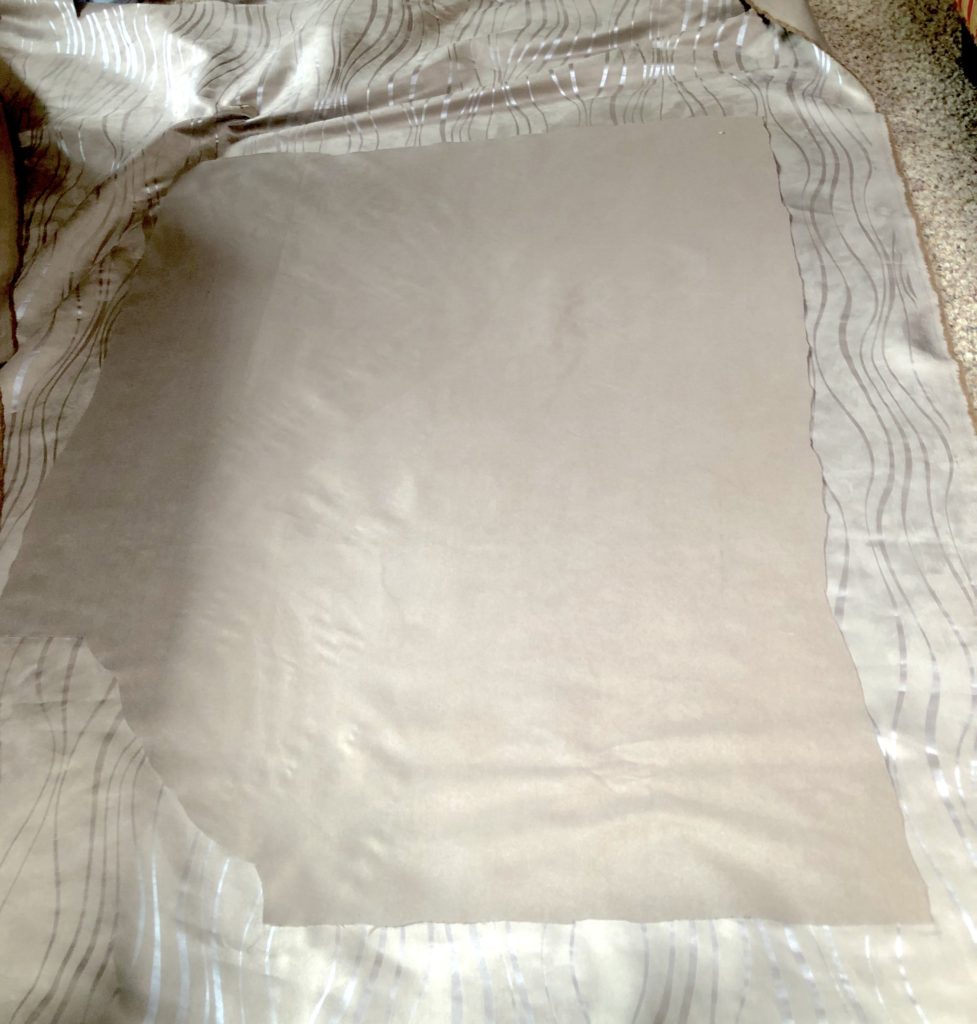
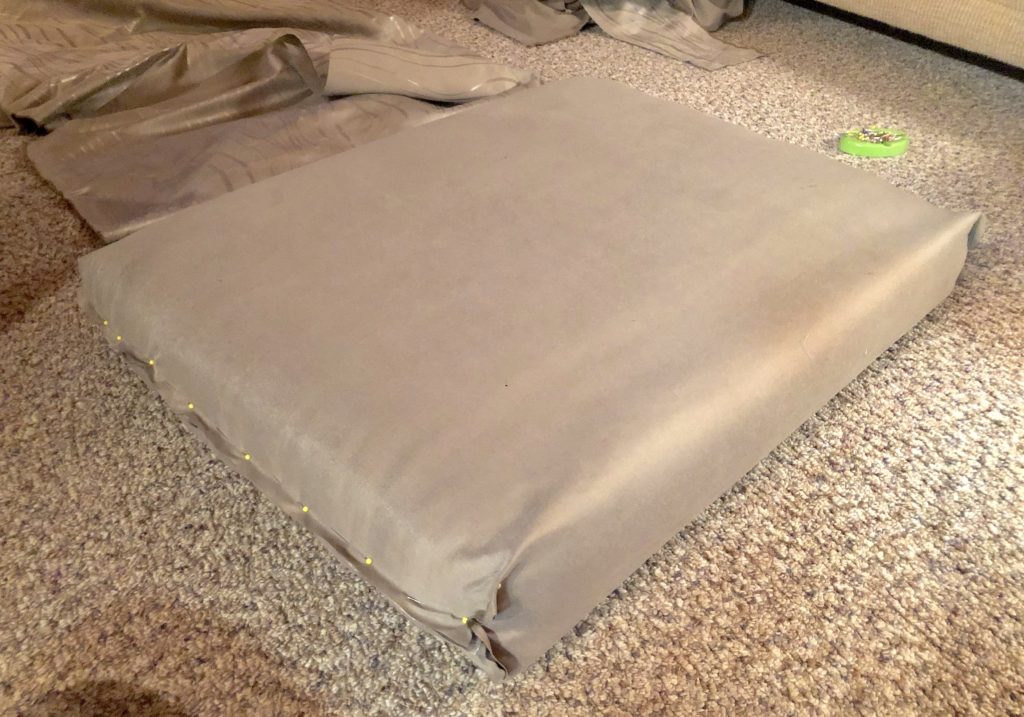
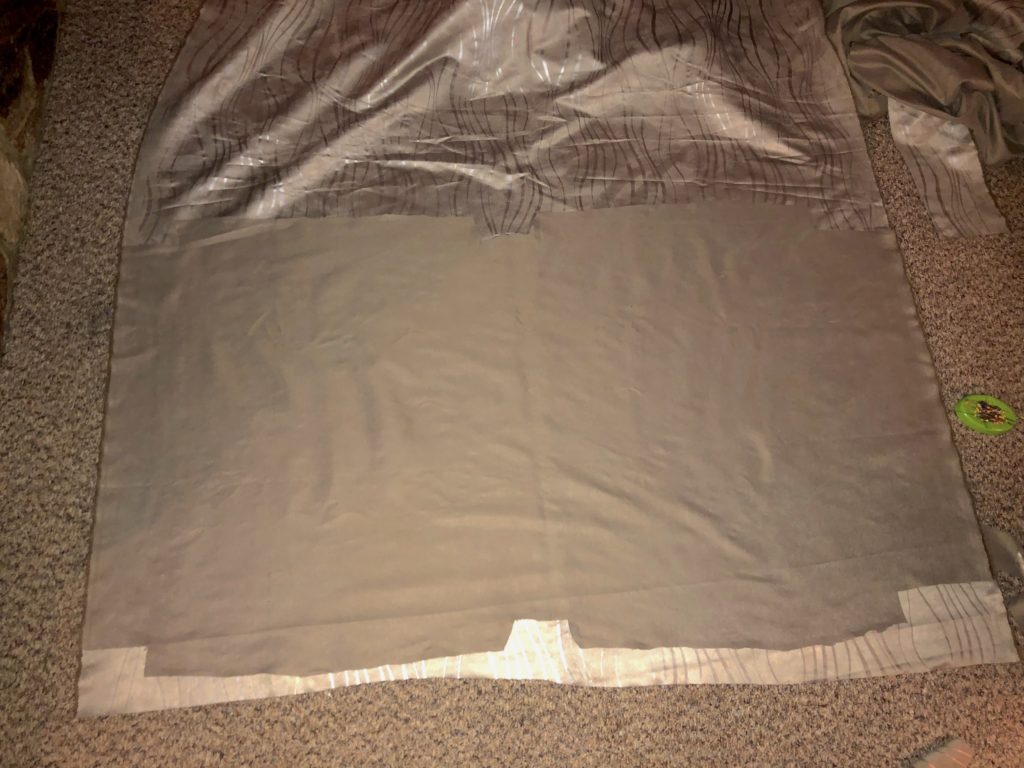
For the cushions, I just set one down on a piece of fabric and started wrapping and pining. I hope you can see in the picture how I did the seams because that’s just too much work for me to explain 😅. Once again, after I was happy with how it looked I took the fabric I had cut and then used it as a pattern for the other cushion.
After that, all that was left was to sew it all together. I pretty much just sewed everything together in the order I cut out the pieces, sometimes draping it back over the couch inside out so I could pin them together to get the fit right. After that, I just folded up the bottom edge to hem it, and voila!
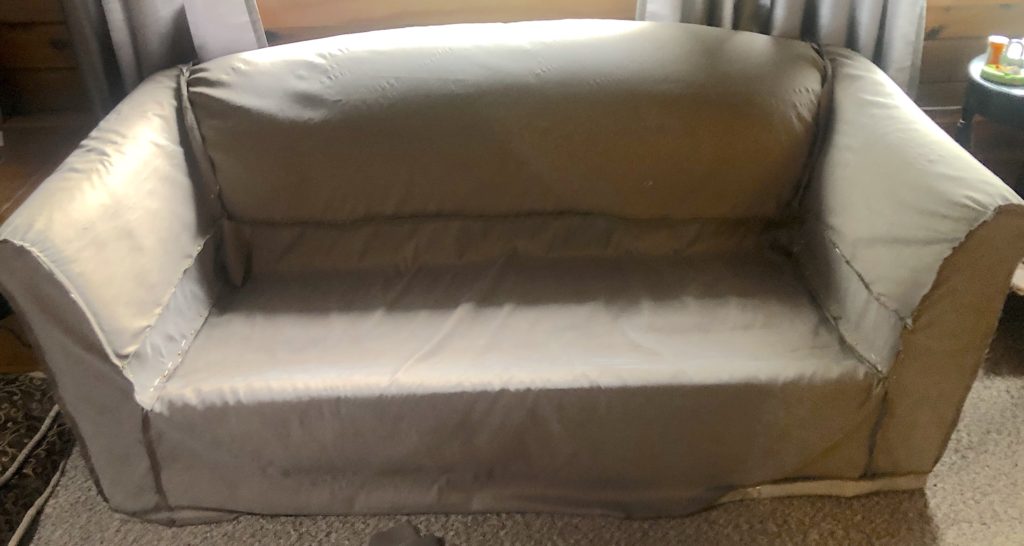
So here is the finished cover! I don’t think I ever ended up getting a picture of it in the daylight 😬 .

Oh and not gonna lie the cushion cover are currently not closed at the back but I left enough fabric so that I can add in some velcro to close it up and still have the covers removable so they can be thrown in the wash.


One Comment
llagore
I’ve had many compliments on that cover and it fits beautifully! You did a great job! I have more “jobs” for You to do as well. Lol